


 LIMITED TIME
Last Sale Of The Year!
Up to 20% off at checkout on the YoraHome Store.
Grab All The Yoras You Want!
Carving Machines
15% off Yora 3018-Pro Machine
15% off Yora 3018-Pro Accessories
$100 off Yora SilverBack Machine
8% off Yora SilverBack Accessories
15% off Yora Router Bits
Laser Engravers
15% off Yora 6550 Machine
15% off Yora 6550 Accessories
15% off Yora Mini Laser Engraver
15% off Yora Draw
$200 off Yora CO2 Laser Engravers
$200 off Yora Fiber Laser Engravers
3D Printers
$10 off Yora Ender-3 V2
$30 off Yora CR-6 SE
$40 off Yora Ender-5 Pro
→Each printer comes with 3x Free bonus items
3D Filaments And Accessories
20% off Yora PLA Filaments
15% off Yora 3D Printers Accessories
1x Free Yora Filament Dryer For 1x 3D Printer + 5x PLA Filaments or 10x PLA Filaments
Woodworking Tools: 20% off
Home And Office Accessories: 20% off
Get Amazing Free Items With The Gorilla Bundles!
#1: 1x Free Yora 3018 Essential Bits For 1x Yora 3018 + 1x Yora 6550
#2: 1x Free Yora Rotate Module For 1x Yora 6550 + 1x Yora Draw
#3: 1x Free Yora Filament Dryer For 1x Yora 6550 + 1x 3D Printer
#4: 1x Free Yora TLC Rotary For 1x Yora 3018 + 1x Yora 6550 + 1x Yora Draw
#5: 1x Free Yora 6550 Z-Axis, Drag Chain, Air Assist and 3D Led Lamp For 1x Yora 3018 + 1x Yora 6550 + 1x Yora 3D Printer
Terms Apply
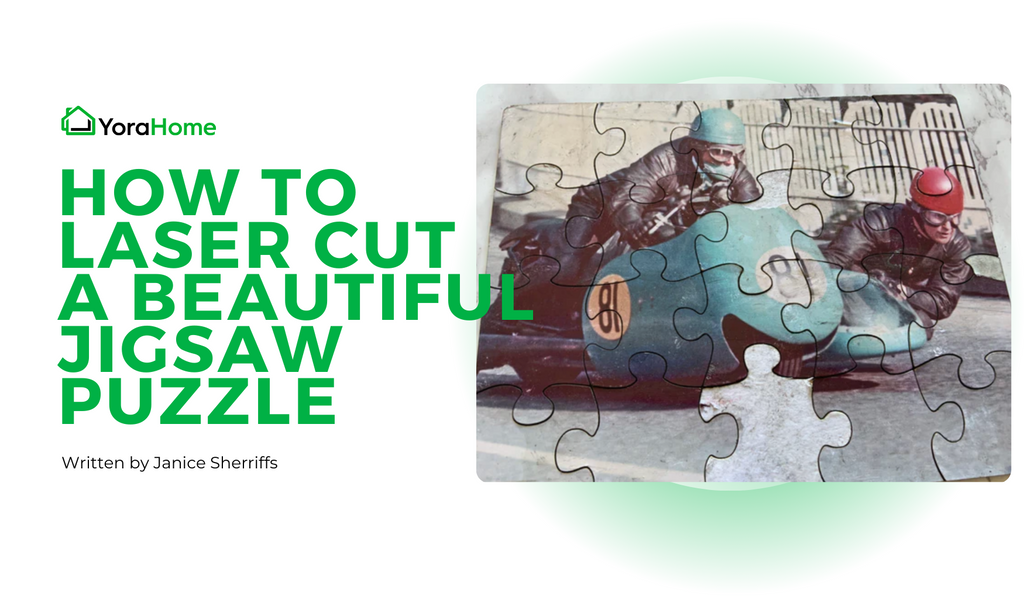
How To Design an Easter Rabbit (For Laser Engraving)


After the slightly disappointing results with my Easter Egg holder on my YoraHome CNC Router 3018-Pro due to my own ham-fistedness as documented in the previous blog, I was going to find a way to do it that I could be proud of!
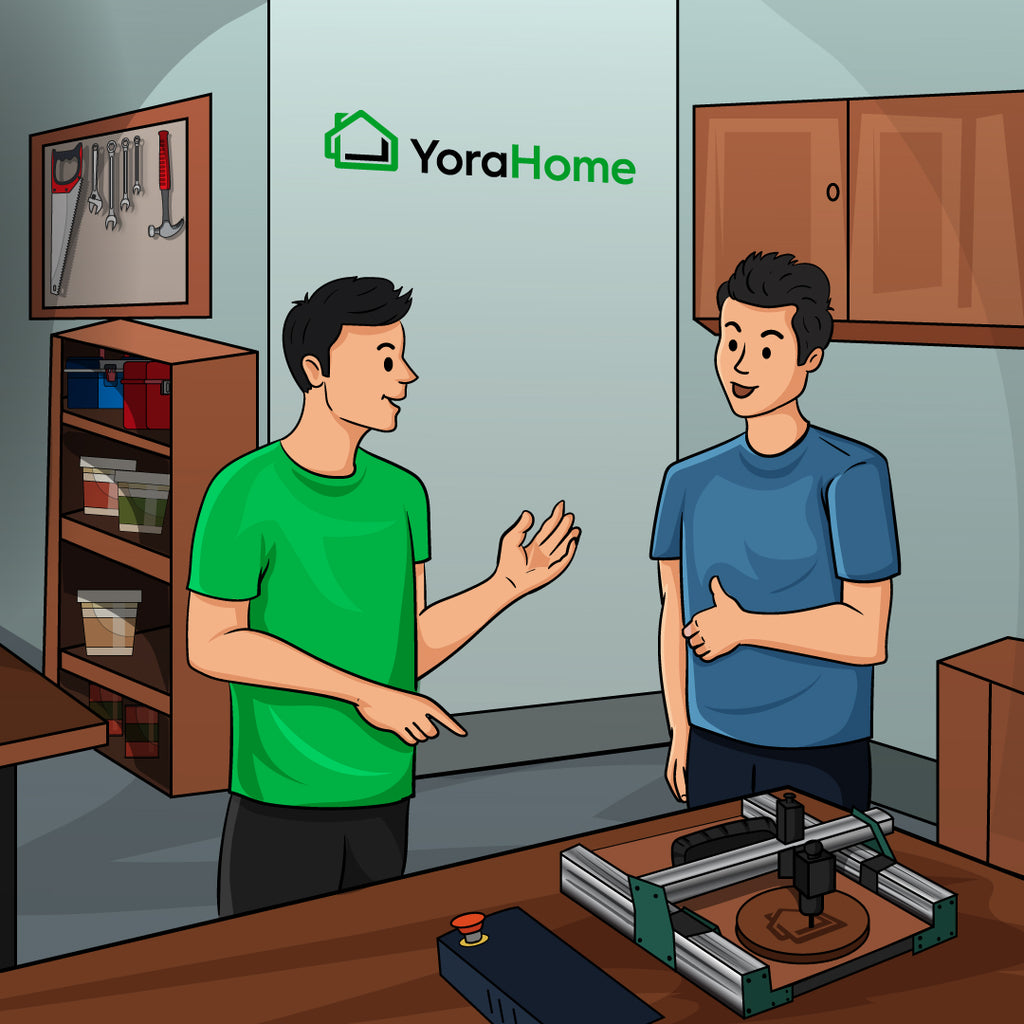
Thankfully, in the arsenal of YoraHome CNC machines, there is a massive variety to fulfil every wish for carving and laser engraving.
I am spoiled. I do have a few different YoraHome machines to use, so I decided my next option for the Easter Bunny would be the YoraHome CNC Laser Engraving Machine 6550-Pro.

1. How Do You Use an Easel File with a YoraHome Laser?
In a previous set of blogs on using different fonts, I had taken a file from LightBurn to use in Easel; so there had to be a way to do the reverse.
Having designed the Easter Egg Holder in Easel originally, I opened the project Easel and made a couple of minor changes to the size of the slot and the base.

Once happy that I now had it right, I went to Project and clicked on Download Project (ZIP).

This gave the option to download all workpieces, but I only needed Current Workpiece.

This then downloaded the file, and I could click on Open File.

That opened the Downloads file, with an Untitled file folder.

Selecting the folder and Extract All opens the destination for the unzipped file.

Clicking on Extract it showed Workpiece 1 folder.

When I opened that folder, there were 2 files inside. Design and settings.

Opening the design file, opened the svg of the design created in Easel. At this point, I could save the svg wherever I wanted.

2. Using Inkscape with an svg from Easel
Next, I opened Inkscape.

I then went to open the svg in Inkscape.

This then placed the rabbit design in Inkscape.

I selected all and locked the dimensions and changed the units to mm (necessary step).

3. Adjusting Line Colour in Inkscape
I tend to use red as my layer colour for cutting in Lightburn, so I wanted to make my design in red (not a necessary step)
With all the objects selected, I clicked on Object then Fill and Stroke.

I clicked on Stroke and Flat Colour.

This opened the RGB set (red, green, blue), I set the red to 255 and this converted the line to red.

4. Resizing the Design in Inkscape
Opening Document Properties, I could check that the dimensions were all set to mm and click on Resize page to drawing or selection.

Once resized, there is no additional white space around the design.

5. Using LightBurn with the SVG from Easel
I then opened LightBurn and opened the svg.

Clicking on Cuts/Layers I set the power and speed for the 4 mm plywood I was about to use.

I then set up my YoraHome 6650-Pro ready to cut the wood.

Now that’s more like it, that was just what I was trying to achieve.

And, with the cream egg in place it looks fabulous if I say so myself.

6. Additional Ideas
Looking at it now, it would have been very easy to add a name or an Easter Message to engrave on there as well.
Back in Inskscape, I could add a message and save the svg again.

Then, open the file in LightBurn.
Notice the lettering is a different colour (layer) so I could adjust the speed and power as I wanted it to engrave, rather than cut and I set the lettering to fill.

You could add names or any kind of message on your rabbit.
You could even make one big enough to take a full size Easter egg, but I stuck with the Cream egg size. Unfortunately, the cream egg didn't make it and had been eaten prior to the photo.

7. Conclusion
When I said that YoraHome has options to suit everyone, I certainly meant it.
Whether you choose to carve or laser, you can still make an Easter Rabbit to delight the children in your family, or anyone else that loves Easter and chocolate like me.
Get The Freshest Content
Straight To Your Inbox
Join over 3,000 creators who receive premium content, exclusive discounts, and all the must-know info on a weekly basis.