


 LIMITED TIME
Last Sale Of The Year!
Up to 20% off at checkout on the YoraHome Store.
Grab All The Yoras You Want!
Carving Machines
15% off Yora 3018-Pro Machine
15% off Yora 3018-Pro Accessories
$100 off Yora SilverBack Machine
8% off Yora SilverBack Accessories
15% off Yora Router Bits
Laser Engravers
15% off Yora 6550 Machine
15% off Yora 6550 Accessories
15% off Yora Mini Laser Engraver
15% off Yora Draw
$200 off Yora CO2 Laser Engravers
$200 off Yora Fiber Laser Engravers
3D Printers
$10 off Yora Ender-3 V2
$30 off Yora CR-6 SE
$40 off Yora Ender-5 Pro
→Each printer comes with 3x Free bonus items
3D Filaments And Accessories
20% off Yora PLA Filaments
15% off Yora 3D Printers Accessories
1x Free Yora Filament Dryer For 1x 3D Printer + 5x PLA Filaments or 10x PLA Filaments
Woodworking Tools: 20% off
Home And Office Accessories: 20% off
Get Amazing Free Items With The Gorilla Bundles!
#1: 1x Free Yora 3018 Essential Bits For 1x Yora 3018 + 1x Yora 6550
#2: 1x Free Yora Rotate Module For 1x Yora 6550 + 1x Yora Draw
#3: 1x Free Yora Filament Dryer For 1x Yora 6550 + 1x 3D Printer
#4: 1x Free Yora TLC Rotary For 1x Yora 3018 + 1x Yora 6550 + 1x Yora Draw
#5: 1x Free Yora 6550 Z-Axis, Drag Chain, Air Assist and 3D Led Lamp For 1x Yora 3018 + 1x Yora 6550 + 1x Yora 3D Printer
Terms Apply
How To Choose the Perfect Font for your Carving Project

Having tested various fonts in my previous blog using a laser, it was obvious I needed to repeat the process with a carving machine.
Any of the YoraHome CNC routers would have been suitable to try this test.
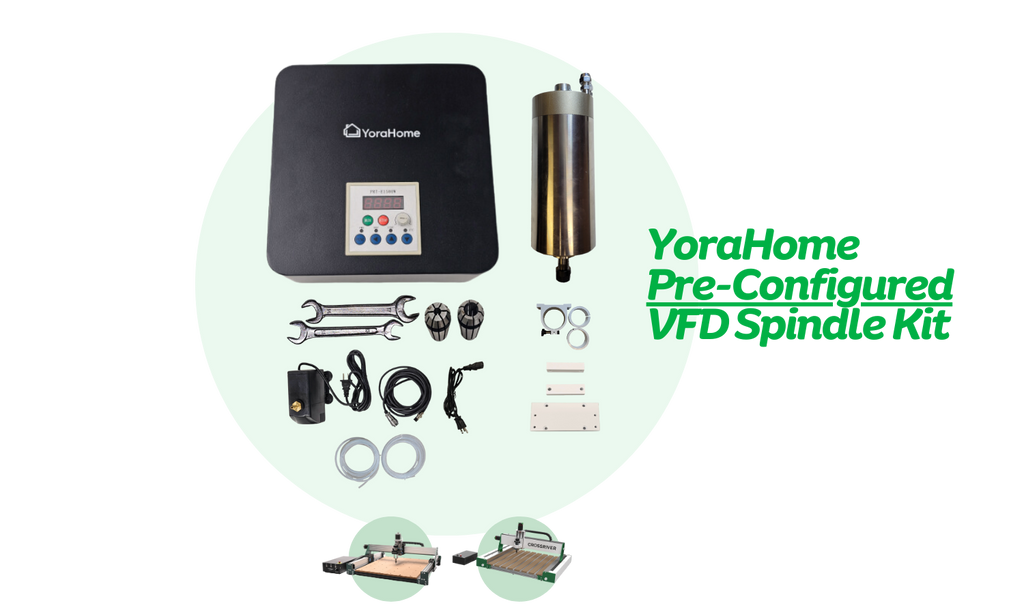
But, since my 3018-Pro was set up with the Spindle Upgrade Kit, I decided to use that.

Choosing the best bit to use for carving script
Probably the most popular bit for engraving signs is the V-Bit.
YoraHome CNC V-Groove Bits are 90 degrees and work perfectly when making signs and items with any text on. These bits come with a set of collets, including the one you need to fit the V-Bit.

So, all I needed to do was remove the one I’d used on the last job and fit the new one with the V-Bit.
Preparing the material to test engraved fonts
At this point I had a flash of brilliance, they don’t happen that often to me, but this was a beauty!
Carving on the same material as I used in the previous blog on fonts for the laser – a bamboo cheeseboard, would be a little difficult to distinguish the carves – aha – painting (well getting my ever-patient other half Shaun, to do it) the board black would make it easy to see all the fonts.
The next bit was going to be so easy it wasn’t true.
Doing the engraving text tests
I opened Easel, my weapon of choice for engraving.

Click New Project.

On opening the workspace, this is the view you get.

Set the material.

And the size and thickness.

Next click on Bit to open the drop-down menu and choose the 90-degree V-Bit.

Click on Cut Settings, then Manual and adjust to required speed and depth.

Then all I needed to do was click on the T button for text.

This opens the font list, first one I wanted to use was Garamond.

Hmmmm, no Garamond, Times New Roman was next, not there either. As I checked, every one that I used in the previous blog was not there.
If you use Easel Pro, you can add additional fonts to your font library. Click on Add Fonts.

The Font Library opens to show you all the different fonts that are available to add, with Install buttons and the library divides the fonts into Serif, Sans Serif and so on.

Clicking Install adds that font to the list.
Unfortunately, when I entered Garamond into the search box, it wasn’t available at all.

As I wanted to repeat exactly the same text tests that I’d done in LightBurn for the laser testing, I needed to find a way to import them.
Importing a File from LightBurn into Easel
I opened the LightBurn Garamond file from my computer.

Using Edit, then Select All, select the text.

Click File, then Export.

As you can see, the option to save directly from LightBurn is into an SVG file.

As I’d never tried doing this before that was new to me, but anything I’ve designed in LightBurn I now know I can export it to carve the same file. Saving the file to the destination I wanted.

Importing a File into Easel
Back to Easel, click the Import button.

This opens the options, SVG being the first one.

Click on SVG and then click on the folder where the SVG from Lightburn saved.

This then opens the Garamond text in Easel.

Go to Edit, then Combine to lock all the separate parts together.

Go to the Cut Tab and set the depth, 1.5 mm was going to be deep enough.

Then it was just a case of clicking Carve, following the steps and carving the first file.
It was then really simple to repeat the process for all of the other fonts as well, carving each of them on the black bamboo board.
Carving/Engraving Results
So how did they come out?
Serif Fonts
Garamond – yes, my genius idea worked really well to show the details of the font.

Times New Roman – as a very popular font for printing, I was surprised that it didn’t look so sharp when carved.

Bodoni – now we seem to be getting a better defined and clearer carve.

Rockwell – another nice clean and sharp font.

Sans Serif
Bahnschrift – this sans font actually looks a little squashed together, so to use it, personally I’d adjust the horizontal spacing between the letters.

Arial – better spacing of a simple clean font, again commonly used in printing.

Century Gothic – to me, this looks great and would be a great choice for signs and text.

Gill Sans – a slimmer, slightly taller font than the previous one, but nice and sharp and clean again.

Script Fonts
Bradley Hand – for a more causal style, this handwritten design is still very clear and easy to read.

Brush Script – at this size the font looks slightly fuzzy, on a bigger scale it would probably work much better.

Edwardian Script – another that looks a bit squashed that would look better spread out more.

Freestyle Script – a personal favourite, neat and tidy font – wish my handwriting looked like this.

Conclusion
In the same way that using the laser with different fonts, carving different fonts gives you a variety of options.
But, the same basic tips apply:
- Use fonts with thick continuous lines – they will stand out better on the background.
- You can choose sharp corners and straight lines or go for a more flowy approach with some curves and loops.
You also need to spend time looking at the different weights and letter spacing, available, as a couple of the tests showed, some might appear squashed up. It might be that using bold or reducing/increasing the letter spacing may make your lettering more legible or fit to the space available better.
Additionally when carving using a CNC router, you can change the actual bit that you are using to get another look to each of the fonts.
Choosing your font is part of the design process you will go through to make your projects stand out.
Take your time to find the right style and it will transform your item from a personalized item to a treasured heirloom to pass on.

Get The Freshest Content
Straight To Your Inbox
Join over 3,000 creators who receive premium content, exclusive discounts, and all the must-know info on a weekly basis.