


 LIMITED TIME
Last Sale Of The Year!
Up to 20% off at checkout on the YoraHome Store.
Grab All The Yoras You Want!
Carving Machines
15% off Yora 3018-Pro Machine
15% off Yora 3018-Pro Accessories
$100 off Yora SilverBack Machine
8% off Yora SilverBack Accessories
15% off Yora Router Bits
Laser Engravers
15% off Yora 6550 Machine
15% off Yora 6550 Accessories
15% off Yora Mini Laser Engraver
15% off Yora Draw
$200 off Yora CO2 Laser Engravers
$200 off Yora Fiber Laser Engravers
3D Printers
$10 off Yora Ender-3 V2
$30 off Yora CR-6 SE
$40 off Yora Ender-5 Pro
→Each printer comes with 3x Free bonus items
3D Filaments And Accessories
20% off Yora PLA Filaments
15% off Yora 3D Printers Accessories
1x Free Yora Filament Dryer For 1x 3D Printer + 5x PLA Filaments or 10x PLA Filaments
Woodworking Tools: 20% off
Home And Office Accessories: 20% off
Get Amazing Free Items With The Gorilla Bundles!
#1: 1x Free Yora 3018 Essential Bits For 1x Yora 3018 + 1x Yora 6550
#2: 1x Free Yora Rotate Module For 1x Yora 6550 + 1x Yora Draw
#3: 1x Free Yora Filament Dryer For 1x Yora 6550 + 1x 3D Printer
#4: 1x Free Yora TLC Rotary For 1x Yora 3018 + 1x Yora 6550 + 1x Yora Draw
#5: 1x Free Yora 6550 Z-Axis, Drag Chain, Air Assist and 3D Led Lamp For 1x Yora 3018 + 1x Yora 6550 + 1x Yora 3D Printer
Terms Apply
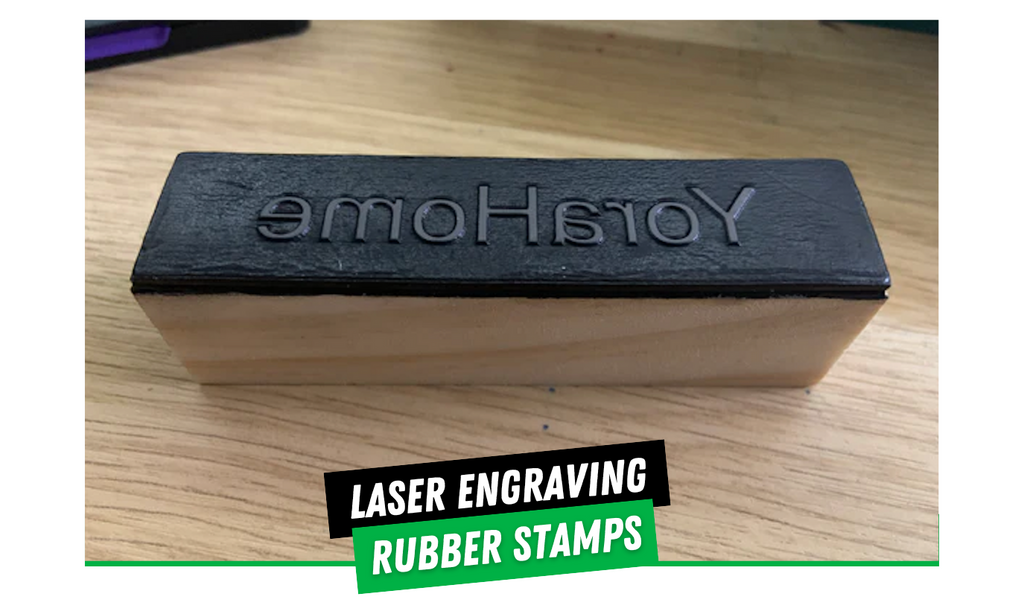
How to Make a Rubber Stamp with A Laser

Rubber stamp making is one of the things that is often stated as an example of what you can achieve with laser engraving.
However exactly how I wasn’t sure of, or what I’d need to actually make a stamp myself.
But, after my success with testing in my last blog, I knew that I could at least find the perfect settings.
There are a few basic questions about stamp making to answer.
What supplies do you need to make a stamp?
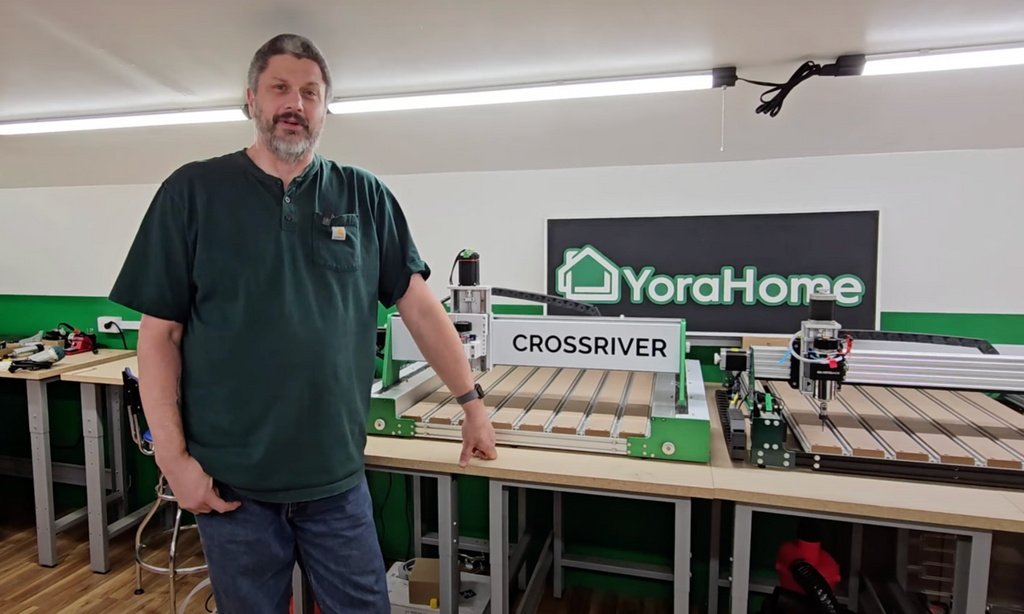
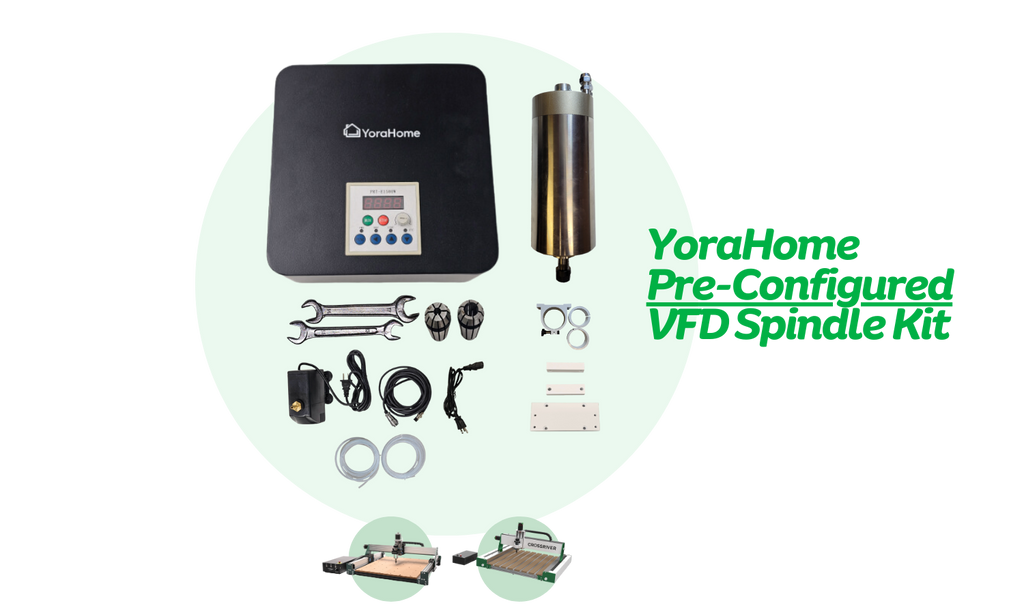
You need a laser engraver, thinking it may be sulking as I’d been using my 3018-Pro CNC quite solidly recently, I went back to my Mandrill CNC Router 3036 with 40W Laser.

You need some rubber stamp material.
When searching Amazon, or other shopping sites for stamp material, you will find 2 main sorts: thick rubber blocks and sheets of thinner rubber, suitable for use with a laser – make sure as always that what you’re going to use is laser safe.

You need something to attach the rubber to, I got some small wooden blocks.

And of course, you will need your stamp design.
How do you test the material for speed and power settings?
I’ve done lots of testing of various materials over the last few years, but as I said in the last blog, the YoraHome team have developed a phenomenal test file for everyone to use, so it was the perfect opportunity to try it out again.

As I had done a “cut down” version of the file previously, I decided to use that.

You can now adjust the size of this selection to a useable size.

How do you attach the rubber to the machine?
To attach the rubber material to the machine base, you can use tape.

Or I found the best option to be double-sided tape.

So, once in place and focus set, just press Start and away it goes.
How do you decide what works and what doesn't in a test?

You can see of the options used, some were a bit too high and burned all the way through - 1000 mm/min 40% for example, some didn’t make much of a mark 4000 mm/min 10% as an example.
Using my YoraHome Verniers (YoraHome 6 Inch Stainless Steel Digital Caliper) to check the thickness of the material – it was advertised as 3mm, I found it to be 3.25 mm

I then used the verniers to check the depth of the engraving.

The bottom edge of the verniers sat perfectly on the edges of the engraving for the probe to measure the depth.

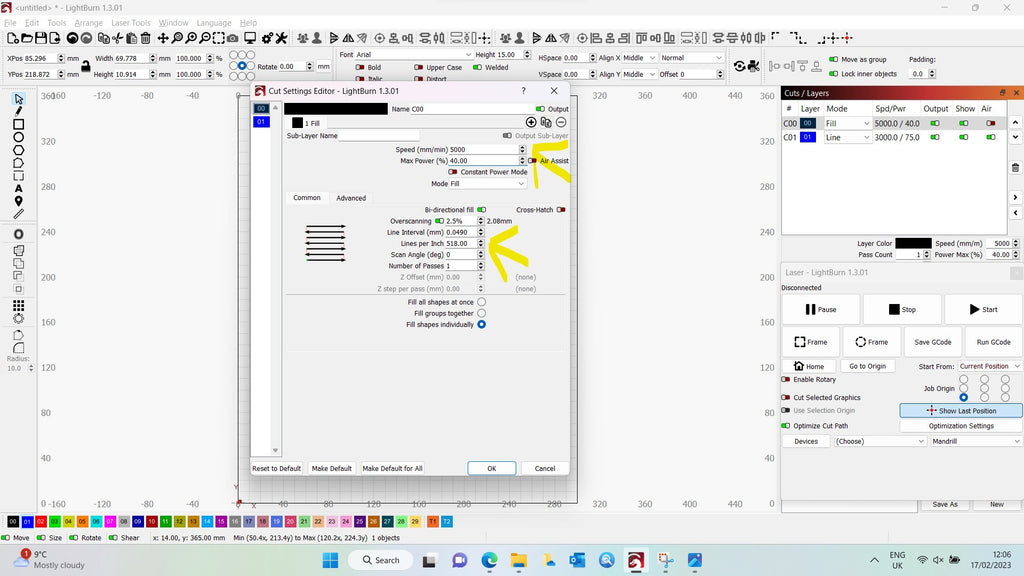
Realizing that the depth of the engrave shouldn’t be more than half the thickness of the material, I could then choose the ideal settings – 5000 mm/min and 40%
Right, time to make a stamp!
How do you make a Rubber Stamp with your YoraHome laser?
Open LightBurn.

Go to Create Text on left of screen.

Type the text you want to use and choose the font.

Click on the Select Arrow to select the text.
You can now adjust the height of the text to what you want. Knowing that my wooden blocks were 25 mm, I set my height at 15 mm.

Click on Edit, then Invert Selection.

Click on Create Rectangle on left of the screen.

Then set the size of the rectangle of your planned stamp – the size of your wooden block, set this rectangle in a different colour.

Go to Edit, Select all, then to Arrange, Align Centers.

Set the power and speed from the test 5000 mm/min and 40%, I also set my lines per inch to 508 – double the standard setting to make the cut image finer, you also need to be able to cut out the stamp, so set the rectangle to line and set your speed and power.
Once the engraving has completed, you will be amazed at the detail.

Let the cut take place as well.

At this point, you can remove the rubber from the machine, detach the stamp and attach it with glue to the wooden block.

And time to try it out.

Well, that looks brilliant if I say so myself.
Conclusion
All the things you read about using a laser to make a rubber stamp are all true.
It’s easy, quick and the results are spectacular.
Try it out for yourself with YoraHome CNC Laser Engravers.

Get The Freshest Content
Straight To Your Inbox
Join over 3,000 creators who receive premium content, exclusive discounts, and all the must-know info on a weekly basis.