


 LIMITED TIME
Last Sale Of The Year!
Up to 20% off at checkout on the YoraHome Store.
Grab All The Yoras You Want!
Carving Machines
15% off Yora 3018-Pro Machine
15% off Yora 3018-Pro Accessories
$100 off Yora SilverBack Machine
8% off Yora SilverBack Accessories
15% off Yora Router Bits
Laser Engravers
15% off Yora 6550 Machine
15% off Yora 6550 Accessories
15% off Yora Mini Laser Engraver
15% off Yora Draw
$200 off Yora CO2 Laser Engravers
$200 off Yora Fiber Laser Engravers
3D Printers
$10 off Yora Ender-3 V2
$30 off Yora CR-6 SE
$40 off Yora Ender-5 Pro
→Each printer comes with 3x Free bonus items
3D Filaments And Accessories
20% off Yora PLA Filaments
15% off Yora 3D Printers Accessories
1x Free Yora Filament Dryer For 1x 3D Printer + 5x PLA Filaments or 10x PLA Filaments
Woodworking Tools: 20% off
Home And Office Accessories: 20% off
Get Amazing Free Items With The Gorilla Bundles!
#1: 1x Free Yora 3018 Essential Bits For 1x Yora 3018 + 1x Yora 6550
#2: 1x Free Yora Rotate Module For 1x Yora 6550 + 1x Yora Draw
#3: 1x Free Yora Filament Dryer For 1x Yora 6550 + 1x 3D Printer
#4: 1x Free Yora TLC Rotary For 1x Yora 3018 + 1x Yora 6550 + 1x Yora Draw
#5: 1x Free Yora 6550 Z-Axis, Drag Chain, Air Assist and 3D Led Lamp For 1x Yora 3018 + 1x Yora 6550 + 1x Yora 3D Printer
Terms Apply
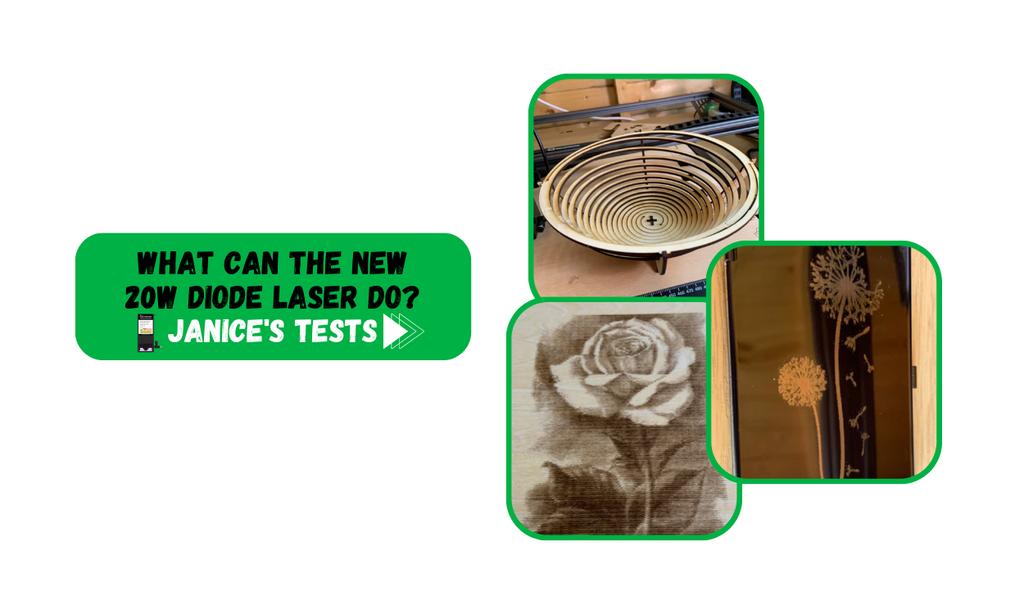
What Can The New 20W Diode Laser Do? (Janice's Tests)

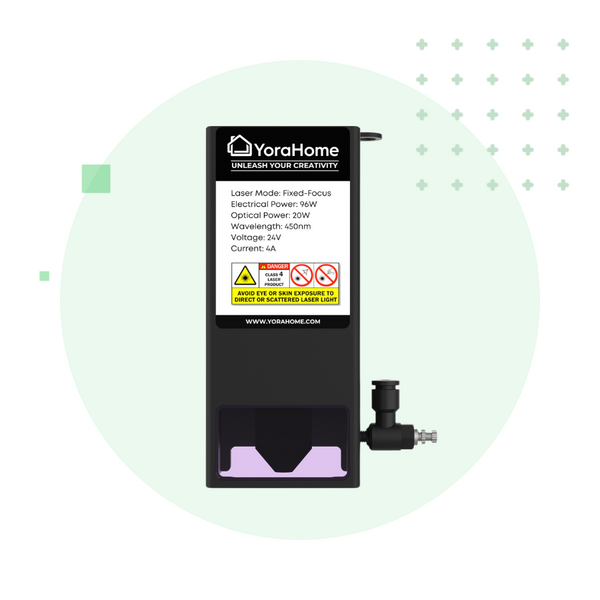
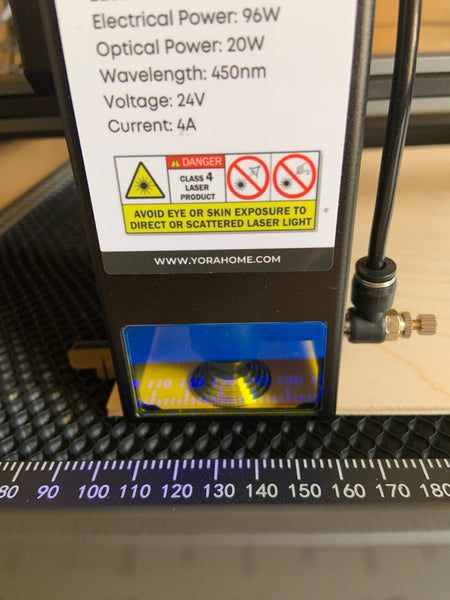
Attaching the new YoraHome 96W (20W Optical) Laser Module Kit to my 6550-Pro CNC Laser Engraver was reasonably straightforward, and it was much easier when I turned the instructions manual to the same orientation I was looking at on my machine.
Having just completed the testing for the Average Laser Engraving and Cutting Settings documents, the time had come to see what this new piece of kit was capable of.
As I always say, the settings are just a guide to start from. Every piece of wood will be different and may need the settings to be tweaked to get your desired effect.
But, having tried out a range of materials, I was excited to see the new laser working for real.
1. Cutting A Spiral Basket
Having seen spiral baskets at craft fairs, on various websites, and so on, I'd always wanted to try one myself.
However, my famous patience levels have always got the better of me, as I find it very hard to wait for numerous passes to cut through materials.
Ok I'll be honest. If it doesn't cut in one pass, it is doubtful I would do it. So now was my chance to cut the bowl.
Knowing that I’d need to account for “kerf” cutting plywood - the thickness of the cut made by the laser, for the elements to fit together correctly, my first stop was www.boxes.py.
This website has boxes, boxes with flex, drawer inserts, shelves, and test files.
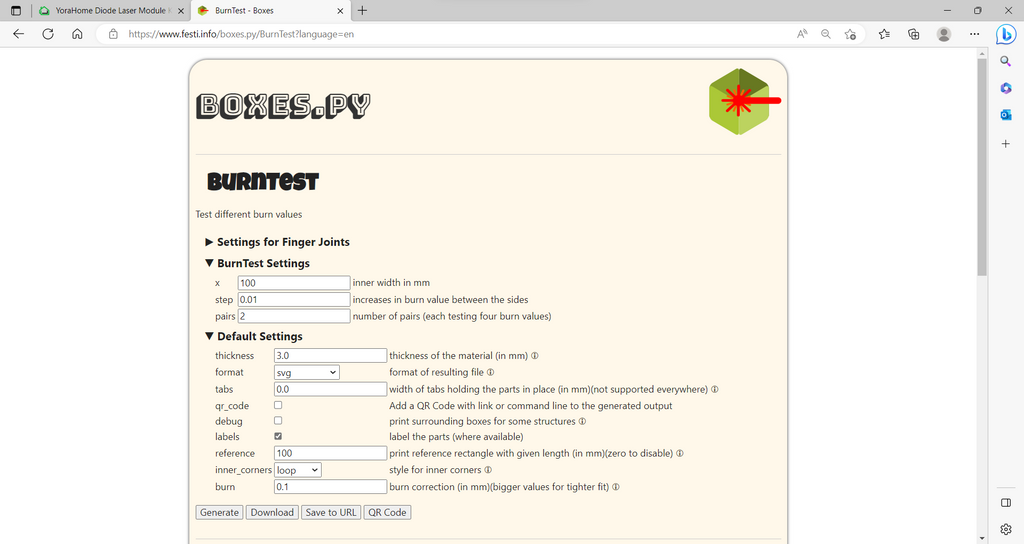
I adjusted the thickness to 4 mm and the x value to 50 mm to make the test squares smaller. Pressing the generate button produces the required test.
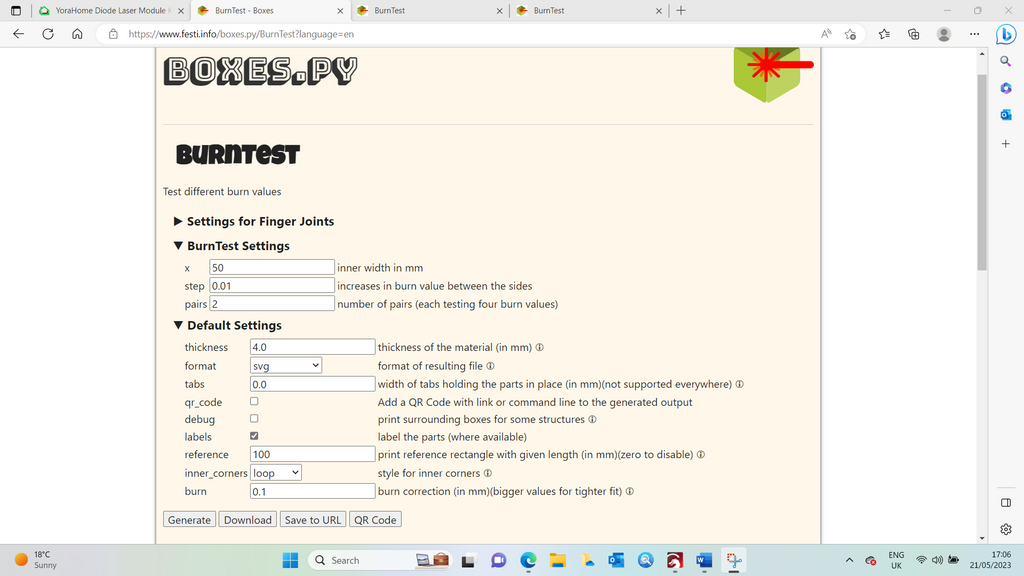
I saved the file as an SVG and opened Lightburn.

Opening the SVG to get ready to run the test, from the testing, I knew the cut setting I needed should be approximately 300 mm/min and 85% power.
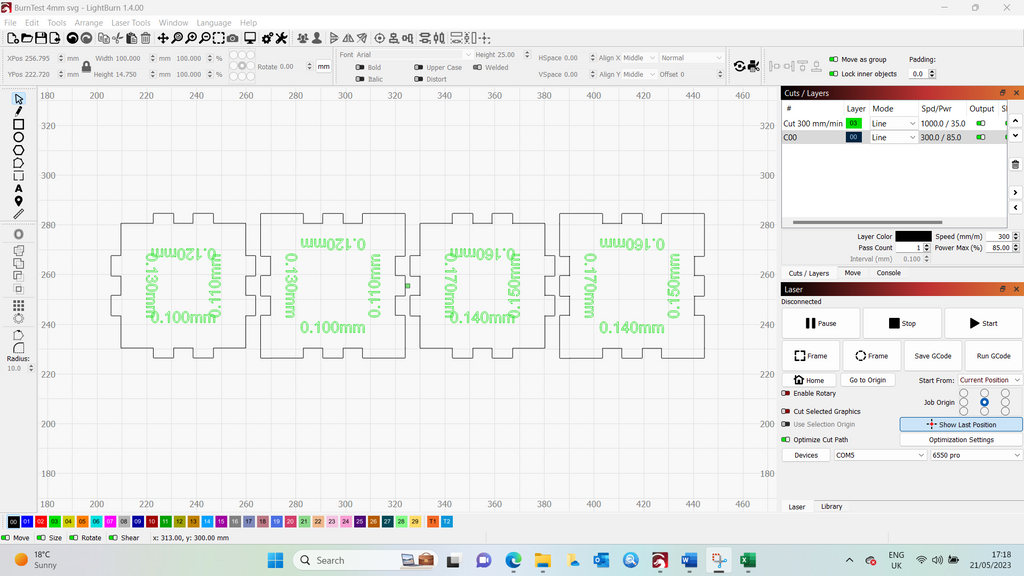
This new laser has a unique height tool to ensure correct focus.
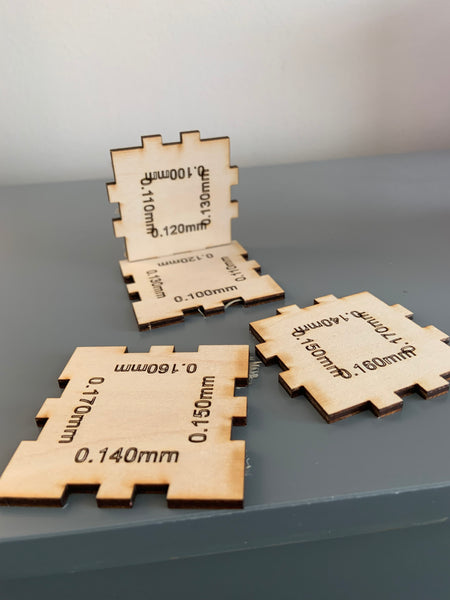
Having run the test, I produced four squares with the burn values so it is possible to judge what is the best fit.
In my example, it was 0.120 mm or 0.130 mm.
Next, I opened the file I acquired from Etsy. In LightBurn, I set the speed, power, and kerf offset.
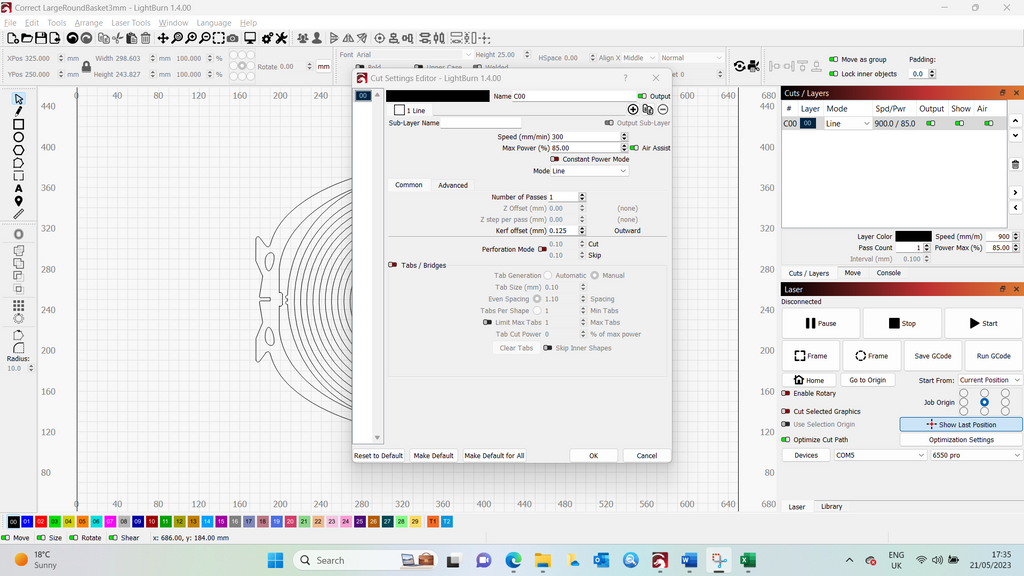
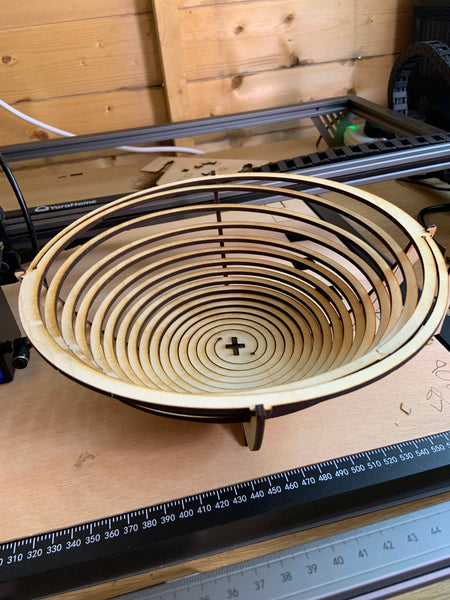
With the 4 mm plywood in place and held down with the acrylic honeycomb pins on the YoraHome Honeycomb Platform 6550/6550-Pro, my spiral basket was ready to cut.

I finished the cut, and it was just a case of slotting together the two base pieces, then positioning the spiral into the base, and wow.
So much better than I imagined, and it only took 25 minutes.
Now that's my kind of project!
2. Engraving A Metal Business Cards Case
One thing I noticed during the testing phase of the 20W Optical Laser was how fine the engraving line was.
It appears sharper than previous lasers, and I was sure this would make the engraving look even better.
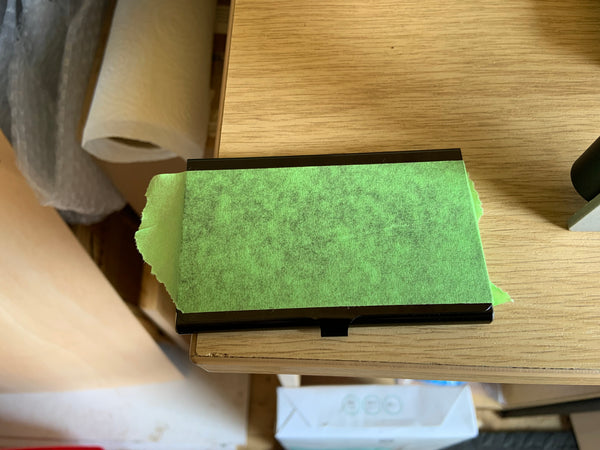
I had acquired some black business card holders that I thought would be ideal test pieces.
However, they did have a gloss finish, which could cause a reflection of the laser.
No problem, I have plenty of painter's tape for this exact purpose.
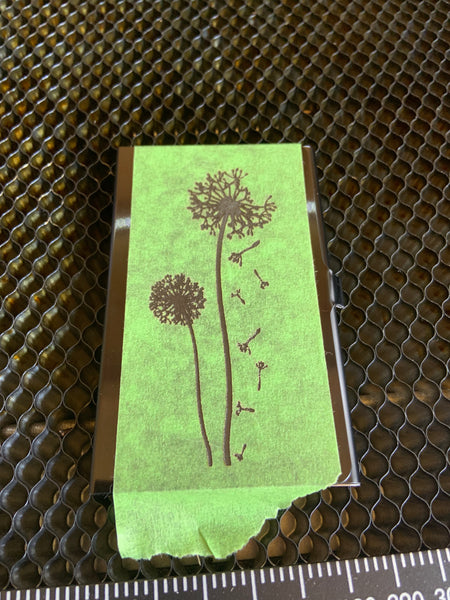
I am a big fan of dandelions and love the saying about some people seeing weeds, and some seeing wishes. So it would be a great picture to show the engraving's clarity.

Again, I could use the test settings, 1000 mm/min and 30% power.
Before starting the project, the projected time was 7 minutes; I was already in love with this laser!
On completion, the image showed perfectly on the tape.
Full disclosure here: On trying to remove the tape and sticky residue, I was very disappointed with what I saw. But, convinced it should be better, I continued to clean the surface with Isopropanol.
Eventually, I got rid of the sticky, and again wow!
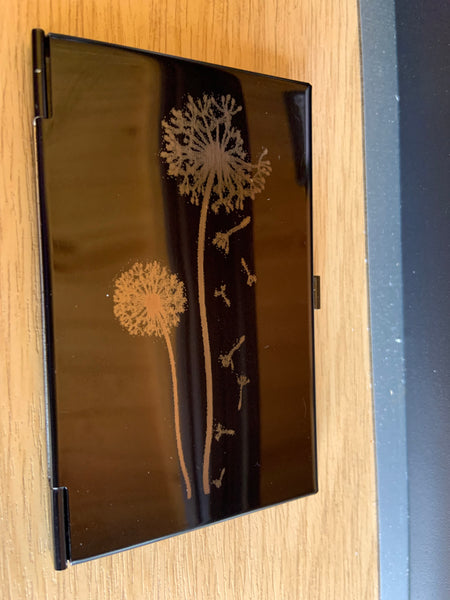
As I had seen during testing, the engraving lines are so delicate and precise, but it is very difficult to photograph a shiny surface and show how good it looks.
3. Laser Engraving Pictures
As many people who have read my blogs before already know, I'm not brilliant with photographs and pictures. But, I decided to try it.
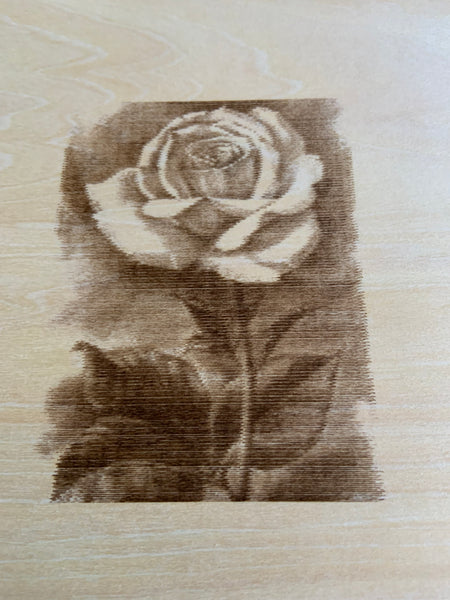
I found a beautiful image of a rose and thought I'd try that.
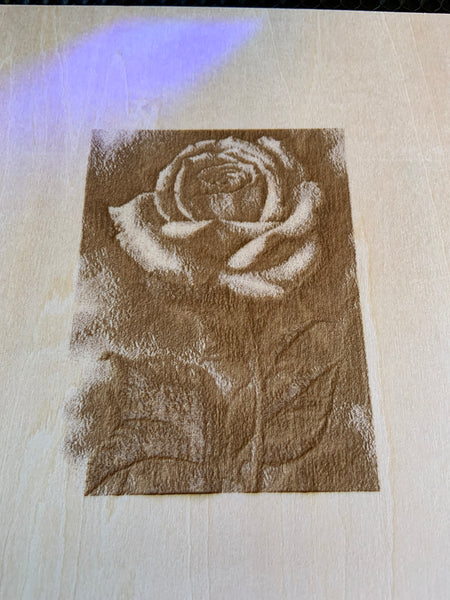
Firstly, I opened the file in LightBurn. It was getting late by this point, so I increased the speed and the power to shorten the time required.
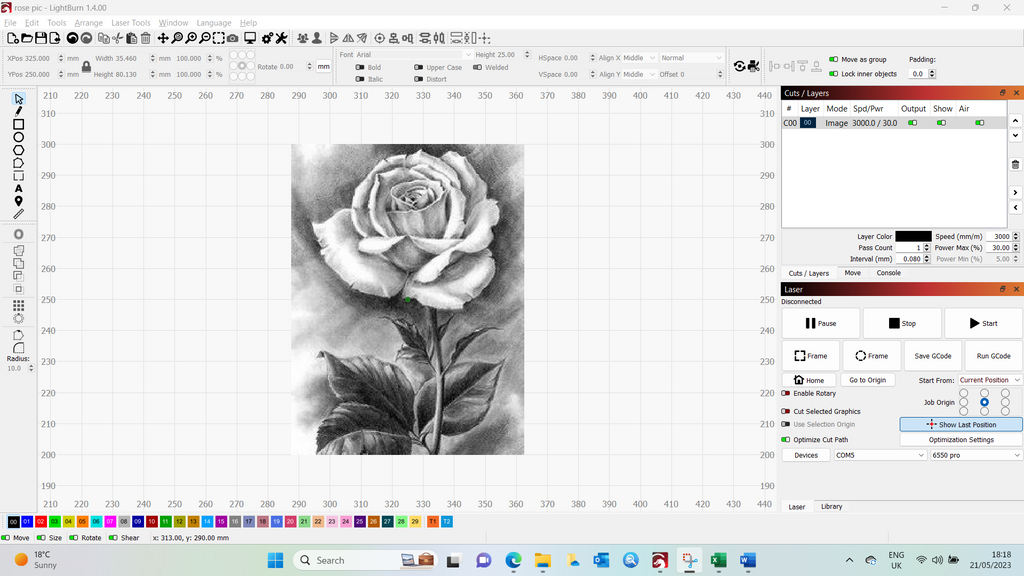
I shouldn't have increased the power; it came out very dark but still stunning.
Then, it was time to see how this laser would perform in LaserGRBL.

I imported the image.

Changed to passthrough with the Conversion Tool.
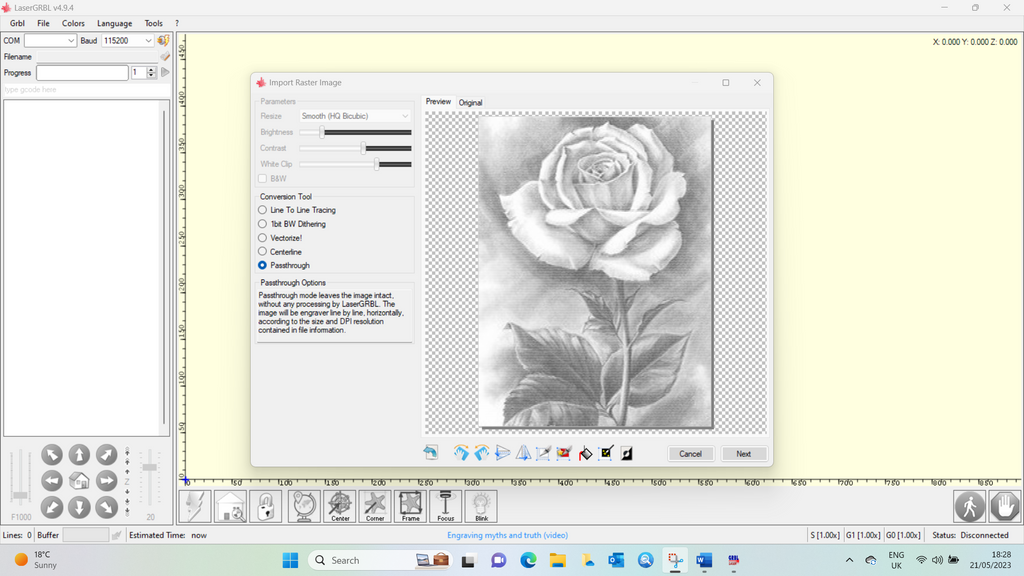
I made any required adjustments to the size and speed.
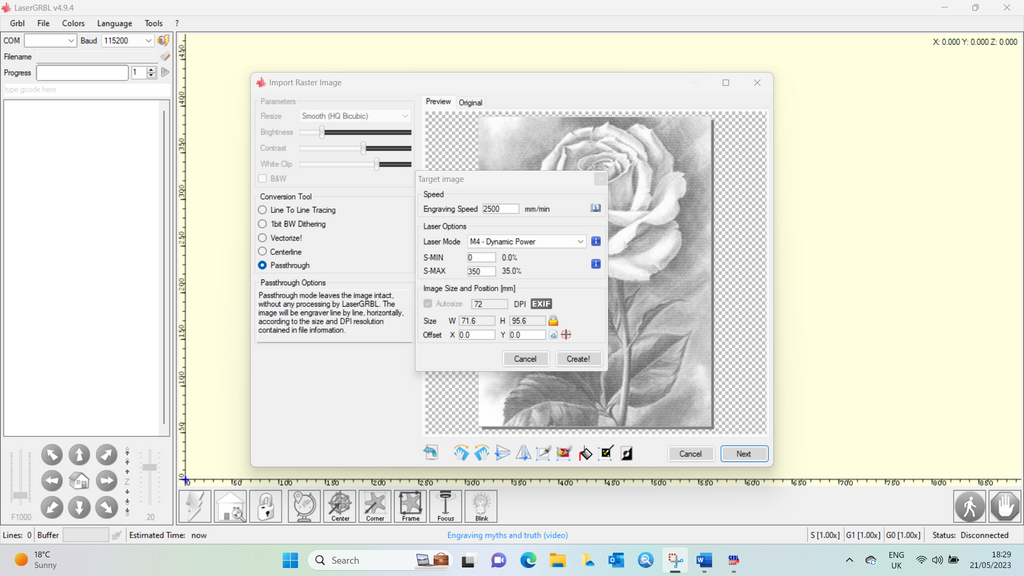
The image in LaserGRBL appears with a reddish tint.
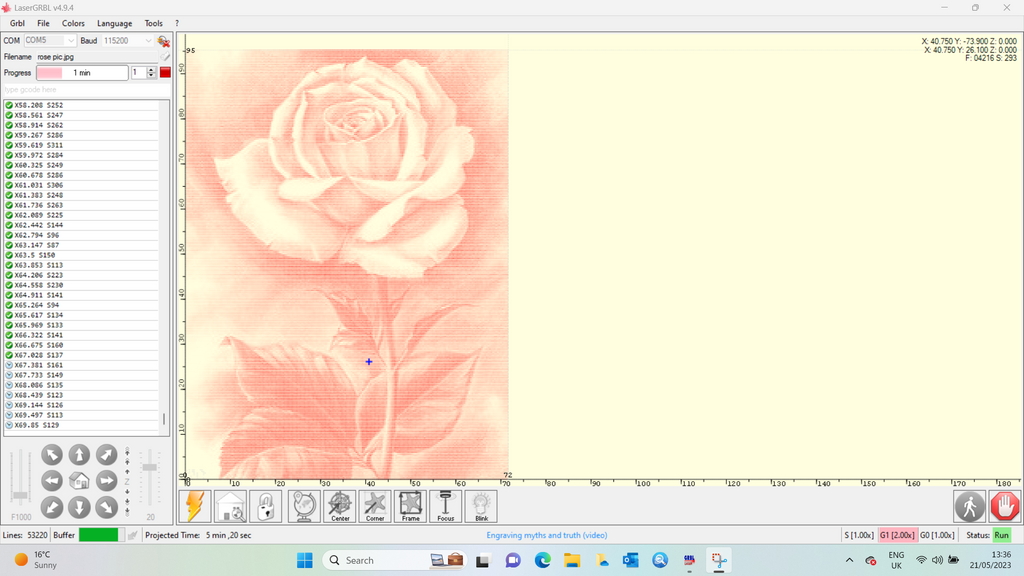
Using LaserGRBL, the image only took 7 minutes and look at the result.
So, LaserGRBL works perfectly with the new laser as well.
Pictures are not my thing, but I am tempted to practice more at this speed.
4. Conclusion
YoraHome continues to bring great, new, exciting products to the market, and I love them all.
For now, this new 20W Laser Module is only compatible with the YoraHome CNC Laser Engraving Machine 6550-Pro. You have seen what it is capable of; perhaps it's time to save up and invest in both.


Get The Freshest Content
Straight To Your Inbox
Join over 3,000 creators who receive premium content, exclusive discounts, and all the must-know info on a weekly basis.