Getting to Grips with Carveco | 3D Carving (Part 5)
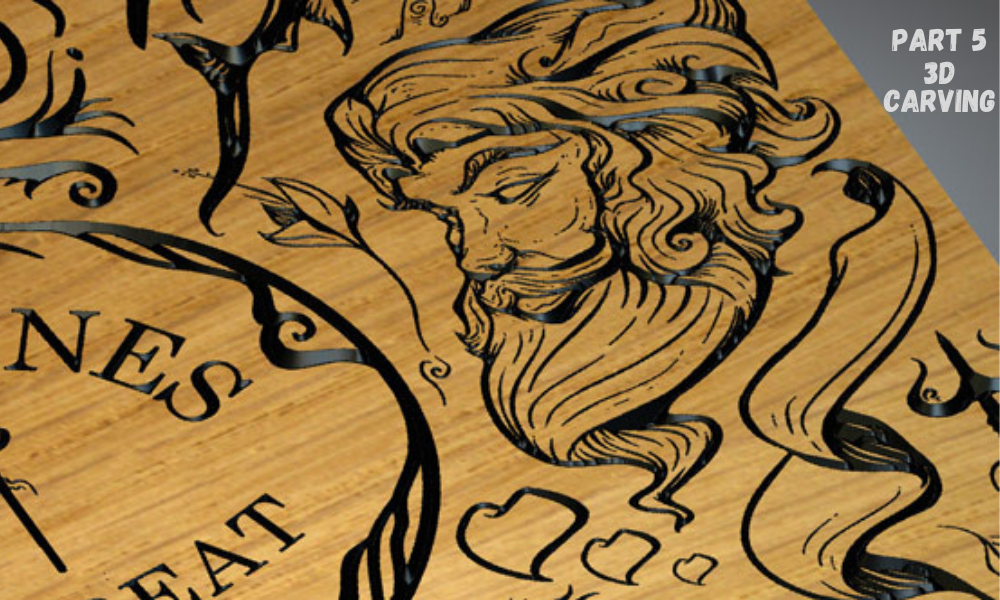
Continuing with the YoraHome & Carveco collaboration to use the top of the range software with the best machines on the market, this is the fifth part of the “Getting to Grips with” series.
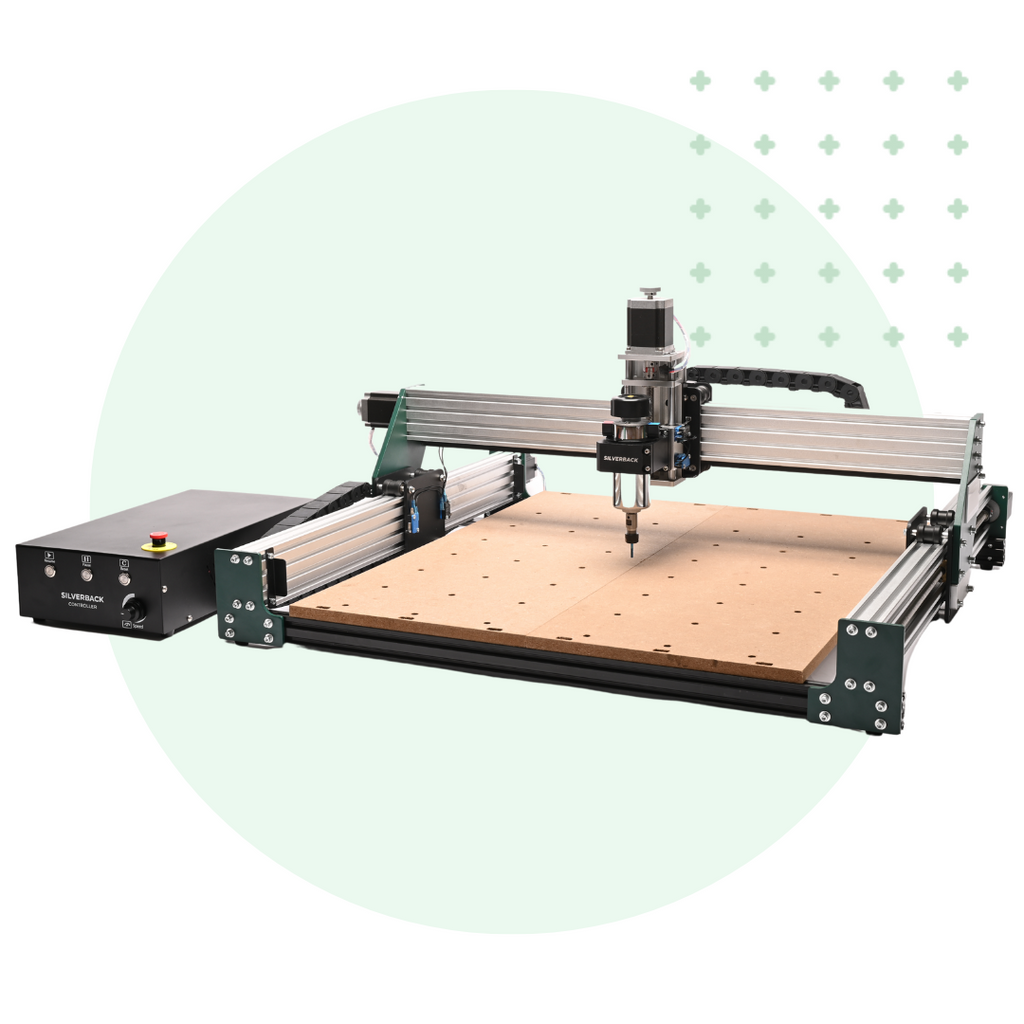
Quick catch up if you’ve missed it, if you own a Yora CNC Carving & Laser Engraving Machine 3018-Pro or one of the soon to be available Yora SilverBack 6060 Benchtop CNC, you need to find your order number and get yourself signed up for the 90-day free trial via this link.

Please forgive the pun, but through the series of blogs, we’ve now got as far as the “sharp” end of carving. Then, as I previously described it, the “sexy” end of carving, now we’ve got to grips with the basics!
Right for the purists out there, I fully understand that “true” 3D carving requires the ability to carve an object in all directions, which is impossible with a 3-axis machine, creating something with a flat back / base is as close to 3D as most of us will ever get without a lottery win to buy a hugely expensive 4-axis machine, so I will refer to what I am doing as 3D and people can live with it.
There are so many options with 3D carving. There is a massive relief clipart gallery, which you can find by clicking on Relief then Clipart Gallery.

Or simply click on the Clipart Gallery icon on the top toolbar.

By default, the library opens at the last area you used, click on the down arrow to open the complete list.

If you want to look through everything, in all of the areas, select Reliefs.

Choose the image you want from the library.

Double click on the image and it will appear on your workspace, or click and drag.

You set the image proportions via the Scale and Size box, to keep the dimensions the same, ensure the padlock is on for at least the width and height, the z range you can adjust as required later.

Use Fn & F9 to centre the image and then press Paste (bottom right – sorry I forgot to highlight that).

This then shows your 3D image as it would carve.

Go to View and Twiddle View.

Then using your mouse, you can move the image around so you can view it from all angles.

Zooming in, it’s easy to see I have the image upside down within the model.

Unless you want an inverted carve, go to Relief – Edit – Invert – Z only.

Click on the Scale Relief icon on the top toolbar and either using the arrow or by putting an exact figure in the scale height box, set the z height of your carve – consider how thick your material is and how long you want to be carving!

Next click on the Create Machine Relief Toolpath icon on the top toolbar.

This opens the Machine Relief Menu box where you make the magic happen!

I will come back to that, I promise.
But as I said, there are several options for 3D images, one of the things I really wanted to do was a Jesus portrait piece that I’d seen a number of times and thought, one day I’d really, really like to be able to do that kind of thing. So, a quick internet search for STL files and I found it available for sale on Etsy, a couple of dollars later I was the proud owner of the file, the question was, could I really achieve that ambition?
I thought I’d better try it small to start with in case there were any issues with the file or whether my well-known lack of patience would get the better of me and I wouldn’t be able to wait long enough for it to finish.
Starting again:

To import the file, go to Relief – Import – Import 3D Model.

This opens the files on your computer, to find where the purchased file had been downloaded.

Click Open and the Paste 3D Model box will open.

The measurements are linked, so when you change one the others will change proportionately, click Centre then Apply.

This opens the workspace with the 3D model in place, go to Twiddle view.

Click on the Scale Relief icon on the top toolbar.

This opens the Tool Settings Scale Relief menu box, where you can enter an exact scale height or use the red arrow to adjust, once happy close the box.

You are now looking at the carve you’re going to produce; this would include cutting away all the area around the image itself – click on the View from Top icon on the right-hand toolbar.

This reverts to the view from directly above.

Clicking on the Rectangle icon on the left toolbar will allow you to draw a rectangle around your image, you can set the exact size and centre point via the menu box, just click on the grey area off the image and the menu to set the rectangle.

Close the menu box and then click on the Create Machine Relief Toolpath icon on the top toolbar.

This opens the Machine Relief Menu box.

Click on the Finishing Options to open the Tool Database.

Choose a Ball Nose bit under 3D Finishing and if necessary, edit the Machining Defaults, then click Select.

When you go back to Finishing Options, you can choose the Tool Clearance Strategy, Raster – will start at the bottom and move across and up, Raster X and Y – will move across and up, then do the opposite, Spiral – starts at the centre and spirals out (this may miss part of the carve depending on its size and shape, but does a really nice job of carving, Spiral in a Box – will cover the whole area but will carve air at the edges. I chose to stick with Raster.

My Tolerance setting was 0.02 mm, Allowance 0. I had to adjust the Z options, the Safe Z – sets how high above the carve the bit will move to, to make its rapid moves, 20.99 mm would make things terribly slow, so I set it to 5 mm, Home Z should also be 0.

Check all your settings.

Click to Define Material opens the Material Setup box, set the material thickness, and click OK.

Return to the top of the menu box and choose the Area to Machine, I went with Automatic Boundary so it would only carve the area within the box I had drawn.

This then opens the choice of Inside or Outside the Vector, (Inside is inside the box) I put my Offset at 0.002 mm.

Name the Toolpath and click Calculate Now.

This will show where the tool will actually move.

To re-open the Project menu, go to Window – Toolbars and Docking Windows – Project.

On the Project menu, right click on Toolpaths then click on Simulate All Toolpaths.

This then shows how your final carve will look.

Open the Toolpath Options and click on Save Toolpath.

Save the file and close the box.

Click on File and Save As to save the complete model.

Enter the file name and Save.

Open Easel and open a New Project.

Set the dimensions and material, then choose the bit – Ball Nose 1 mm.

Click on Import icon on the left toolbar, then on G-code.

Choose File.

Open the Toolpath file.

This opens the file in Easel.

Using your mouse, you can zoom in and turn the model around to see what is actually going to carve.

Once the zero point has been set and you click carve, the Importing G-code statement will open, click I Understand.

Then go through the normal steps of confirming material thickness etc. etc. Then Carve.
So, did I achieve my ambition? How did it turn out?
Have a look at this!

Not perfect, but definitely proof of concept shall we say.
So, it was time to step things up again. I opened a new model and made the size 140 x 305 mm, imported the 3D model and this time used the 3 mm Yora CNC Shank Blue Coated Router Bits | Ball Nose.

They are also available as one part of the Yora Essential Bits.

Patience really isn’t my strong point and after a couple of hours it still looked as if it was only cutting out a box, but in for a penny, in for a pound as they say, I let it keep going and WOW, look at this:


I then took the gamble and put on some Tung Oil.


Remember this carve was done with a sub $350 / £210 machine with software that is available on a 90-day free trial. (Prices may vary according to exchange rates and so on).
I think I can safely say, that’s the best carve I’ve done!
My complaint for the day is that the postman arrived after I had started the carve, so I didn’t get chance to fit my new Yora 3018 Dust Shoe (Pro+).
Might just have to try another carve once its fitted. One thing is for sure, I'm even more impatient for the new Yora SilverBack 6060 Benchtop CNC to arrive on my doorstep, bigger bed, bigger motor, quieter and so on, bring it on!
Between the top of the range software, Carveco Maker and the best DIY machines on the market from YoraHome, it is possible to produce absolutely amazing items, all you need to do is start.
For further instructions and guidance on using the Carveco Maker software, go to the Training section on the Carveco website, there are so many things you can do with this software and a Yora CNC Carving & Laser Engraving Machine 3018-Pro.
I haven’t even got to inlays, textures, creating stacked text or using the software with a laser, etc.
It’s time to join the Yora family if you haven’t yet, you could amaze yourself with what you’ll be able to create.
Get The Freshest Content
Straight To Your Inbox
Join over 3,000 creators who receive premium content, exclusive discounts, and all the must-know info on a weekly basis.
