


 LIMITED TIME
Last Sale Of The Year!
Up to 20% off at checkout on the YoraHome Store.
Grab All The Yoras You Want!
Carving Machines
15% off Yora 3018-Pro Machine
15% off Yora 3018-Pro Accessories
$100 off Yora SilverBack Machine
8% off Yora SilverBack Accessories
15% off Yora Router Bits
Laser Engravers
15% off Yora 6550 Machine
15% off Yora 6550 Accessories
15% off Yora Mini Laser Engraver
15% off Yora Draw
$200 off Yora CO2 Laser Engravers
$200 off Yora Fiber Laser Engravers
3D Printers
$10 off Yora Ender-3 V2
$30 off Yora CR-6 SE
$40 off Yora Ender-5 Pro
→Each printer comes with 3x Free bonus items
3D Filaments And Accessories
20% off Yora PLA Filaments
15% off Yora 3D Printers Accessories
1x Free Yora Filament Dryer For 1x 3D Printer + 5x PLA Filaments or 10x PLA Filaments
Woodworking Tools: 20% off
Home And Office Accessories: 20% off
Get Amazing Free Items With The Gorilla Bundles!
#1: 1x Free Yora 3018 Essential Bits For 1x Yora 3018 + 1x Yora 6550
#2: 1x Free Yora Rotate Module For 1x Yora 6550 + 1x Yora Draw
#3: 1x Free Yora Filament Dryer For 1x Yora 6550 + 1x 3D Printer
#4: 1x Free Yora TLC Rotary For 1x Yora 3018 + 1x Yora 6550 + 1x Yora Draw
#5: 1x Free Yora 6550 Z-Axis, Drag Chain, Air Assist and 3D Led Lamp For 1x Yora 3018 + 1x Yora 6550 + 1x Yora 3D Printer
Terms Apply
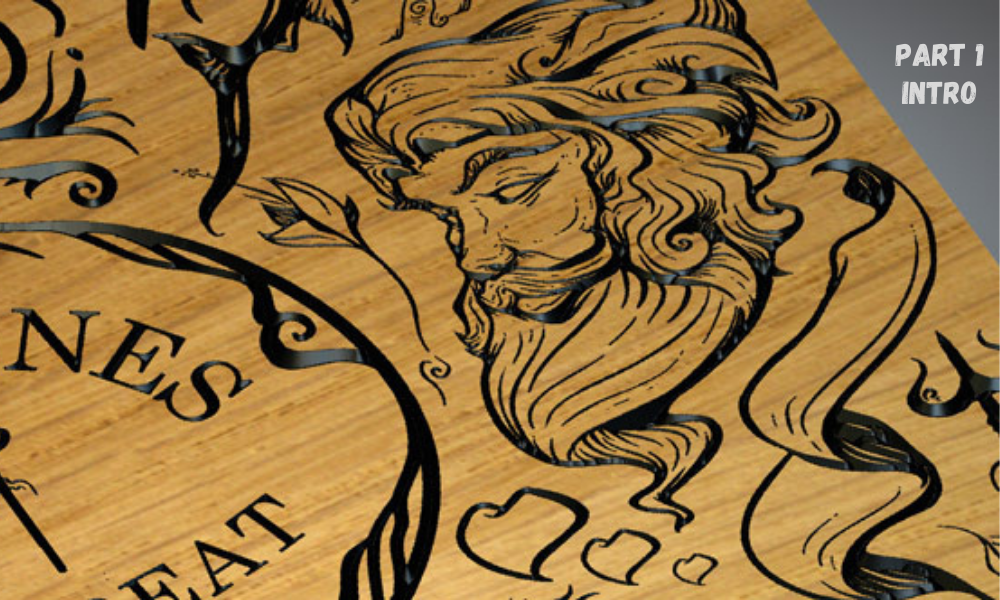
Getting To Grips With Carveco | Introduction (Part 1)

Massive news! YoraHome & Carveco are collaborating to use the top-of-the-range software with the best machines on the market.
But, what does this actually mean to you?
Well, if you own a Yora CNC Carving & Laser Engraving Machine 3018-Pro or one of the soon to be available [NEW] Yora SilverBack 6060 Benchtop CNC, you need to find your order number and get yourself signed up for the 90 day Free Trial via this link: YoraHome & Carveco Partnership.
Then, what you ask?
Well, first things first, this is NOT a replacement for Easel – you will still need to use Easel or another Universal Gcode Sender (UGS) to send the instructions to your machine, but and this is a massive grown-up but, not a little baby but – those instructions that you can create in Carveco will blow you away!
When you get your code and download the software, you are met with a clean, sharp interface:

First things first, go to Getting Started.

This opens the basic guidelines for Carveco, obviously the best place to start.

Having read and re-read the guide, go back to the front page, and click on New Model.

This opens the box where you can set your material dimensions, you can change these later anyway – one of the things that I liked most about the Carveco videos was that they showed how to put right any mistakes you might have made in your setup.
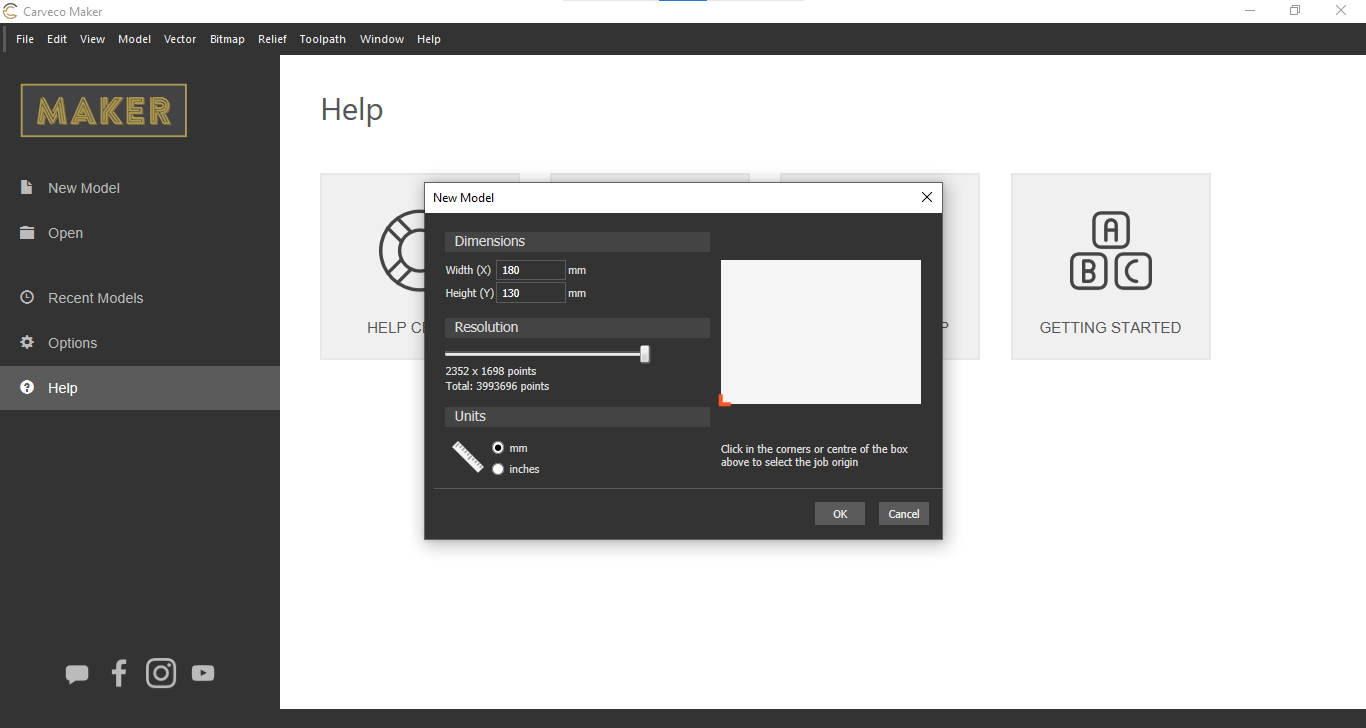
Once set, click OK and there is your design space:

Now I have no intention of trying to explain all of the features and how to use them at this point, as the video tutorials provided by Carveco in their Fundamentals Training do a brilliant job of explaining it all, besides I only downloaded it a couple of days ago and I’m still getting used to it.
Couple of things to point out now, if you don't already have a 3-button mouse to use with your computer/laptop, get one! There are various useful functions that you need to use the middle button for along with using left and right buttons for other functions.
Also, when you have finished designing your piece, you need to save the file(s) in the format to be used in Easel or whatever CNC software sends instructions to your machine. You choose the appropriate "post-processor" from the huge list available.

Don't be fooled into using the 3018 post-processor unless you intend to use Candle; if you're using Easel, find the Easel one and use that. When you open Easel, you can then directly import the GCode file.
Let’s just say the opportunities with this software seem to be endless –
With the free clipart gallery of 3D models to try out, you may find that 3D carving is your new thing.

In-built tools allow you to identify and fix problems with vector images that you want to use, smooth relief images, invert the relief, create inlays, create vector text, draw shapes, import images, import 3D models and, and, and…….
Oh, and did I mention you can use it for generating files for carving and with your laser!
I will be doing a series of blogs on using Carveco with the Yora 3018-Pro trying out relief carving, 3D, inlays, VCarve photos, etc.
This collaboration between Carveco and YoraHome now opens up even more prospects for growing your side-hustle or just for designing and making things for your own home, or presents for friends and family.


Get The Freshest Content
Straight To Your Inbox
Join over 3,000 creators who receive premium content, exclusive discounts, and all the must-know info on a weekly basis.