How To Laser Engrave Canvas With LaserGrbl

If you are a YoraHome customer, you may know me from YoraHome's Facebook group.
When someone has a question, I always try to use my experience and skills to help, whether it be a question about using the Yora 3018-Pro with laser, or my present favourite, the Yora 6550 with 40W Yora Laser Module.

First, a bit of back story. Several months ago, after hearing a few people saying they were unable to successfully engrave on canvas, I decided to challenge myself and see if I could figure out the “secret”.
While I was eventually able to successfully engrave canvas, what I learned in the process was that not all canvases are created equal. Out of the half dozen (or so) brands that I tried, only one worked. With the rest of the canvases, either the laser made no mark, or it burned right through (depending on power settings).
While I had successfully engraved a canvas, I always considered it a partial success, since it required a particular brand of canvas. Fast forward a few months. Looking at the stack of “useless” canvases I had from my previous tests, I decided to revisit canvas engraving and see if there was a way to make it possible to use any canvas. Fortunately during my time focusing on other things, other people had done the heavy lifting and figured out how to do it.
It’s that process that I will be covering in this blog.
To begin with, you will need:
- A canvas (I recommend having two, so you can use one for testing power settings)
- White acrylic spray paint and,
- Clear acrylic spray paint.
- I also recommend having some “canned air” (Computer Duster) or a small computer vacuum.
The first step is preparing the canvas. Using the white acrylic spray paint, spray an even coat over the entire canvas. Allow time to completely dry (12-24hrs).
Once the paint has completely dried, the canvas is ready to burn.
Once you’ve selected an image, it’s time to set things up. This is where a 2nd canvas comes in handy. You want to use enough power to burn the image, but not enough to burn through the canvas.
Having previously done this particular brand of canvas with my laser, I knew the speed and power settings I would be using, so I didn’t need to run a test. But, you will - set yourself up a grid and try different settings and speeds until you reach the degree of burn you’re after. We all have different preferences, some like a really dark burn, others the lighter marks, the choice is yours.
That’s the great thing about the YoraHome Laser Engravers, there’s such a choice available. You can pick the machine that fits your needs for size and power, from the Yora 3W mini desktop laser engraver, to the 3018, 6550 or the big beasts on their way shortly with the new Yora CO2 and Fiber laser engraving machines (just a bit of patience for those better and improved versions, they will be worth waiting for).
Like everything else you engrave, focus is important. You want to first make sure you have a pinpoint focus.
So, the canvas has been prepped, focus has been adjusted, and speed/power testing has been completed.
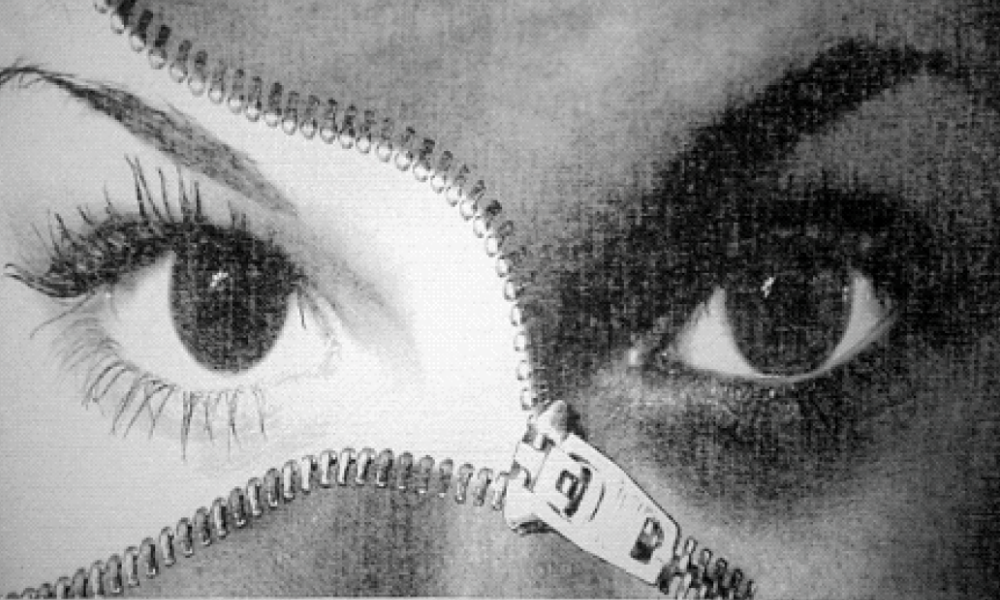
Time to burn. Because the image I am burning has shading, I will be using the same conversion that I use when doing portraits and other photographs – 1 bit BW Dithering. There are several Dithering options than can be chosen. I prefer SierraLight. You may find other options give you the results you want. For Direction of the burn, I went with Vertical and set my Quality to 8 lines/mm. In my experience, a Quality of 8 or 9 is usually sufficient for photographs/portraits.
The next step is adjusting Brightness/Contrast/White Clip. This may require reloading the image and adjusting it a few times before you get it to where you want it. Patience is the key, keep adjusting until you get it just right.

The next step is setting your Speed, Power, DPI, and Size.
This is being done on the Yora CNC Laser Engraving Machine 6550 using the 40w fixed focus laser.
From previous testing, I knew that my Speed should be 1400 and my Power should be 50%. I set my DPI to 300 to match the DPI of the image I was using and set my size to go edge to edge on the width of the canvas. These figures may not match your tests but each machine will be a little different, as will the canvases.

The final step is viewing the image on the “burn screen” (red screen). You want to make sure that you can see the shading and detail in the image. If needed, this is when you would reload the image and adjust the Brightness/Contrast settings. If you’re happy with the image, it’s time to burn.

The length of the burn is dependent upon a few things:
- Size of image,
- Complexity of image,
- Quality Setting,
- Speed Setting, etc.
For this particular burn, it took just over 9 hours (including 10min cool down periods every hour).

After the burn was completed, I used "canned air" to remove any ash from the canvas and then sealed it with a coat of clear acrylic spray paint.

Hopefully, I’ve taught you something, or given you the encouragement to try canvas if you haven’t already done so. Overall, using this method makes it fairly simple to do canvas engraving without having to worry about finding the right brand of canvas.
One last thing I want to mention. Although I chose to do this in one pass, due to the texture of canvas, doing two passes, in different directions, will result in a smoother finished look. When doing two passes, in order to avoid burning through the canvas on the 2nd pass, you want to reduce the power for both passes. It normally works out to about half of the power you would use for a single pass, but you’d want to test settings for a double pass during the testing phase.
After the first pass is complete, leave everything exactly where it is and reload the image. Change the direction of the burn (I usually do diagonal for the first pass and vertical for the second pass) and make any changes to power and/or speed that you may need to do.
While doing two passes will double the time it takes to complete a burn, the end result is usually worth the extra time.
One of the great things about YoraHome is that we are all happy to share what we learn along the way and the backup and service from the company is second to none!
Get The Freshest Content
Straight To Your Inbox
Join over 3,000 creators who receive premium content, exclusive discounts, and all the must-know info on a weekly basis.


