


 LIMITED TIME
Last Sale Of The Year!
Up to 20% off at checkout on the YoraHome Store.
Grab All The Yoras You Want!
Carving Machines
15% off Yora 3018-Pro Machine
15% off Yora 3018-Pro Accessories
$100 off Yora SilverBack Machine
8% off Yora SilverBack Accessories
15% off Yora Router Bits
Laser Engravers
15% off Yora 6550 Machine
15% off Yora 6550 Accessories
15% off Yora Mini Laser Engraver
15% off Yora Draw
$200 off Yora CO2 Laser Engravers
$200 off Yora Fiber Laser Engravers
3D Printers
$10 off Yora Ender-3 V2
$30 off Yora CR-6 SE
$40 off Yora Ender-5 Pro
→Each printer comes with 3x Free bonus items
3D Filaments And Accessories
20% off Yora PLA Filaments
15% off Yora 3D Printers Accessories
1x Free Yora Filament Dryer For 1x 3D Printer + 5x PLA Filaments or 10x PLA Filaments
Woodworking Tools: 20% off
Home And Office Accessories: 20% off
Get Amazing Free Items With The Gorilla Bundles!
#1: 1x Free Yora 3018 Essential Bits For 1x Yora 3018 + 1x Yora 6550
#2: 1x Free Yora Rotate Module For 1x Yora 6550 + 1x Yora Draw
#3: 1x Free Yora Filament Dryer For 1x Yora 6550 + 1x 3D Printer
#4: 1x Free Yora TLC Rotary For 1x Yora 3018 + 1x Yora 6550 + 1x Yora Draw
#5: 1x Free Yora 6550 Z-Axis, Drag Chain, Air Assist and 3D Led Lamp For 1x Yora 3018 + 1x Yora 6550 + 1x Yora 3D Printer
Terms Apply
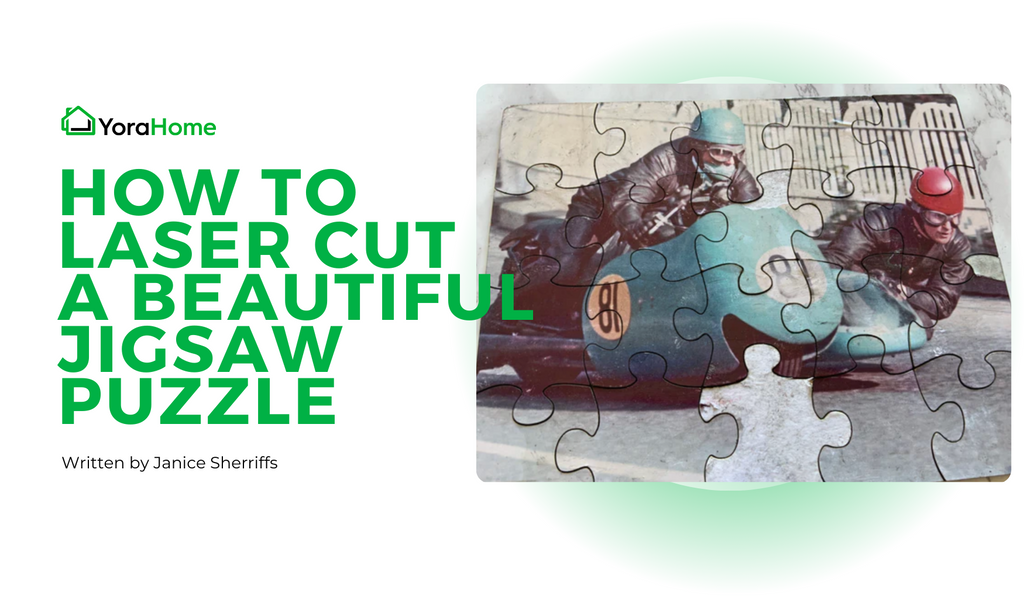
How To Laser Cut A Beautiful Jigsaw Puzzle

Before the days of PS5s and Xboxes, those of us of a certain age made our own fun. If we weren't playing outside, building dens or tree houses, or making mud pies, or if it was raining heavily, we could usually be found inside playing games and puzzles.
I loved jigsaws, old school I know, but great fun. Putting the pieces together to make the picture complete felt so gratifying, I probably wouldn't have used that word, but it was.
I've seen personalized jigsaws before now, so I thought I'd have a try at making one with my YoraHome Laser Engraver Cutter coupled with a 20W Diode Laser.
1. How do you Make your own Jigsaw Puzzle?
Taking things back to simple steps, the first thing to start with is to generate the actual puzzle using Inkscape To do so, you do need an extra extension. This is the dull bit, but I promise it's all worth it.
2. How do you add an Extension in Inkscape?
Open Inkscape.
Using Inkscape for your laser projects is always fun, but you can even make a jigsaw using it. You need to add an extension. So, using Google search for Inkscape jigsaw extension.
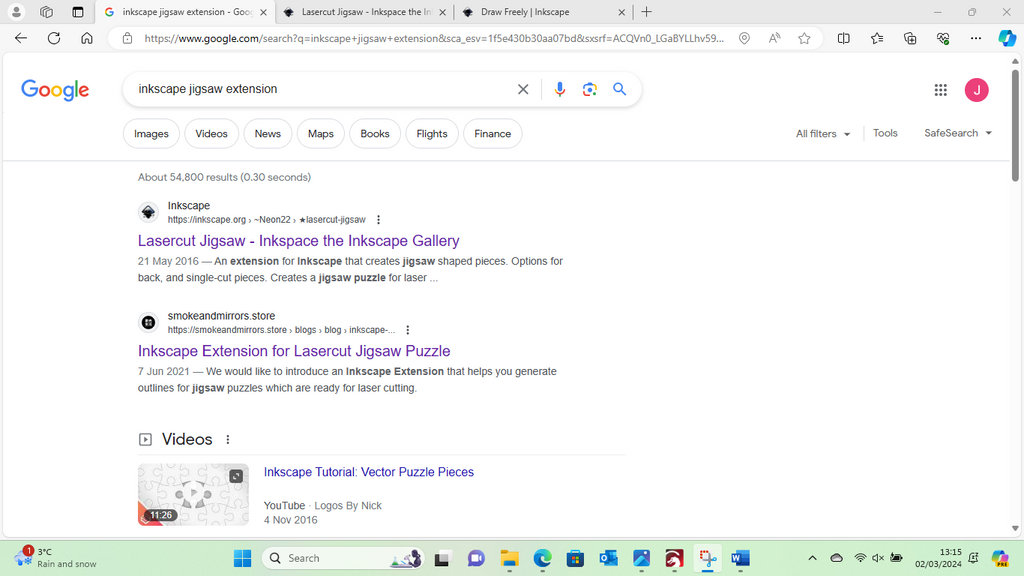
You are looking for Lasercut Jigsaw - Inkspace the Inkscape Gallery or just use the link.
Click on the Lasercut Jigsaw logo.
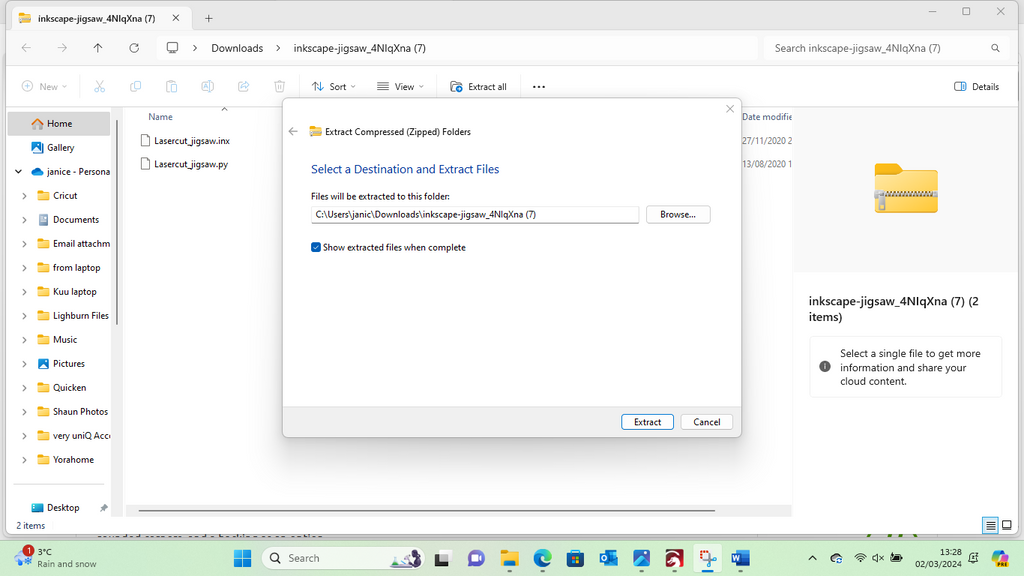
The download box will open in the top right corner of the page.
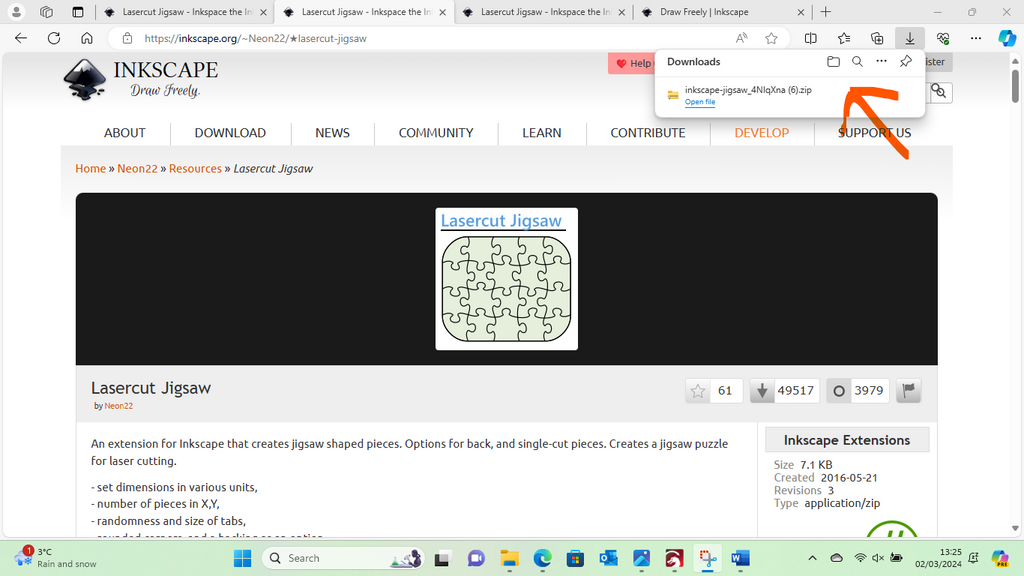
Open the page and extract all.
Return to your Inkscape software.

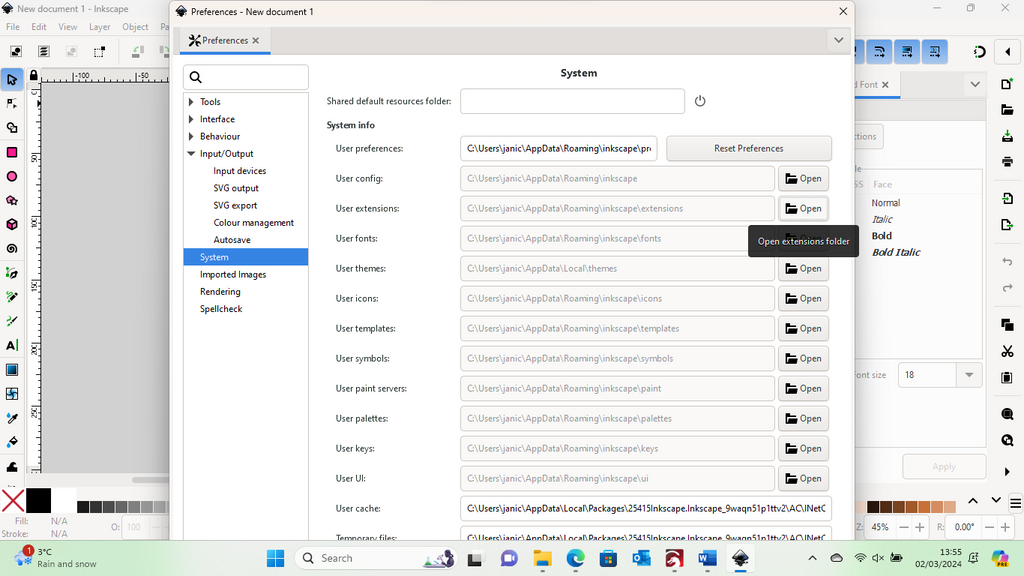
Click on Edit and scroll down to Preferences

Open System

Click on User extensions
Open the file.
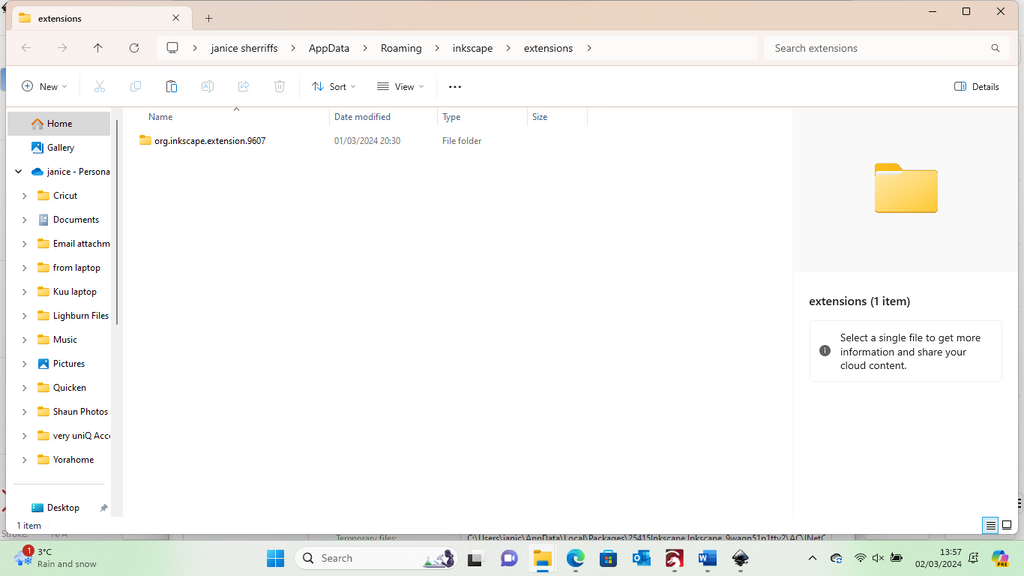
Then open that folder.

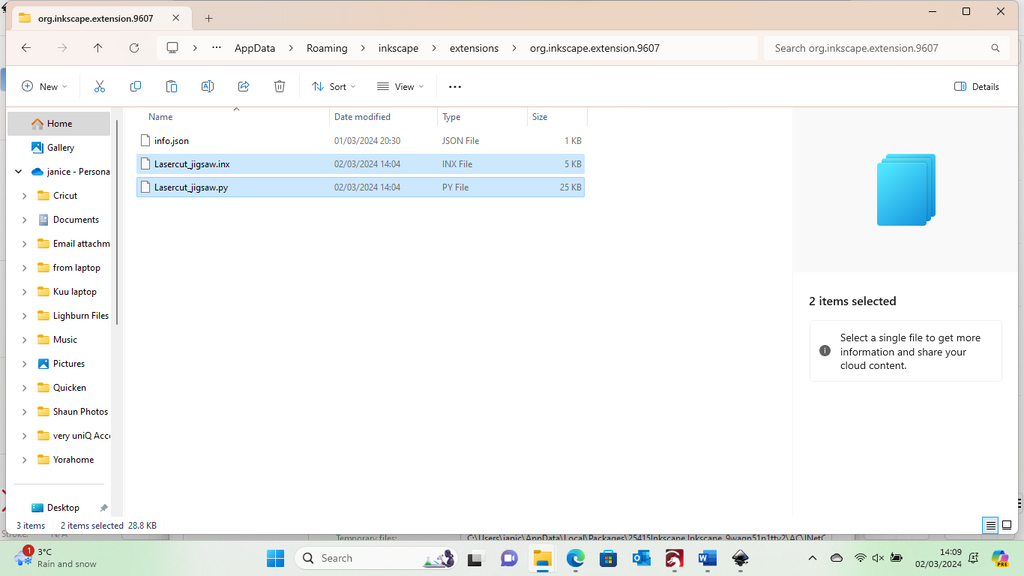
Go to downloads file and find the extracted files, copy the two files
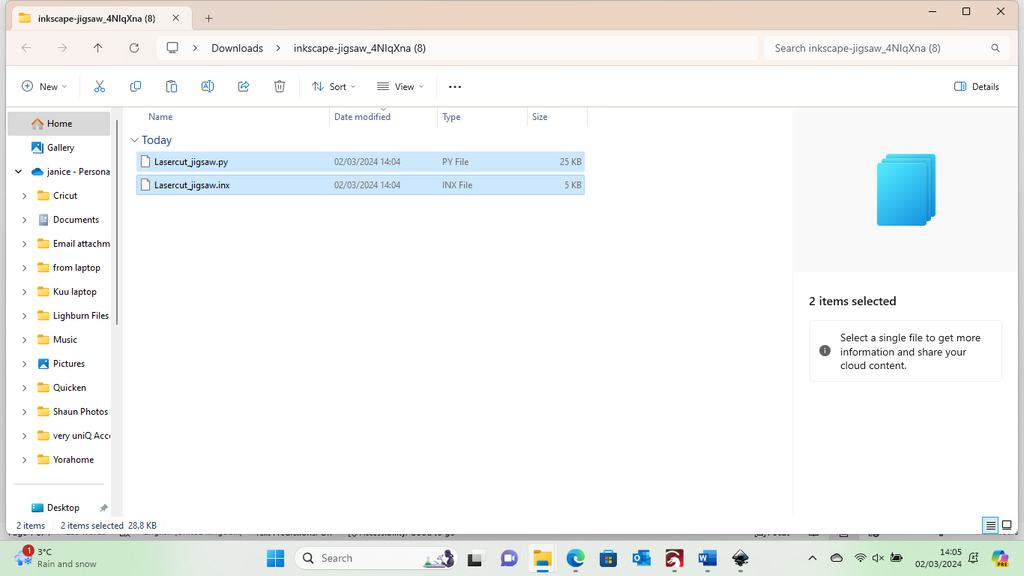
Paste these two files into user extensions.
Close Inkscape software, then re-open.
3. How do you Design your Jigsaw Puzzle?
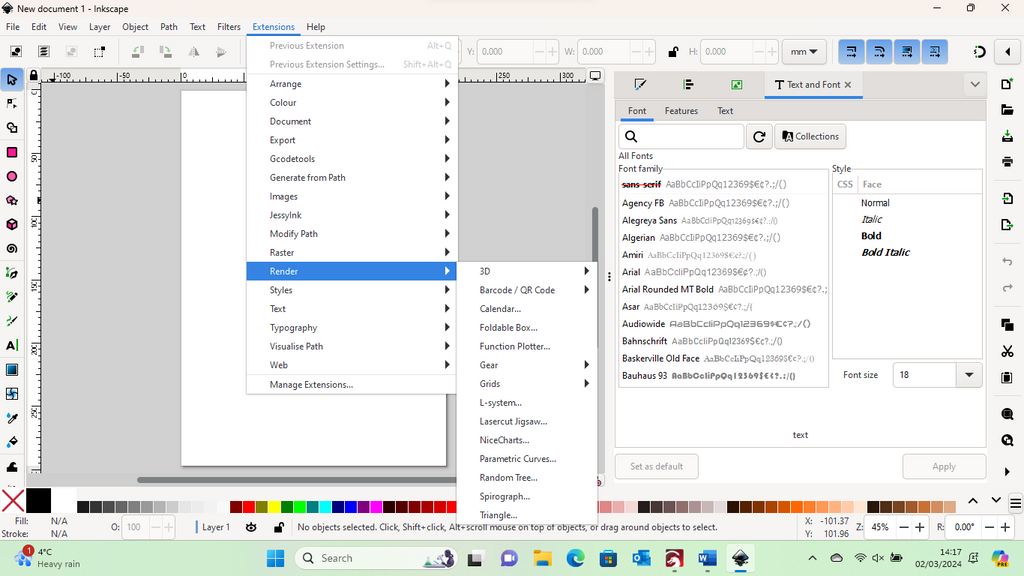
In Inkscape, go to Extensions, scroll down to Render, and on the right is Lasercut Jigsaw – click on this
Opens Lasercut Jigsaw dimensions box

You can adjust the size and number of pieces etc. Consider the image you're going to use.
Click Apply to open the Jigsaw in Inkscape

Click File, then Document Properties

Click on Resize to content
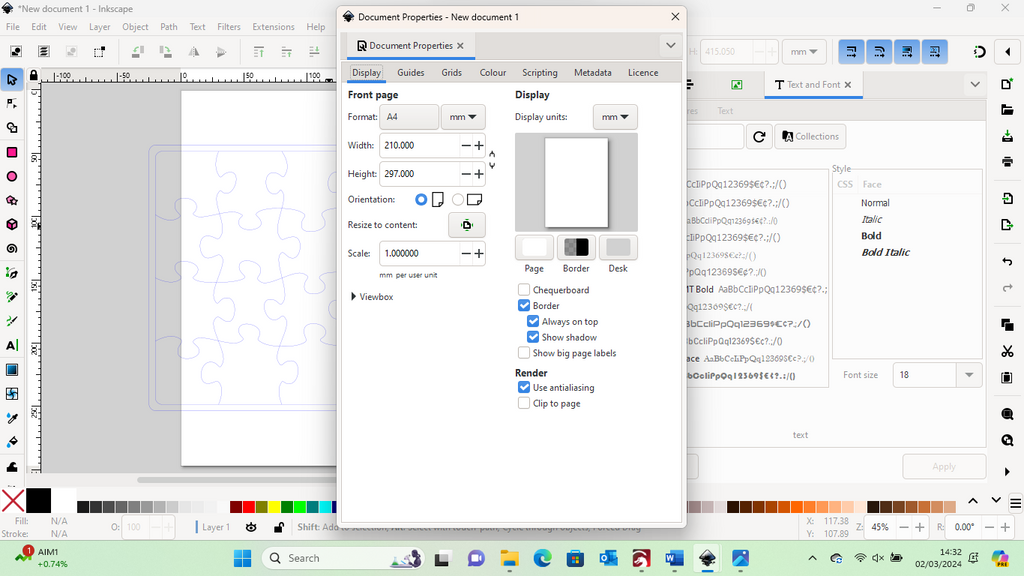
Close the box to view the jigsaw image
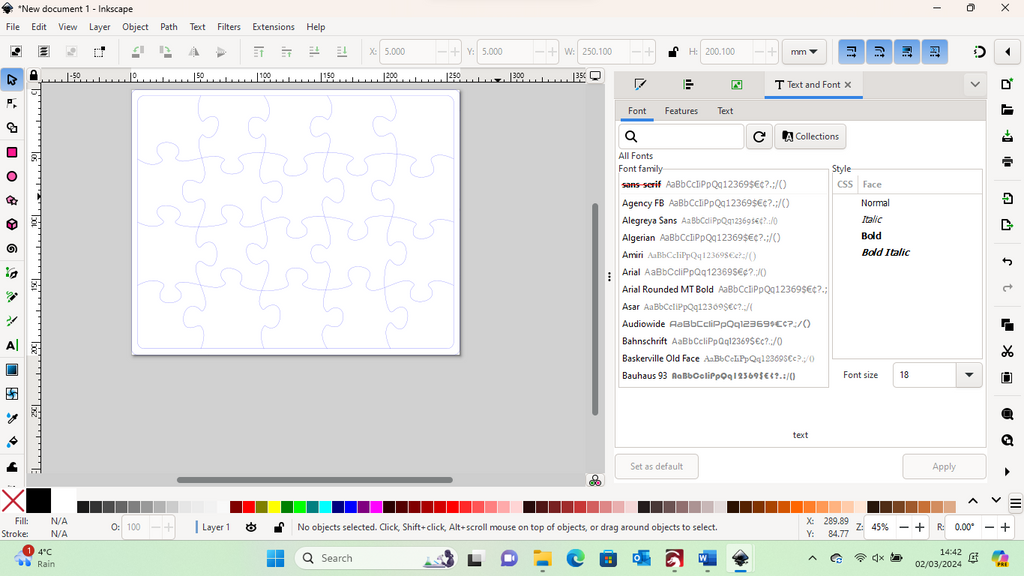
Save the svg

Dull bit over now, I promise.
4. How do you add your image to your Jigsaw Puzzle?
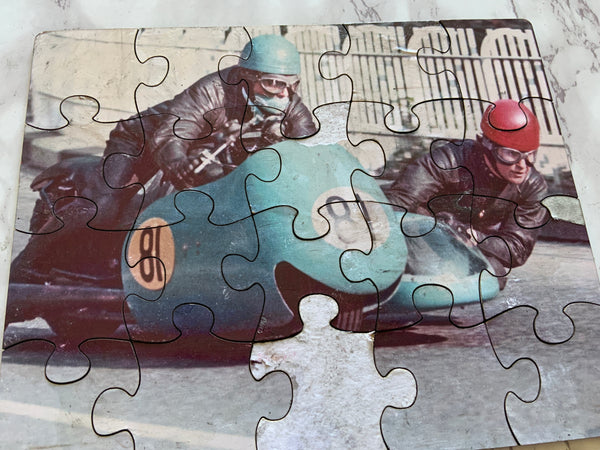
You can of course laser an image in the background and then cut the pieces. However, when you think of a jigsaw, it's usually a photograph. I only ever seem to use one photograph in my projects and why not when it's such a brilliant photo of my dad racing?

You can print the photograph you want to use on photo paper to match the size you set in the jigsaw dimensions. Leave this to dry completely.
Gently sand your piece of wood, I used 2.5mm birch ply and gave it a light sand to make sticking the picture to it easier.
Using spray adhesive on the back of the photograph and the wood, leave it for a minute or so and then put it in place. Use a roller or something similar to ensure it's well stuck down. Again, leave this to completely dry.
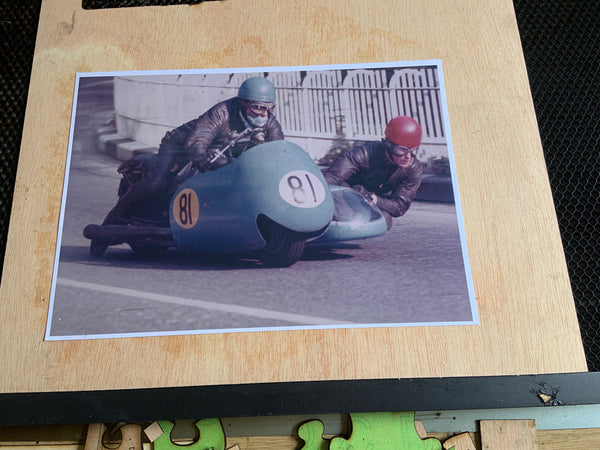
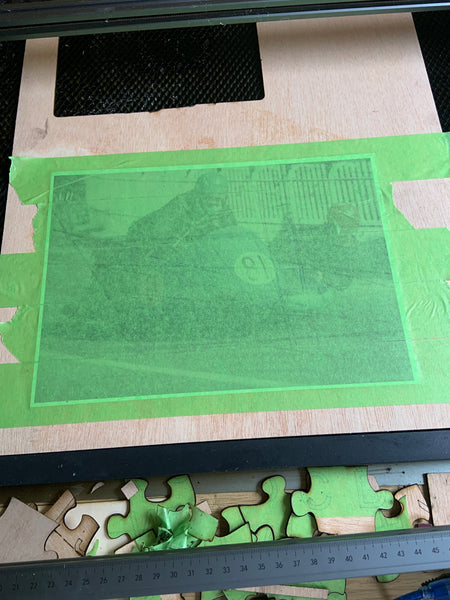
You can mask the photograph with painters' tape, masking tape, etc, before lasering.
5. How do you Test the Cuts before Cutting the Jigsaw Puzzle?
You want to be certain that your pieces will cut smoothly and then fit back together and be sure that you won't destroy your image through soot damage or burning. And finally, you want to know that when you remove the masking, that you photograph will remain intact and not be pulled off the wooden backing.
Here are a few photographs of some of the disasters I had and the reasons why, to help you prevent making the same mistakes.
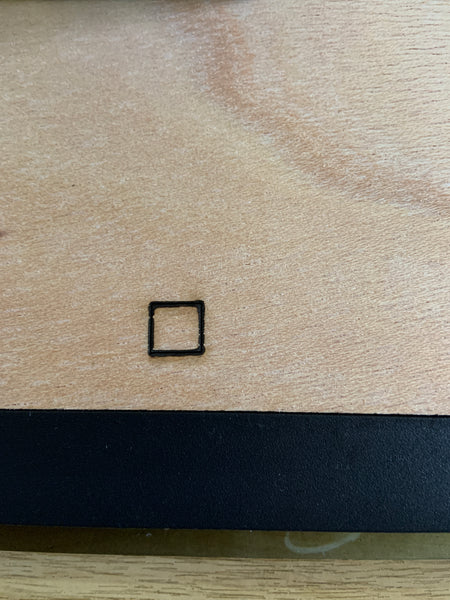
Check that you can cut through the material you plan to use, without burning it too much.

Adjust the size of your jigsaw to the size of your photograph.

Make sure the masking tape you're about to use will not remove the colour of your photograph - major disappointment!!!
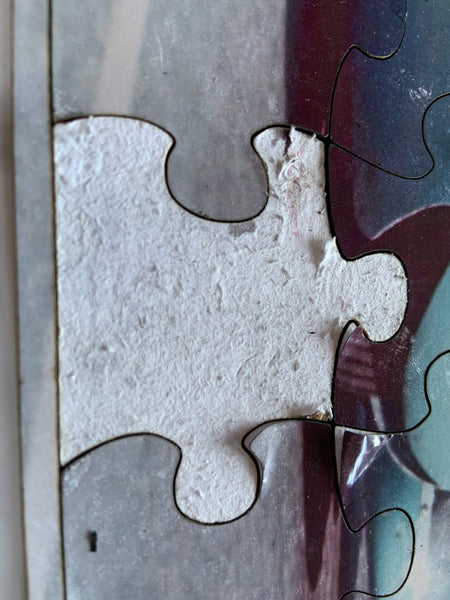
Don't get carried away when you're removing the masking, you might just remove the picture at the same time. (Even bigger disappointment)
6. How do you cut the Jigsaw Puzzle ?
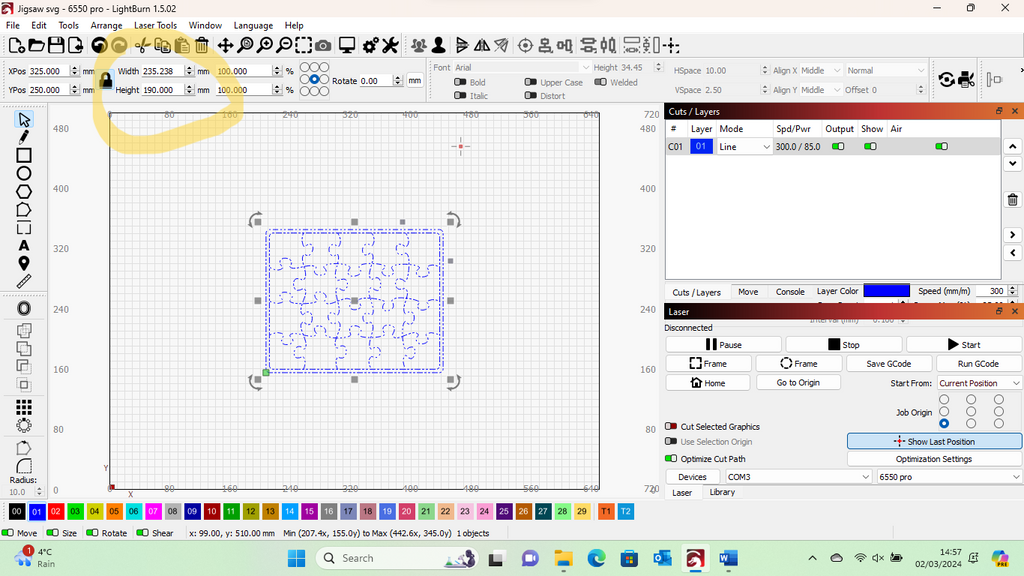
Open LightBurn and the jigsaw svg that you previously saved.

Adjust the line, speed & power following your tests.

Having placed your piece of wood with your image on your YoraHome Honeycomb Platform adjust the laser height using the adjustable Z axis, for correct focus. Then using the frame tool in Lightburn, check that it will cut around the image as you want it to.
You can make minor adjustments to the size of the jigsaw at this point, or even move it around to get the best options. If you print the image you plan to use, a little bigger than your jigsaw, you will be able to place the image where you want.
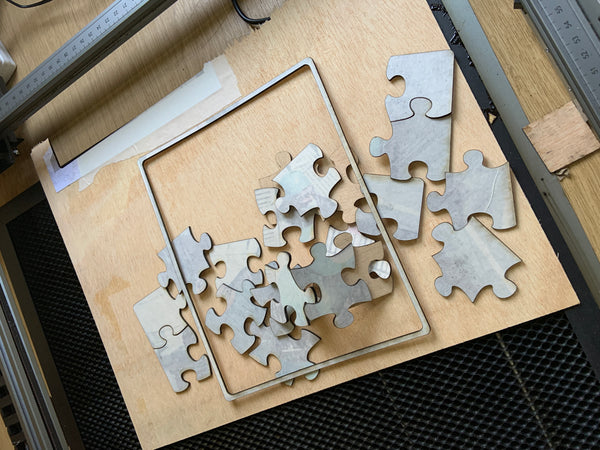
Start the laser, and watch it start to emerge.

Once completed, you can remove it from the machine bed and start to remove the masking VERY carefully!
If you find a couple of areas have started to peel away, you can use a little extra glue to re-attach.
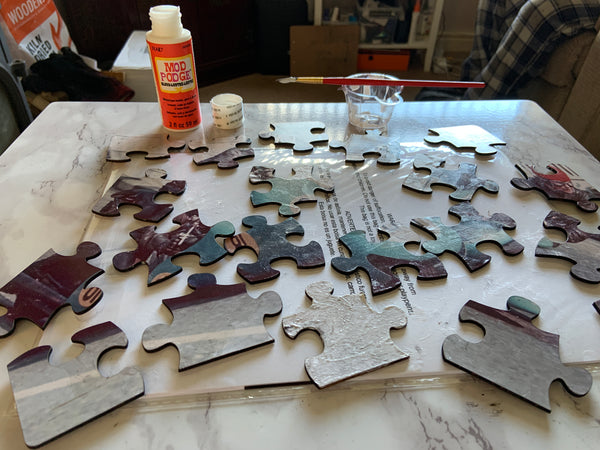
I used Modge Podge and then covered all the jigsaw with it to give it an extra bit of shine and to make it more durable.
A couple of pieces didn't fare quite so well on removing the masking, however, the rest of it looks amazing in my opinion.
Conclusion
Anyone would be happy to receive a personalised jigsaw, made with your YoraHome Laser Engraver Cutter.
Remember with the large bed size, you could even make a huge jigsaw!
I also thought of doing jigsaws with numbers and the alphabet using the laser to outline them, and then painting with various colours.
Being able to adjust the size and number of pieces for each jigsaw project means you can make age-appropriate puzzles.
As ever, the options for what you can make with your YoraHome machines are endless.
Have Fun and Happy Puzzling!


Get The Freshest Content
Straight To Your Inbox
Join over 3,000 creators who receive premium content, exclusive discounts, and all the must-know info on a weekly basis.