


 LIMITED TIME
Last Sale Of The Year!
Up to 20% off at checkout on the YoraHome Store.
Grab All The Yoras You Want!
Carving Machines
15% off Yora 3018-Pro Machine
15% off Yora 3018-Pro Accessories
$100 off Yora SilverBack Machine
8% off Yora SilverBack Accessories
15% off Yora Router Bits
Laser Engravers
15% off Yora 6550 Machine
15% off Yora 6550 Accessories
15% off Yora Mini Laser Engraver
15% off Yora Draw
$200 off Yora CO2 Laser Engravers
$200 off Yora Fiber Laser Engravers
3D Printers
$10 off Yora Ender-3 V2
$30 off Yora CR-6 SE
$40 off Yora Ender-5 Pro
→Each printer comes with 3x Free bonus items
3D Filaments And Accessories
20% off Yora PLA Filaments
15% off Yora 3D Printers Accessories
1x Free Yora Filament Dryer For 1x 3D Printer + 5x PLA Filaments or 10x PLA Filaments
Woodworking Tools: 20% off
Home And Office Accessories: 20% off
Get Amazing Free Items With The Gorilla Bundles!
#1: 1x Free Yora 3018 Essential Bits For 1x Yora 3018 + 1x Yora 6550
#2: 1x Free Yora Rotate Module For 1x Yora 6550 + 1x Yora Draw
#3: 1x Free Yora Filament Dryer For 1x Yora 6550 + 1x 3D Printer
#4: 1x Free Yora TLC Rotary For 1x Yora 3018 + 1x Yora 6550 + 1x Yora Draw
#5: 1x Free Yora 6550 Z-Axis, Drag Chain, Air Assist and 3D Led Lamp For 1x Yora 3018 + 1x Yora 6550 + 1x Yora 3D Printer
Terms Apply
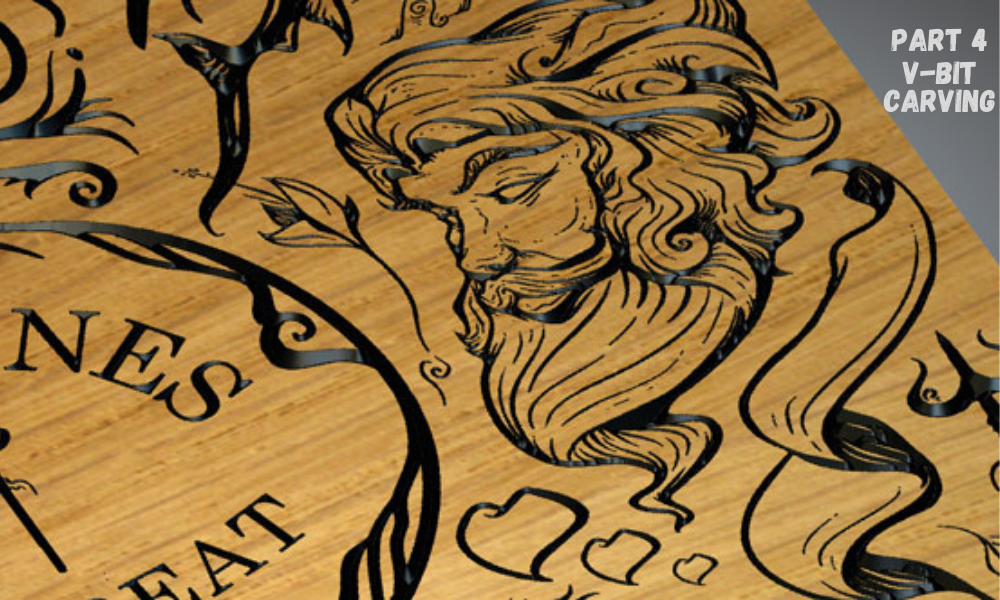
Getting to Grips with Carveco | V-Bit Carving Photographs (Part 4)

Continuing with the YoraHome & Carveco collaboration to use the top-of-the-range software with the best machines on the market, this is the fourth part of the “Getting to Grips with Carveco” series.
Quick catch up if you’ve missed it, if you own a Yora CNC Carving & Laser Engraving Machine 3018-Pro or one of the soon to be available Yora SilverBack 6060 Benchtop CNC.
For those of you that have been following along through the series of blogs, you will be happy to hear we have reached the “sexy” end of carving, now we’ve got to grips with the basics!
This time, I’m going to go through V-carving a photograph; this method will give you a whole new aspect to carving and producing goods to gift to friends and family or to sell to customers.
I am honest enough to admit I made quite a few mistakes when I started trying this out, so I will point you in the right direction and hopefully save you some time and frustration (and materials).
So, first thing as always, open Carveco and click New Model, which opens the box where you set the dimensions and resolution (crank this up to high).

Click OK and this will open the workspace and the Project Menu.

Click on the Relief Tab, then Import and Import again.

This opens the files on your computer where you can choose the photograph you want to use. Then, click Open.

The picture is of my daddy Vivian Sherriffs and his racing partner Colin Appleyard at the Isle of Man TT, many, many years ago……and yes he's the brave one hanging off the side.

When you click Open, the photograph gets placed on top of the workspace at the size the software thinks the photograph is (it uses the number of pixels and takes them to be mm).

Change the measurements for width and height and check the Z range – this really does not want to be much more than 1 mm, perhaps 1.1, but I went with 0.9 mm.

Click Apply and the picture will probably disappear from view.

Click Fn & F9 to centre the image again.

You can choose the origin position, then check the Paste Mode is set to Merge High and then click Paste.

This pastes the image and you can if you choose, draw a shape (click on the rectangle icon on the left-hand toolbar) around the image so that the whole of the material does not need to be carved and you can choose just the area within the shape’s vector line, click Create.

Next, click on Toolpaths on the Project menu, which opens the Toolpath Operations area.

Click on the Machine Profiling Toolpath icon to open the Machine Relief menu.

In Area to Machine, you can choose the Whole Relief, Automatic Boundary, Selected Vectors or the Default Layer, I used Automatic Boundary to machine within the shape boundary.

When you click Automatic Boundary, further options will open, Inside the Vector will machine inside the shape drawn, you can also put an offset (I started with 0.001 mm).

Click to Select – Finishing Options, to open the Tool Database.

I chose the v bit that I had previously edited to the settings I wanted, click Select.

In Tool Clearance Strategy, confirm that it is set to Raster, you can adjust the angle, I tend to use 45 and a Tolerance of 0.01 mm.

Click to Define Material, this opens the Material Setup box, where you enter the material thickness.

Type in the name for the toolpath and click Calculate Now.

(I had adjusted the offset to 0.002 mm), the calculation does take some time, so a little patience is required at this point – not too much, I don’t have a lot...

Once calculated, right click on Toolpaths on the Project menu to open the options, click on Simulate All Toolpaths.

This will open as the image you will carve, if you’re not happy with how it looks, you can go back and change your offset slightly (I did) or your tolerances, until you achieve something you’re happy with.

Click on Save Toolpaths.

Ensure you will remember the name of the file – this can be different to the toolpath name, probably better to have them the same, click save and then close the box (X in top right).

Then click File in the top left and Save as to save the complete model.

Again, the same name probably will make life easier.

At this point, you can close Carveco and open Easel.

Open a New Project.

Set the Material, Dimensions and the Bit, then click on Import then G-code.

Click Choose File in the G-code Import box.

Choose the Toolpath and click Open.

This will display the toolpaths in Easel.

Once the zero point has been set and you click carve, the Importing G-code statement will open, click I Understand.

Then go through the normal steps of confirming material thickness, etc. Then Carve.
So, what does this actually produce in the end?
As I said I made mistakes, so here are a few, so you don’t have to make them:
Using ply with a very thin laminate over the top meant that the image got lost in parts.

Using a very pale pine, makes the image difficult to see unless you are in the right lighting.


After a bit of checking across the web, I found a suggestion to put wood oil on the image to enhance it and it really did make a difference.

And, what should be the best if I’d had my brain in gear and treated the image as I would have done on slate. I got my other half to spray some MDF black and then carved it, I should have inverted it, I will next time, but overall, I love the effect.

The more I thought about it, the more I wanted to re-do it to see how it came out, but it was such an unmitigated disaster I am too embarrassed to show it, hahahaha, word to the wise don't try to improve things by making them deeper when you don't need to, or you just clear out the whole space.
I know that the talented customers that YoraHome has will really be able to push these techniques – I saw one V-bit photo, that someone back-filled with epoxy resin and then sanded back down to the image – wow!
Between the top of the range software, Carveco Maker and the best machines on the market, from YoraHome you will produce amazing items, all you need to do is start.
Join the Yora family if you haven’t yet, and your only regret could be that you didn’t join in sooner!
Coming next, 2.5/3D carving for everyone!!!


Get The Freshest Content
Straight To Your Inbox
Join over 3,000 creators who receive premium content, exclusive discounts, and all the must-know info on a weekly basis.