All You Need To Know About The Cut Settings of The Yora Diode Lasers

OK, so you’ve made your decision, it’s time to get yourself a laser engraving machine, you’ve looked at your options and made your choice. It’s got to be the Yora CNC Laser Engraving Machine 6550.
One of the most commonly asked questions when you get your machine is "What settings do I need to use to cut "xyz"?"
And oh, if only there was a simple answer to that question. If your Google searches have proved as fruitful as mine, you’re reading this in the hope that I have found the elusive answer...
What I have done is tried various materials using my 15W Yora Laser Module, set at approximately 1.75 inches – 3.5/4 cm from the material, focused to the smallest point possible.
I am a big fan of LaserGRBL but since some people use other software, I’ll try to explain my settings in the easiest way I can.
Speed and Power are the two things you need to concentrate on when trying something like this. In LaserGRBL, the settings start from when you import your design – I used a square that I’d saved as a jpeg.

My parameters were then:
- Conversion Tool: Line to Line Tracing
- Direction: Horizontal
- Quality: 6.000Lines/mm

Then, click on the Next button for the Target Image Settings:
- Engraving Speed: 300 mm/min (unless stated otherwise)
- S-MAX: 5000 (this is just the max power that the laser can provide – matching the S-MAX figure ($30) in the GRBL settings
- Size: W 20 H20

Next, Power and Speed:
- Power in LaserGRBL goes from 0.1 to 2.0
- Linear (speed when burning) goes from 0.1 to 2.0
- Rapid (speed when not burning) goes from 0.1 to 1.0 (no need to change this)

So, to keep everything simple, I used everything the same unless it says otherwise other than power and speed.
Oh yes and number of passes. I can be a terrible nerd at times, and proud of it, of course I got myself an index card system.

And, I printed up the cards with the following: Material, Power, Speed, Number of passes. The cards are big enough for me to attach the cut pieces to as well.

Well, actually they are big enough for me to put a lot more information on, perhaps Testing 2.0.
This wasn’t a quick process by any means, but it will be of huge assistance to different projects in the future.
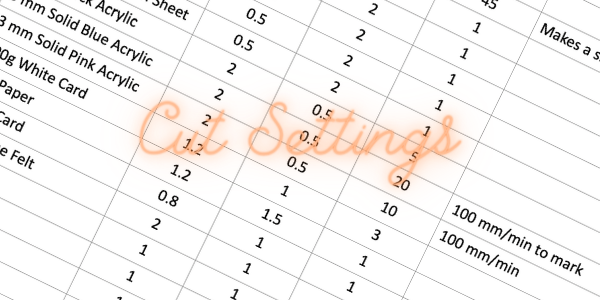
Before I list what I found, I must point out that these figures will give you and your machine a starting point to work from. There are no guarantees that these settings will work for you (fingers crossed they will).
Remember I used a 15W, so if you’re using a 5.5W or a 3W, you would have to adjust the figures. Thinking that some things require full power with the 15W, the only things you could do, would be to slow your speed and/or increase the number of passes; but not everything will cut, even with a 15W.

Well, that’s a start on cutting guidelines, I think I’ll do the same for etching, any excuse to get my Yora CNC Laser Engraving Machine 6550 fired up.
If you’re still wavering about getting one, look at the list above as to what you could cut out and make stuff with for you and your family and friends or as a business. Join the YoraHome family, you’ll be made very welcome!
Get The Freshest Content
Straight To Your Inbox
Join over 3,000 creators who receive premium content, exclusive discounts, and all the must-know info on a weekly basis.


