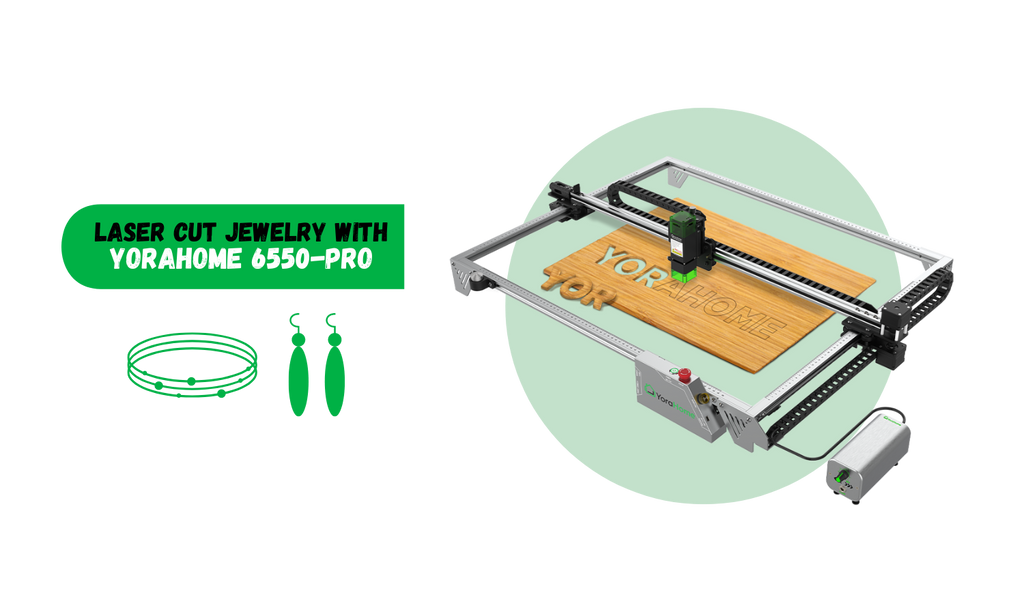
Laser Cut Jewelry With YoraHome 6550-Pro

There is no argument, I love my YoraHome CNC Laser Engraving Machine 6550-Pro and I am obsessed with what it is able to do, in particular the living hinge – see my previous blog Making A Living Hinge Using The YoraHome 6550-Pro.
If you happen to bump into me at a Craft Fair, I’m likely to force one of the wine boxes I made into your hands to show you how fabulous these hinges are!

And there have to be so many options to use them, doesn’t there? Oh yes, there is!
What To make?
The first thing that sprang to mind was jewelry, for example making bracelets or “cuffs”, whatever you want to call them.
To start you can do a search on sites such as Etsy for an SVG file – advice here – you may get lucky with a free file from a Google search, but not all of them will actually make the cuts as expected. Spend a couple of dollars/pounds and get a decent file to begin with and you can try others after that.
Opening LightBurn
Having got your file, open LightBurn.

When you open LightBurn, the blank workpiece will be waiting for you.

Depending on the file you’ve got, you may have received more than one option, so when you open it in LightBurn, you would have all of them on screen.

Splitting The Image Using Inkscape
The easiest way to split them is to use Inkscape.

Open the SVG file.

Select the one you want to use, making sure you select everything within it as well, by drawing a rectangle around the whole thing and use Control C.

Open a new document from the file tab, then Control V and your single item will be there. Then, using File – Document Properties, reduce the clear space around the design via the margins size and save the SVG

Open A New LightBurn File
Go back to LightBurn and open a new file, then open the single cuff SVG.

OK, so I’m not the most patient person in the work and like to run hard and fast on MY machine, so I set the first try at 200 mm/min 95% power. It would be more advisable to do 2 passes at 200 mm/min 50% power.
So, complete honesty here, I thought if I used 2 mm birch ply it would be ideal, nice and thin would obviously bend better, oh was I wrong. The problem with thinner birch is that once cut, it is too delicate and tends to break very easily

So, take try again with 3 mm birch ply and get a load of this!

And Next!
Flush with that success, there was a little voice in my head that said “Ooooh I wonder if……”, so it had to be done. Acrylic!
First thing to do was to check the focus point on the acrylic. You will notice I put something under the edges to lift the acrylic slightly off the bed.

Then a re-check of required settings for cutting – I left the covering on the 2.5 mm black acrylic on both sides, this prevented the acrylic shine reflecting the laser. The settings were 2 passes at 200 mm/min 50% power.

Once it ran, fingers crossed, it all looked good.

Once removed from the machine, it looked and felt like it should do what it was supposed to. The plastic covering just needed removing from both sides.

Now it's looking good, beautifully shiny on that side. Just the other side to do.

Putting the edges together, this made the bangle or cuff or bracelet or whatever you want to call it.

I call it gorgeous!!!

Conclusion
There is no getting away from it, the YoraHome 6550-Pro is an incredible machine that is capable of so much. I get excited every time I turn it on as to what I’m going to make next.
The YoraHome portfolio of machines goes from the Mini Laser Engraver, all the way to the 60W CO2 Laser Engraver Cutter, with everything in-between, and I haven’t even mentioned the CNC Routers.
There’s something to suit everyone. Start a new hobby or a side-business with YoraHome along with its fabulous US&UK-Based support today. You never know where this could take you.
Get The Freshest Content
Straight To Your Inbox
Join over 3,000 creators who receive premium content, exclusive discounts, and all the must-know info on a weekly basis.


