10 Things You Should Know About the YoraHome SilverBack CNC Router

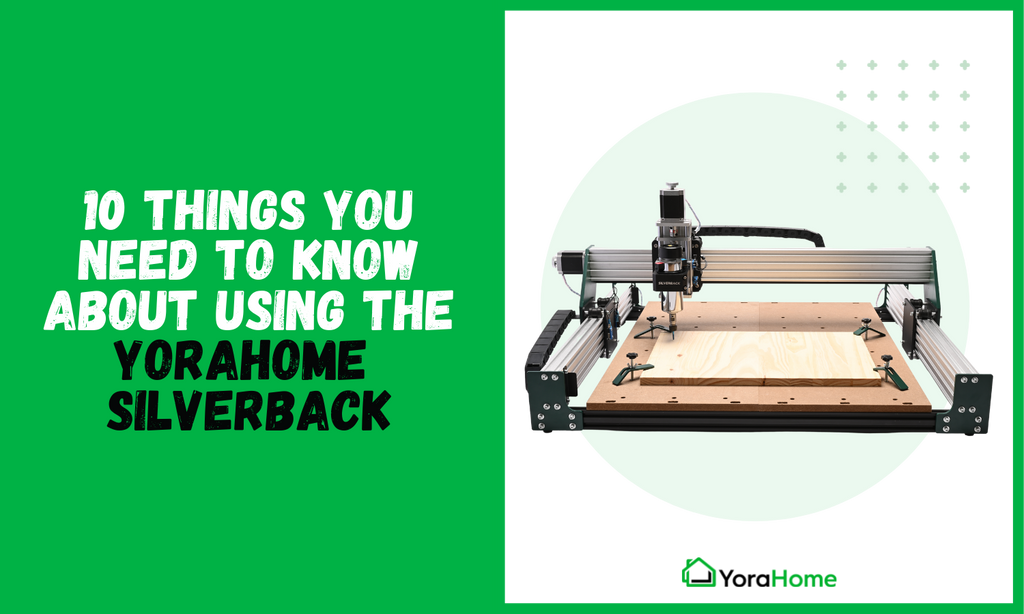
"Bigger is better" is another saying often used when it comes to CNC machines and the YoraHome SilverBack Benchtop CNC Router 6060 is bigger and better than the rest!
This fabulous machine was developed by the team at YoraHome, adding in all the factors that they would want themselves in a CNC machine. Their years of experience and desire for an ideal CNC machine produced the package now called the YoraHome SilverBack Benchtop CNC Router 6060.
This article will go through 10 + things you need to know about using the YoraHome SilverBack.
1. It's easy to build
OK, so when you open the box, it looks like there is a scary number of parts to put together, but on top of the excellent manual provided, there is a brilliant assembly video available below and made by Tony Paolillo, that guides you by the hand step by step to set up your machine perfectly.
Stop and start the video as you follow along and you’ll have the machine built and running in an hour or two.
2. You can operate it using free software
YoraHome recommends using Easel from Inventables.

Easel is available as a free web-based software platform that will let you design and carve with ease, letting you also import designs and images. For V-Carving and advanced toolpaths, you would need the Pro version of Easel (you don’t need the Pro version for the majority of things you’d want to do).
For more advanced carving of 2D and 3D projects, you will want another programm that will generate the toolpaths to then import into Easel. There are a few options including Carveco or Vectric Aspire.


– both have free trials available, so you don’t need to commit to one before you’ve tried it.
3. It comes with a large working area
There is no denying it, this thing is huge! Excuse my mess please.

The actual working area available is 60 x 60 cm / 24 x 24 inches, the footprint is 143 x 117 cm / 56 x 46 inches.
You will need some space to use this, but think of the opportunities it offers: wall carvings, flags, huge charcuterie boards and so on.
When I said the team put in what they wanted to this machine, they didn’t scrimp on any of the details:
- Exceptional low noise, and low heating micro step drivers
- High speed on all axis due to NEMA 23 Stepper Motors
- Higher precision due to Acme lead screws
- No chance to bang the machine into the frame due to the fitted Limit Switches
- Emergency Stop Button: No more trying to find the stop button on your computer
- Z-Probe: For easier setup on carving projects
- Cable management made easy with included Drag Chains
- Specially designed plate clamps to hold down your materials
- Arduino board loaded with GRBL Firmware which works with Easel, Vectric, Carveco, Fusion 360, and other commonly available CNC software
- The machine comes with a separate controller box with pause, resume, reset button controls
4. Easy to use for beginners or professionals
If you’ve followed all the instructions in Tony’s video, you are ready to go and just need to open Easel and click New Project to open the workspace.
Probably the easiest way to start carving in Easel once you’ve set up your machine is to click on the Import icon and then the Image Trace option.

You can then choose an image from your computer – Click Upload file, then click on the box above where it says Select Files to Upload, make it something simple to start with, such as the image I chose of the Leo constellation.

You need to adjust the image size, the bit size and your cut settings – there are plenty of guides and videos available on how to use Easel, so I won’t bore you with all the ins and outs of it.
5. Workholding included
The SilverBack comes with its own plate clamps – again designed by the team for easy use. The MDF spoil board has holes spaced out to take the clamps. They are simple to screw in to place to hold your material securely. (The photo shows the optional upgrade to the Makita Router).

You may use other methods to hold materials down including tape and glue, as you will see on some of my photographs.

6. It comes with a Z Probe to set your zero point
One of the best things about the SilverBack is that it comes with a Z-Probe for setting your Zero point.

When you click Carve in Easel, and follow the instructions, you will be given the choice of using a Z-Probe or Manual setting.

Just follow the steps and you’ll have the perfect start point for all of your carves.
7. Your imagination is the only limit to what you can carve
To show up better, I, ok my other half Shaun, painted the wood slice black prior to carving. This would show the carve off better for these purposes.

So that was a simple one, it won’t be long before you move up and get more confident and try out more complicated items. You just need to get used to the power and speed that you’re dealing with in this machine and your learning curve will be massive. Just take a look at some of the things people have done with their SilverBacks.
8. It's easy to switch to the optional laser
If you decide to use a Laser with the SilverBack, changing over could not be easier! You firstly need to switch off the machine completely and remove the wiring to the spindle, undo the nuts holding it in place and take out the spindle. If you have the Dust Shoe attached, as I have, you need to remove that as well - first.


Then, remove the insert for the spindle and replace with the other insert that comes with the machine, this is for use with the laser.

Put the laser in place and re-tighten the bolts. Flick the switch on the rear of the control box to Laser.

Attach the laser cables that come with the laser.

And you’re ready. How easy is that?
9. You got 2 popular choices of laser software
There are 2 main choices for software to use with the lasers.

And LightBurn.

LaserGRBL is free to use, but Lightburn does have a lot of features that make it very useable (again a free trial is available).
You may need to change the GRBL settings to use the laser, if they have not changed automatically, in LaserGRBL open GRBL Configuration.

Ensure $32 is set to 1 to enable the laser and $30 is set to 10000 which is your SMAX value.

In Lightburn, type $$ in the Console box where it says (type commands here).

This opens the GRBL settings, ensure $32 is set to 1 and $30 is set to 10000.
Again, plenty of guides and videos on using both types of software, so I won’t bore you with the details here.
10. More customizations possible with a laser
With the 15W and 40W lasers, use the aluminium spacer to set the focus, adjusting the height of the laser as required via the software.

For this trial, I used LaserGRBL and the same image as before, for comparison to the carve.

The laser gives you yet another option when using the SilverBack.

Getting Real
So, this mammoth beast of a machine will let you carve and laser up to 60 x 60 cm / 24 x 24 inches, with a powerful 400W Spindle Motor and a sturdy high quality aluminium structure, with options to upgrade to a Makita Router to give you even more speed or an expansion kit to take it to 1x1 m / 39x39 inches.
Definitely get a YoraHome SilverBack 2-in-1 Dust Shoe - you're going to make a lot of dust.

This may not be the CNC machine for everyone, but for woodworkers, makers, designers and entrepreneurs that want to take their opportunities to the next level, this beast is perfect.
YoraHome have everything from the Yora Draw with its 29.7 x 21 cm / 8.25 x 11.75 inches working area, through the Yora 3018 and the Mandrill 3036 getting progressively bigger to the SilverBack 6060 with its 60 x 60 cm / 24 x 24 inches working area.
This company can fulfil your desire to CNC for yourself, whether your dreams are small or massive!

Get The Freshest Content
Straight To Your Inbox
Join over 3,000 creators who receive premium content, exclusive discounts, and all the must-know info on a weekly basis.


