What You Need To Know About Laser Engraving On Slate

When I got my Yora CNC Carving Machine 3018-Pro, one of the first upgrades I got was the 5.5W Yora Laser Module.

Excited to try out different materials with it, I soon discovered that slate would become one of my favourite raw materials to use.
Here in the UK, we see slate as a regular building material in areas such as the Lake District, Snowdonia, and the Yorkshire Dales, with gorgeous little cottages being built from this stunning natural material.

In other areas, slate has been used as a roofing material. I had Welsh Blue Slate on my house in Yorkshire many years ago.

And, you only need to look at any home furnishings store such as Ikea, The Range, Pottery Barn and so on, to see the versatility of slate the way it can be used for signage, tableware and so on.
Well, why? What makes slate so good?

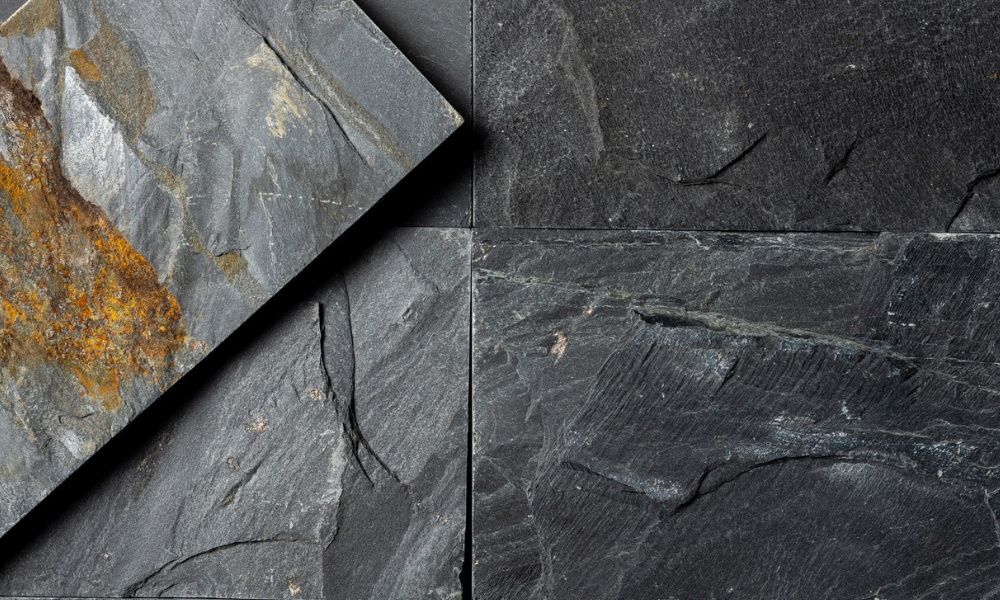
Slate is a fine-grained, clayey metamorphic rock that splits, into thin slabs that have great tensile strength and durability. Slate can appear as black, blue, purple, red, green, or grey. Dark slates usually owe their colour to carbonaceous material or finely divided iron sulphide. Reddish and purple varieties owe their colour to the presence of hematite (iron oxide), and green varieties owe theirs to the presence of chlorite, a green micaceous clay mineral.
My enthusiasm and eagerness get the better of me on a regular basis. I’m afraid, however, my first attempts with slate were to me and my customer at least, successful.

I went with the run it on high power and run it slow approach, which worked well, although a bit slow.
The 15W Yora Laser Module was next:

This boost of power meant I could achieve more intricacy within the time scale I was prepared for – patience is not my greatest virtue and I have nothing but respect for the people that run jobs for 4 hours plus, but that’s not for me though.

Yes, I know, spoilt brat, I’ve now got the 40W Yora Laser Module:

And it is definitely time to do some background research rather than continue “winging it”.
First thing I found was a suggestion to wipe the slate with a damp cloth and leave it to dry….

Then, a light coat of clear satin varnish, again left to dry – this is where the patience thing starts to get me, but it was only about an hour to dry, so not so bad.
I thought I’d try a simple shape, text and a line drawing using M3 and M4 in LaserGRBL with different speeds. It had been a while since I’d used LaserGRBL due to getting my Yora 40W CO2 Laser Engraver which uses different software.
So, I needed to remind myself of the M3 – M4 differences:
M3 Constant Laser Power Mode
Constant laser power mode simply keeps the laser power as programmed, whether the machine is moving, accelerating, or stopped. This provides better control of the laser state. This can lead to more consistent cuts in more difficult materials.
M4 Dynamic Laser Power Mode
When performing an engraving job, the laser head must constantly accelerate and decelerate to follow direction changes. If you were using M3 mode this could cause more severe burns where the laser slows down and affect the image badly, whereas M4 dynamic adjusts appropriately as required.
Next, I set up a grid to use on both the unprepared and the prepared slate:

Having engraved both pieces, it was pretty obvious that the unprepared slate was going to be a disappointment. Having never done anything with slate to prepare it previously, I was a bit shocked, but pressing on, I bit my tongue and started testing.
Remembering that I was using a 40W diode, I set my S-MAX at 500 as I have my S30 in the GRBL settings set at 1000, so I have a max of half power using these settings.
Simple circle first:

Trying out Line to Line first.

My first circle I set at 20 mm diameter and to use M3.

I left the power, linear speed etc all at 1 and ran the first test.
Next, I moved onto Dither and left all the other settings the same.

Then, Vectorize with horizontal fill – no particular reason for choosing horizontal, it was the top one on the list.

So, how did they turn out?

Hahahahaha, not my finest hour I must admit, positioning of the circles seemed to defeat me slightly, although I do think that the bottom one – the Vector Fill does appear slightly better than the other two.
I repeated the same tests but using M4.

Results:

On M4, it seems that Dither worked best, slightly sharper than the other two.
The next option I changed was the speed.

So, I repeated all the tests with M3 and M4 at double speed.

My positioning was getting worse by this point, but the increase in speed did not deteriorate the engraving.
After a few harsh words with myself, I set about trying the “prepared” slate.

Happier with my positioning, it was now becoming obvious that basically everything works on slate – it is so forgiving, that’s probably why I’ve enjoyed using it so much.
Further tests with M4 and double speed just proved this point.

I had to try Text and a line drawing as well just to see what difference the settings might make – none of my testing would be complete without using the rose image anyway.

Apologies for my rubbish photography, but they are all done in this order:
- Line to Line
- Dithering
- Vectorize Fill
As I’ve already said, slate is the most forgiving of materials and no matter the settings you use you can still get a decent result, zooming in on the above picture will show some minor differences. Personally, I think I’ll be using M4 and Vector Fill on slate in future.
The thing I have taken away from these tests is that slate should be wiped down with a damp cloth and left to dry, then given a coat of clear satin varnish and that will really make your engravings pop!
No matter the size of your YoraHome laser, whether you use the smaller 3.3W and 5.5W, or the 15W and 40W, on a Yora 3018, Yora 6550 or you go for a big beast like the Yora 100W CO2 Laser Engraver, you can be sure that the quality of the YoraHome machines and the fantastic customer service and backup will mean that you will be truly happy with what you are able to produce on slate, wood, acrylic, paper, card, leather or whatever you choose.
Get The Freshest Content
Straight To Your Inbox
Join over 3,000 creators who receive premium content, exclusive discounts, and all the must-know info on a weekly basis.


