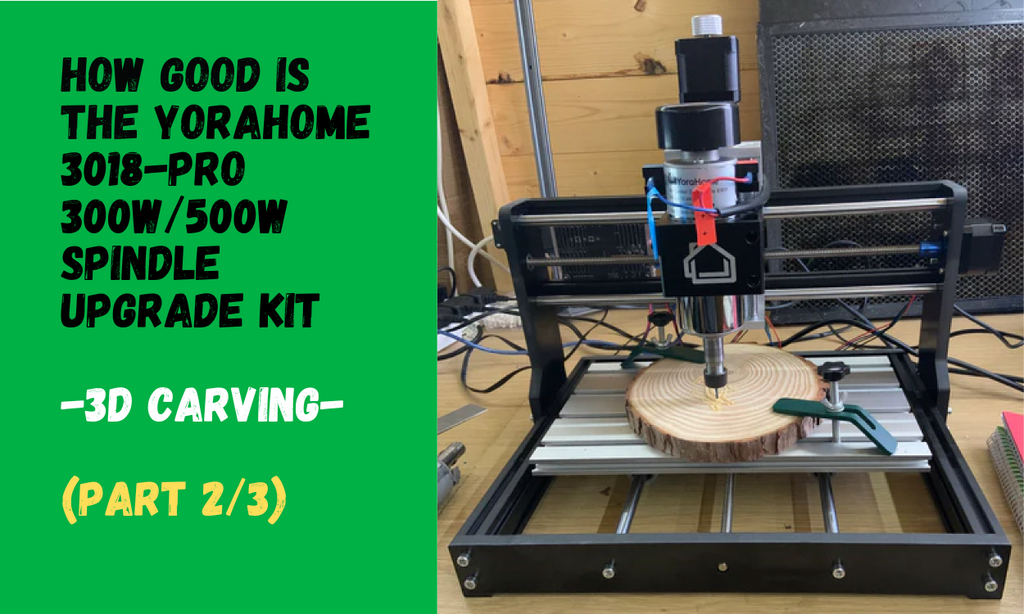
How Good Is The YoraHome 3018-Pro 300W/500W Spindle Upgrade (3D Carving)

Having fitted the 500W air-cooled spindle to the 3018-Pro and tested the wiring, the X, Y, Z moving with the spindle, it was time to put this baby through its paces for real.

As I said, this is the ideal time to test out the 3D features in Easel along with the new air-cooled spindle, which is capable of running bigger bits at faster speeds.
I have seen lots of carvings of the US wavy flag, but chaps, we Brits have a flag too, so I chose the Union Jack flag as my test piece.

How Do You Start to Use Easel 3D with the 3018-Pro and the 300W/500W Spindle?
Open Easel and sign into your account.

Click on New Project.

This opens a new project page.

Set the material type.

Set the material size.

Go to Import.

Click on 3D STL.

This opens Import 3D Model Box.

Click on Choose File.

Choose the file you plan to use and click Open – you may need to adjust the view to get the from above view, using the x y z buttons in the top left.

With my piece of wood, I needed to rotate the design, which is very easy via the Model box.

Click the lock for XY, then adjust the size, this will stay in proportion, then adjust Z depth and center to material.

By rotating the view of the model, you can see that the model is right at the bottom of the material – so you would need to clear a lot of wood before actually starting on the carve you want.

When you change the Z position, you can move the carving upwards. I put the model at 8.5 mm, with the depth of my model at 3 mm, this gave 0.5 mm of clearance as well.

Choosing the Cut Style of the Model
Go to Cut Style and click on drop down box.

So, this next bit is just to show the differences in cut styles.
Clicking on Full Depth Cutout with Auto Tabs, then click on Generate Toolpaths.

This will show the toolpath preview – you can view the roughing and the finishing view.

Click Show Preview.

Changing to Cut Style – Rectangle Relief, then adjust the padding and depth to 10 mm, the padding is basically a border around the model.

Click on Generate Toolpath, then Show Preview.

Changing to Cut Style – Model Boundary Relief.

Click on Generate Toolpath, then Show Preview.

I chose the Model Boundary as the style I’d do, this meant I would only carve the actual model itself not any additional parts.
Adjusting Cut Settings in Easel 3D
Click on Cut Settings and go to Manual. With the 300 or 500 w air-cooled spindle you don’t have to be so conservative but don’t go mad! Even after the Cut Settings are adjusted – remember you can further adjust the Feed Rate during the job and the spindle speed will be adjusted via the control knob on the spindle control box.

Choosing the End Mills for 3D Carving
We should discuss bits or end mills if you prefer. For 3D carving, the “preferred” option tends to be the ball nose.
The YoraHome 1/4" Router Bits Kit (With 1/4" ER11 Collet) includes a 1/4 ” ball nose, ideal for 3D roughing.

And the YoraHome CNC Shank Blue Coated Ball Nose Bits (10 Pcs) fit the bill perfectly as the 1/8 “ finishing bit for Easel.

Using the 1/4 “ ER11 Collet which comes with the YoraHome 1/4" Router Bits Kit, then insert the 1/4 “ ball nose bit. (I tend to set my Zero point straightaway).

Let's Start 3D Carving!
At this point, it is back to familiar territory, clicking Carve opens the carving process.
Firstly, this reminds you to ensure the material is clamped down.

Next you confirm which sort of pass you are going to do, Roughing or Finishing. You start with Roughing, then click “Confirm”

Set the Zero Point using the Jog Controls. If you haven't already set it.

Here is the machine with the material clamped down, zero point set and ready to go.

Next, it shows you that you are “Almost ready to cut”, then click on “Raise the bit”

Then turn the spindle on via the spindle control knob.

Once turned on, confirm by clicking “The spindle is on” then click “Carve”

As the carve starts the roughing pass, you can gradually adjust the spindle speed and the feed rate to the required speed.

Once the roughing pass has completed, the image isn’t completely recognisable shall we say. Remember to turn off the spindle at this point.

Changing to the 1/8 “ bit, you will need to change the collect as well, and go through the click “Carve” process again, this time clicking on Finishing Pass, setting zero point in exactly the same place, and let it go through its paces again.

During the finishing pass, it might even look like it’s taking away all the work you already put in during the roughing, but it isn’t really.
As it gets closer to the end of the carve, you can see it really coming into shape.

And when you get to the completed article – wow!

So, how much difference does a YoraHome Spindle Upgrade Kit For 3018-Pro (All-In-One Package) with a 300W or 500W air-cooled spindle make to a YoraHome CNC Router 3018-Pro?
Well, if you want better, faster, quieter carves, you will not do better than what this upgrade is doing.
I think I just fell back in love with carving!
Get The Freshest Content
Straight To Your Inbox
Join over 3,000 creators who receive premium content, exclusive discounts, and all the must-know info on a weekly basis.


