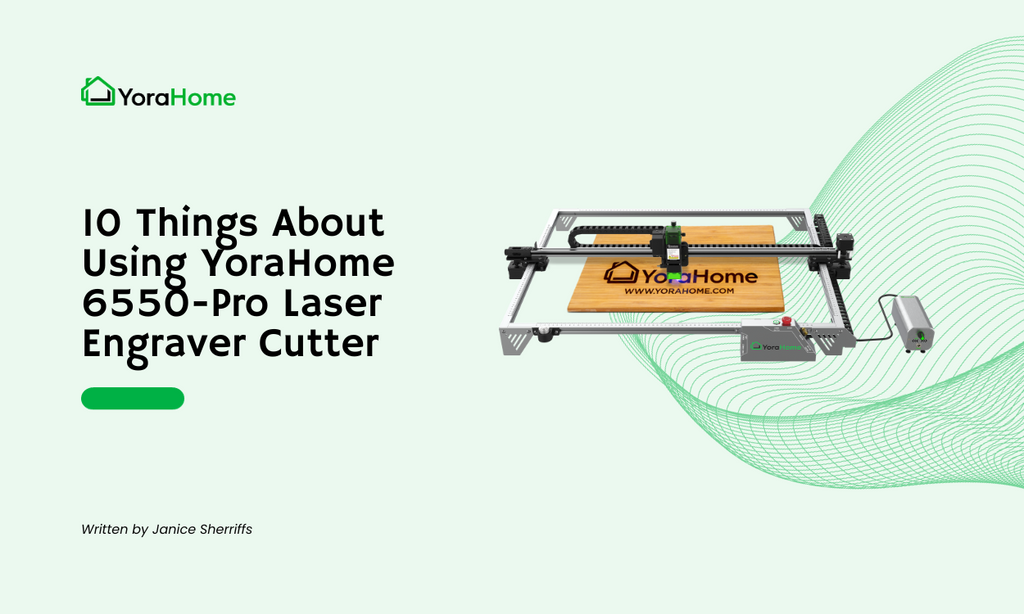
10 Things You Need to Know About Using YoraHome 6550-Pro

Over two years ago, I wrote 10 things about the YoraHome 6550 Laser Engraver.
Little did I know that the YoraHome gurus would excel yet again and come up with the YoraHome 6550-Pro Laser Engraver.

You need to know a few things to get the best out of this machine.
1. Building The YoraHome 6550-Pro Correctly
It seems obvious, but watch the instruction video How to Assemble The YoraHome CNC Laser Engraving Machine 6550-Pro and follow the provided instructions manual.

Doing these two things will make the set-up so much smoother and quicker than trying to "wing it." They will guide you step by step and get your machine and the software all set for your first projects.
You have three axes to consider, X, Y, and Z, and you also have an integrated air assist system to connect.
Having ensured the corners of the machine are 90 degrees and that everything moves smoothly, you will be ready to make magic.
2. Prepare The Area For Your 6550-Pro
As I said previously about the 6550, it's a big machine. The 6550-Pro also has a 65 x 50 cm working area.

Plus, you will need room for a laptop or computer.
You should also notice that the 6550-Pro has no base, so do not use this machine on your grandma's antique dining table! Unless granny has a particular liking for a lot of burn marks, you should use some sort of spoil board.
Another option is to use the Honeycomb Platform or the solid steel plate that comes with it as your spoil board.
The industrious among you may have ideas for building fold-away surfaces to put your YoraHome 6550-Pro on. I have mine on a rather large office desk. Excuse the mess please.

3. Safety First – Protect Your Eyes
You must wear appropriate eye protection to avoid severe & permanent damage to your eyesight.
NEVER LOOK DIRECTLY INTO ANY LASER BEAM. With the 6550-Pro, you will receive a pair of Protective Laser Glasses.
You can even order extra YoraHome Blue-Violet Laser Protective Glasses 200-540nm so that friends and family can admire your work while you are busy.
You should also note that the YoraHome 6550-Pro has a Magnet-Attached laser shield attached to the bottom of the laser to protect your eyes further and avoid accidental beam exposure.

4. Setting The Focus And Distance Right
Using the Laser Height Gauge makes setting the distance and focus easy due to the fixed focus on the laser.
No more twiddling the lens back and forth trying to get the smallest dot possible; just set the height gauge under the laser and, using the adjustable Z axis, lower the laser into position. (Once set, remove the laser height gauge).

When adjusting the Z axis, loosen the screw on the right of the axis as you look at it to allow movement, then adjust the screw on the top for distance, then re-tighten the screw on the right to maintain the exact position.
5. Choose Your Materials Carefully
Certain materials, such as PVC, can emit toxic gases, and others, such as paper, can easily catch fire. Do not try to cut or laser engrave PVC – this will emit chlorine gas, damaging your machine and probably poisoning you.
However, you have a massive variety of materials, from slate to glass, paper to leather, and so on and on. YoraHome has even published Laser Engraving Settings - At Last A List To Start From! This list covers many materials and gives you a primary starting point for each.
6. Choose Your Images & Projects Carefully
OK, as much as I'd like to say, look at the average settings mentioned earlier and put them into your chosen software, and everything will be perfect. It's not quite as simple as that.
It might work the first time, how you want it. If not, make some tweaks, higher or lower power, faster or slower. Keep at it till you get the result you are after.

If you only knew how many attempts I made to get the perfect cut on 4mm ply to make Christmas decorations this year. And once you have the settings right, you will keep producing more items.

7. Take Notes
Take notes of each task you do, whether it came out successfully or not. If you are doing an image, note the type of image used: bmp, gif, svg etc.
The material used, work size, all the settings used, not just speed and power.
Did you use line, fill, or offset fill in Lightburn? Or if you use LaserGRBL, did you use line to line, vectorize dither or center line? Did you use fill, if so, horizontal, vertical or diagonal? How many lines per mm?
If you want to give yourself a gold star, photograph the finished object, and attach it to your notes.

You can even take screenshots of your settings.

If you remember to use a notebook each time you do a project, whether cutting or engraving, you will build your own database of what works for you on your machine. Then, when you come back to do something similar, you will know what works.
8. Practice
You will read this repeatedly when reading tips or hints on laser use – it takes practice. Practice, Practice, Practice. Every day is a school day, etc. etc.
If you are extremely lucky or born a genius, you may produce fantastic results initially; if not, you are just practicing and perfecting your techniques.
My wood burner is well-stocked with "trial" projects. We don't need central heating in this house.
9. Get some Accessories to Increase Your Possibilities
The YoraHome Multi-Purpose Rotary comes with all the attachments necessary to engrave Yeti tumblers and glassware like wine/flute glasses, spherical objects like baseballs and Christmas ornaments, rings, and large oddball things like baseball bats or coffee presses.

When switching to using the rotary, you need to flick the switch on the rear of the control box.
The YoraHome Honeycomb Platform 6550/6550-Pro is designed to support your material for laser cutting, allowing airflow and less surface tension for clean cuts as described earlier, and comes with:

The YoraHome 6550-Pro Expansion Kit (65100) includes everything you need to convert your standard machine to a larger version. The kit lets you convert a 6550-Pro (65x50cm|26"x20") to 65100-Pro (65x100cm|26"x39").

The YoraHome 96W (20W Optical) Laser Upgrade is my personal favorite accessory/upgrade.
This beast of a diode laser makes engraving and even cutting some items a breeze.
The upgraded diode laser allows shorter work time and quicker results, and the 0.08 x 0.08mm compressed laser spot also allows more precise and thinner engraving and cutting lines/trails.

10. Keep Trying New Things
You might find that you prefer to engrave on tiles, or acrylic, or glass. You will find your niche and what you enjoy is what you will get good at. At the moment, I'm loving cutting multi-layered animals.

Not so long ago, it was boxes. Wood, acrylic, card I don't mind, I just love making boxes.

Find what you like to do and get good at it!
Conclusion
The YoraHome CNC Laser Engraving Machine 6550-Pro is all the CNC machine you could want and more; with integrated air assist and various accessory options, this machine will let you produce items you never even thought you could.
It could be the start of a side hustle or even a new career path; many previous customers now add to their income with their YoraHome machines. Why not you?
Get The Freshest Content
Straight To Your Inbox
Join over 3,000 creators who receive premium content, exclusive discounts, and all the must-know info on a weekly basis.


