


 LIMITED TIME
Last Sale Of The Year!
Up to 20% off at checkout on the YoraHome Store.
Grab All The Yoras You Want!
Carving Machines
15% off Yora 3018-Pro Machine
15% off Yora 3018-Pro Accessories
$100 off Yora SilverBack Machine
8% off Yora SilverBack Accessories
15% off Yora Router Bits
Laser Engravers
15% off Yora 6550 Machine
15% off Yora 6550 Accessories
15% off Yora Mini Laser Engraver
15% off Yora Draw
$200 off Yora CO2 Laser Engravers
$200 off Yora Fiber Laser Engravers
3D Printers
$10 off Yora Ender-3 V2
$30 off Yora CR-6 SE
$40 off Yora Ender-5 Pro
→Each printer comes with 3x Free bonus items
3D Filaments And Accessories
20% off Yora PLA Filaments
15% off Yora 3D Printers Accessories
1x Free Yora Filament Dryer For 1x 3D Printer + 5x PLA Filaments or 10x PLA Filaments
Woodworking Tools: 20% off
Home And Office Accessories: 20% off
Get Amazing Free Items With The Gorilla Bundles!
#1: 1x Free Yora 3018 Essential Bits For 1x Yora 3018 + 1x Yora 6550
#2: 1x Free Yora Rotate Module For 1x Yora 6550 + 1x Yora Draw
#3: 1x Free Yora Filament Dryer For 1x Yora 6550 + 1x 3D Printer
#4: 1x Free Yora TLC Rotary For 1x Yora 3018 + 1x Yora 6550 + 1x Yora Draw
#5: 1x Free Yora 6550 Z-Axis, Drag Chain, Air Assist and 3D Led Lamp For 1x Yora 3018 + 1x Yora 6550 + 1x Yora 3D Printer
Terms Apply
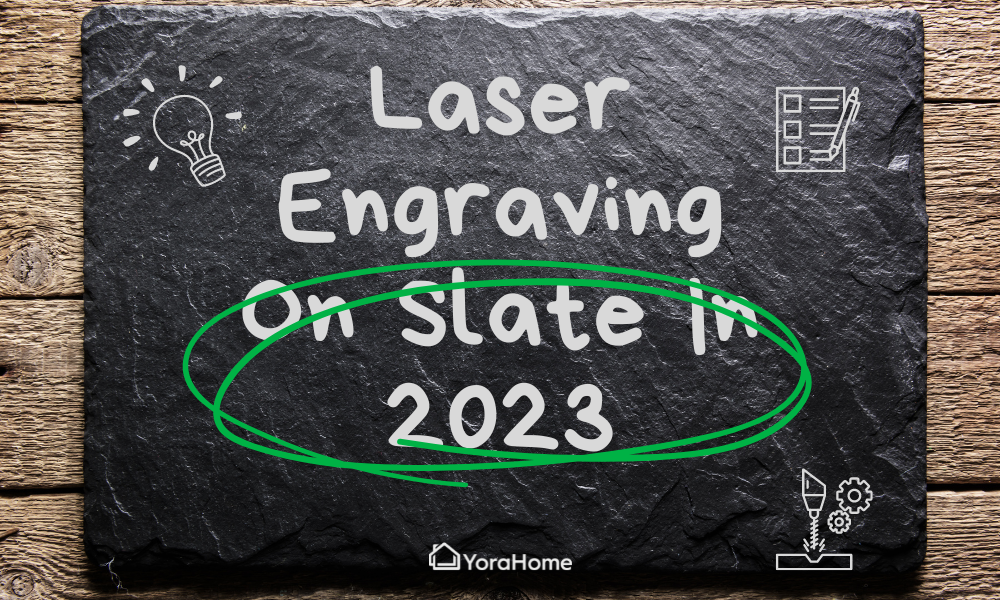
Laser Engraving On Slate In 2023

More than two years ago, I first wrote a blog on Laser Engraving on Slate.
But, with all the changes and improvements since then, it's time to revamp!
At the time, slate became a favorite material to laser engrave. One reason is that slate is the most forgiving of materials, and you can still get a decent result no matter the settings you use.
And if all else fails, a quick going over with an orbital sander will remove any evidence of mistakes made.

In the UK, slate is used as a regular building material in areas such as the Lake District, Snowdonia, and the Yorkshire Dales, with gorgeous little cottages built from this stunning natural material.

Other areas used slate as a roofing material. I had a Welsh Blue Slate roof at my house in Yorkshire many years ago.

And you only need to look at any home furnishings store, such as Ikea, The Range, Pottery Barn, and so on, to see the versatility of slate and how it is regularly used for signage, tableware, and so on.
1. What Makes Slate So Good?
Slate is a fine-grained, clayey metamorphic rock that splits into thin slabs with excellent tensile strength and durability.
Slate can appear black, blue, purple, red, green, or grey.
Dark slates usually owe their color to carbonaceous material or finely divided iron sulfide.
Reddish and purple varieties owe their color to hematite (iron oxide), and green varieties owe theirs to chlorite, a green micaceous clay mineral.

With its natural allure and durability, slate provides a fantastic surface to marry the elegance of stone with the possibilities given by laser engraving.
2. Choosing The Right Slate For Laser Engraving
As the expression goes - Not all slates are created equal.
Factors such as color, texture, thickness, and durability all play a significant role in determining the outcome of your laser-engraved masterpiece.
Slate Varieties
Slate comes in various colors and textures, each with a unique appeal.
From classic black and gray to rustic green and multicolored variants, the choice of slate will significantly influence the overall look and feel of your engraving, whether you go for simple outlines, produce intricate patterns, or even photographs.
Slate Smoothness
The surface smoothness of your slate will affect both the engraving process and the result.
Smooth slates provide a uniform layer for precise laser etching, ensuring crisp details and sharp lines.
Conversely, textured or slightly uneven surfaces can add an organic and rustic charm to an engraving, giving a distinct character to your work.

Surface Preparation
Preparing the surface of your slate before laser engraving is a crucial step that directly impacts the quality of the result.
Proper cleaning and smoothing of the slate surface can eliminate imperfections.
Exploring different surface preparation techniques will enable you to make your designs truly pop.
You can turn ordinary rocks into extraordinary works of art using laser engraving techniques combined with the above.
3. Essential Equipment And Materials For Laser Engraving On Slate
Laser Engraving Machine
YoraHome has made available a massive range of machines and Laser Module Kits with powers ranging from 3.5W, 5.5W, 15W, 40W, 80W to the new 96w (20w optical laser).

This laser is compatible with the 6550 and 6550-Pro Laser Engraving Machines.


Software and Design Tools
You can use various design tools including the likes of Photoshop, Inkscape, Corel Draw, depending on your computing capabilities (and budget). Regarding laser engraving software, the two most used are LaserGRBL and LightBurn both with their own advantages and benefits.


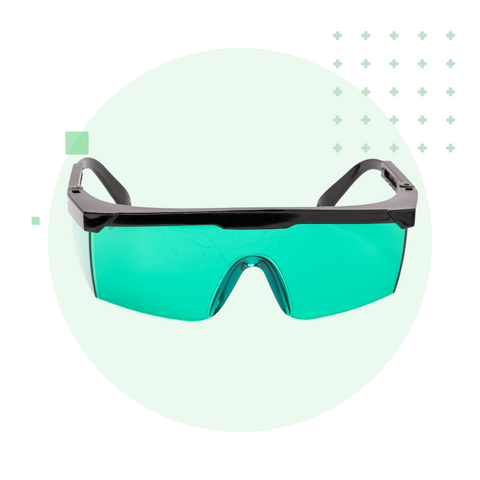
Safety Equipment
Safety glasses and proper ventilation are necessities during engraving to ensure a safe working environment.
Slate Preparation Tools
These may include cleaning brushes, sanding or smoothing equipment, and solutions for surface treatment or sealing.
Preparing the slate will ensure the best engraving results and enhance the longevity of the finished piece.
4. Laser Engraving Process on Slate
Original Tests
Some things will never change. My enthusiasm and eagerness still regularly get the better of me, so my first attempts with slate all that time ago, running hot and slow, came out much better than I could or should have expected.
If you want to torture yourself with my initial testing, when I had decided not to wing it anymore, you can go back and read my previous blog that goes through using LaserGRBL and what I found at that time.

Thankfully I eventually got to grips with LightBurn – for anyone struggling with it, believe me, it hated me!
It took ages to get my head around how it works; not sure why, but it did, and it was worth it in the end.
3. 2023 Testing on Slate
Earlier this year, I wrote the blog piece How To Test Your Material to Determine Laser Speed and Power Settings.

Confident that this method would work with slate, to provide me with the perfect settings, I prepared two pieces by washing and drying both; one part was then sprayed with matt varnish and left to dry.

I then found the YoraHome LightBurn Engraving Only Test File and made some adjustments (I should have changed the title to slate and 96w, but I forgot).

It was then straightforward to run the tests, I used my YoraHome CNC Laser Engraving Machine 6550-Pro (All-In-One System) with the fabulous 20W optical laser, on the unvarnished.

And then varnished pieces.

It’s easy to notice that the varnished piece has more of a white tone at certain speeds and powers. It appears sharper as well.
4. Using imagR For Preparing Images
Anyone spending any time on laser engraving forums and websites will come across people using imagR.
It is free software for preparing images for laser engraving (there is a paid version with even more features).
As anyone who has read my previous blogs knows, I'm not good with photographs, so any help I can get is always appreciated.

The following steps are laid out on opening imagR and moving down the opening page.

Step 1: Upload
Of course, I was going to use my favorite photograph of my daddy racing at the TT Races on the Isle of Man, many years ago.

Step 2: Crop
I didn't need to crop the photo.
Step 3: Resize
Opening resize shows the current units, size, and dpi.

I adjusted the units to mm, the size to match the pieces of slate I planned to use – 100mm x 100mm and changed the dpi to 318.

On clicking OK, you are then shown the resized image alongside the original. At this point you can make adjustments such as sharpen, contrast, and so on.

Step 4: Add Text
Again, I had no need to add any.
Step 5: Material
This opens the material and algorithm selection box.

I chose the Norton tab and then Norton Black Slate.

Then clicking OK, this action produces the image ready for the laser.

Step 6: Download
I saved the image as a png.

This downloads the file ready to save.

Then went to Lightburn and opened the file I had just saved.

I opened the cuts and layers box, adjusted speed & power, dpi to 318, and changed the Image Mode to Jarvis.

Then it was time to see if this was worth all that effort.
Oooooeeeee, yes, it was!

This was a piece of slate that had been washed and varnished.
I then tried on unvarnished.

This produced more of a "sepia" effect in this version.
Well, personally I much prefer the whiter effect on the varnished slate.
To be sure I hadn't fluked the photograph, I tried again with the ever-popular picture of a tiger, as most do on a slate. And yes, it is fabulous if I say so myself!

6. Conclusion
Have I learned much in the last 2 years, about laser engraving and using slate?
Yes, but some things haven’t changed – cleaning the slate first, using matt varnish, and testing to get the right settings for the piece of slate.
Neither has the quality and value of YoraHome machines and accessories, they have however increased their offerings to now include the 6550-Pro, the Mandrill, and the SilverBack. Their lasers now include everything from 3.5W to 96W, you can be sure to find the perfect combination to create whatever you want.


Get The Freshest Content
Straight To Your Inbox
Join over 3,000 creators who receive premium content, exclusive discounts, and all the must-know info on a weekly basis.