All You Need To Know About The Yora Essential Bits | Roughing & Detailing (Part 2)

Having tried out lots of different bits for the last blog on my Yora 3018-Pro with the Expansion Kit that I am now completely back in love with again, it was time to get my teeth into a bit of proper carving.
Simple enough as it seems, but so far I had not had much luck, but ever the optimist and a demon on Google searches, I think I’ve got to the root of this now, with roughing and detailing bits!
For a change, I actually had some decent pieces of wood to try out on – my pine heart shaped boards that I’d got for Valentine’s Day weren’t as popular as I expected, so I have a few left over.
Heart shapes are not the easiest shapes to deal with, but having called into action my Yora Ender-3 again, I’d made some further adaptations to the clamps, which was going to assist in the holding down at least. I found some little stops to go on the bottom of the screws, which makes setting the clamps easier.

Next, I got out my crafting grid and placed the heart on there so I could size up exactly where the middle of the piece was – this is extremely important. To make the picture easier to view, I drew right the way across the piece in pencil (which can be rubbed out later). In the future, I will be using the grid and a ruler a lot more often to correctly size pieces.


So, to my go to software – Easel, other software is available however I like using Easel myself. Once open, open “New Project”, set the material type and size:

Pine isn’t on the list of materials, so I took a stab in the dark and chose Soft Maple.
Moving to Shapes, I picked Square: 
At this point, I confirmed it was set to "Clear out a pocket" and adjusted the depth to 2 mm, on the Cut tab: 
Switching to the Shape tab, I locked the proportions and set the size to 180 x 180

Then Edit – Centre to material

And the pocket is perfectly centred.
Next, you need to import the design you plan to use,
I usually use Image Trace, this allows me to choose from the files I have saved already on my computer. 
Click Upload File, select Files to Upload, pick your image and click Open, click Upload


At this point, you can adjust smoothing and threshold, or Invert as needed in this instance.

Then click Import,

Immediately go to Edit and Combine, this will lock your image into 1, rather than lots of little pieces.

On the Cut tab, adjust the depth of your image to 0 mm,
On Shape, I changed it to locked, then 160 x 160, 
Edit, centre to material,


Adjust the Position (Dot) to centre one and change x and y to 0 mm,

Next, go to square shape in the background,

Repeat adjustment to position to centre and 0 x 0, 
Now to setting bit sizes.
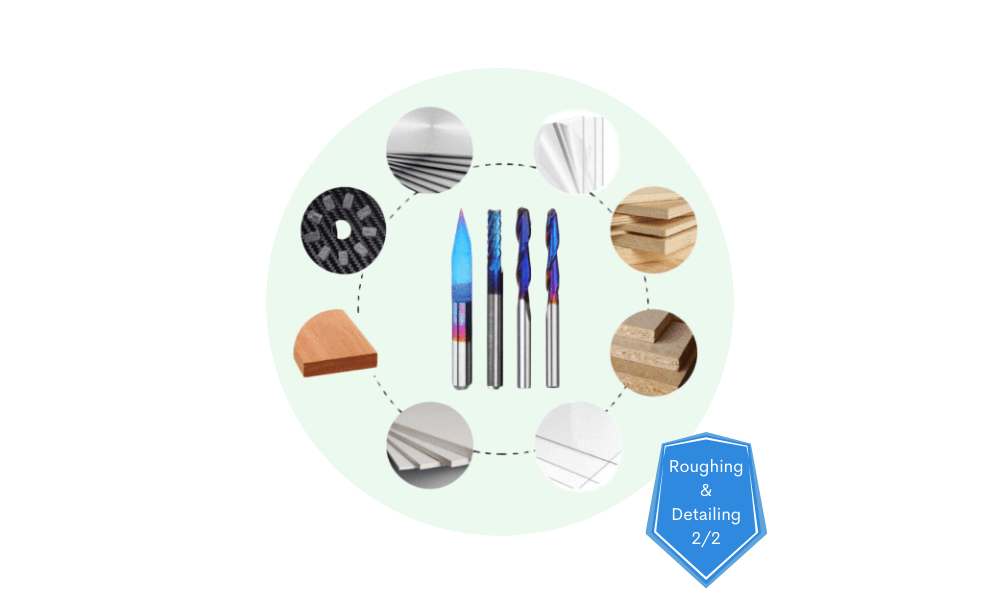
Having seen what my bits could do, I chose the 3.175 mm bit from the Yora CNC Shank Blue Coated Router Bits | Corn Milling set and put it as Other.
By clicking on the + sign to the right of the bit size, this will allow you to add an additional bit.
I chose the 3/8” Yora CNC V-Groove Bit (With ER11 Spring Collets), so I put it in as 90 degree VBit.


Next, click on Cut Settings to adjust to Manual settings. The pre-set depths & feeds in Easel are for a different machine. For the Yora 3018, you want to be a bit more conservative. 
Roughing -
Feed 300
Plunge 100
Depth 0.3
Detail -
Feed 300
Plunge 100
Depth 0.3
 At this point, click Simulate.
 Oooof, over 8 ½ hours………………. Naah, not for a first try, not with my degree of patience, so I went back through the same process but reduced the square size to 100 x 100 and the image to 80 x 80.
About 3.5 hours, ok, it must be worth a try...

So, in for a penny, in for a pound as they say.

Clamped up, ready to insert the roughing bit and set the start point dead centre

And away it goes

Well it’s definitely rough.

Having found my hand-held vacuum, I could clean up a bit and see some outline taking shape.

Once the roughing bit has cleared the areas it can, the machine will return to its start point and the spindle will stop.
The most important bit is to not move the spindle from its x / y point, this will be your dead centre. Raise the spindle, change to the detail bit.

Lower the bit to your start point, back on the centre cross, when you click Carve again, you will switch to the Detail Bit option.

The detail bit will start to make the design come to life.

It takes time, but in the end, it is so worth it

Once removed from the Yora 3018-Pro, you can see it in all its glory!

So, what can I say after doing this carve, well the pictures do not do it justice, its beautiful, I love it and am so happy I stuck with it. But, I’ve already checked Amazon and they don’t sell patience, so I will just have to learn some one way or another as I will be doing a lot more of this in the future.
The best bits of advice I can give at this point are:
- This is going to take time, don’t expect it to be finished quickly
- Don’t pick such a complicated image for your first try
- Make your image less than 100 x 100 mm
- Use decent wood.
- And enjoy!
For me now, I can’t wait for the Yora SilverBack 6060 Benchtop CNC to be available soon, so I can carve and laser on a massive scale.
Get The Freshest Content
Straight To Your Inbox
Join over 3,000 creators who receive premium content, exclusive discounts, and all the must-know info on a weekly basis.


