


 LIMITED TIME
Last Sale Of The Year!
Up to 20% off at checkout on the YoraHome Store.
Grab All The Yoras You Want!
Carving Machines
15% off Yora 3018-Pro Machine
15% off Yora 3018-Pro Accessories
$100 off Yora SilverBack Machine
8% off Yora SilverBack Accessories
15% off Yora Router Bits
Laser Engravers
15% off Yora 6550 Machine
15% off Yora 6550 Accessories
15% off Yora Mini Laser Engraver
15% off Yora Draw
$200 off Yora CO2 Laser Engravers
$200 off Yora Fiber Laser Engravers
3D Printers
$10 off Yora Ender-3 V2
$30 off Yora CR-6 SE
$40 off Yora Ender-5 Pro
→Each printer comes with 3x Free bonus items
3D Filaments And Accessories
20% off Yora PLA Filaments
15% off Yora 3D Printers Accessories
1x Free Yora Filament Dryer For 1x 3D Printer + 5x PLA Filaments or 10x PLA Filaments
Woodworking Tools: 20% off
Home And Office Accessories: 20% off
Get Amazing Free Items With The Gorilla Bundles!
#1: 1x Free Yora 3018 Essential Bits For 1x Yora 3018 + 1x Yora 6550
#2: 1x Free Yora Rotate Module For 1x Yora 6550 + 1x Yora Draw
#3: 1x Free Yora Filament Dryer For 1x Yora 6550 + 1x 3D Printer
#4: 1x Free Yora TLC Rotary For 1x Yora 3018 + 1x Yora 6550 + 1x Yora Draw
#5: 1x Free Yora 6550 Z-Axis, Drag Chain, Air Assist and 3D Led Lamp For 1x Yora 3018 + 1x Yora 6550 + 1x Yora 3D Printer
Terms Apply
10 Tips for Laser Engraving and Cutting In 2023

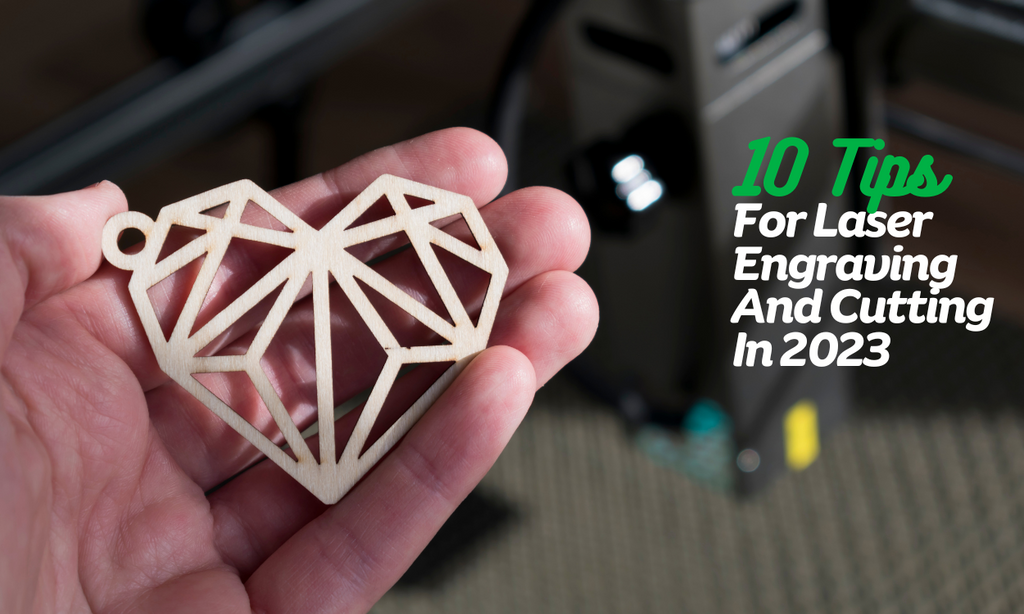
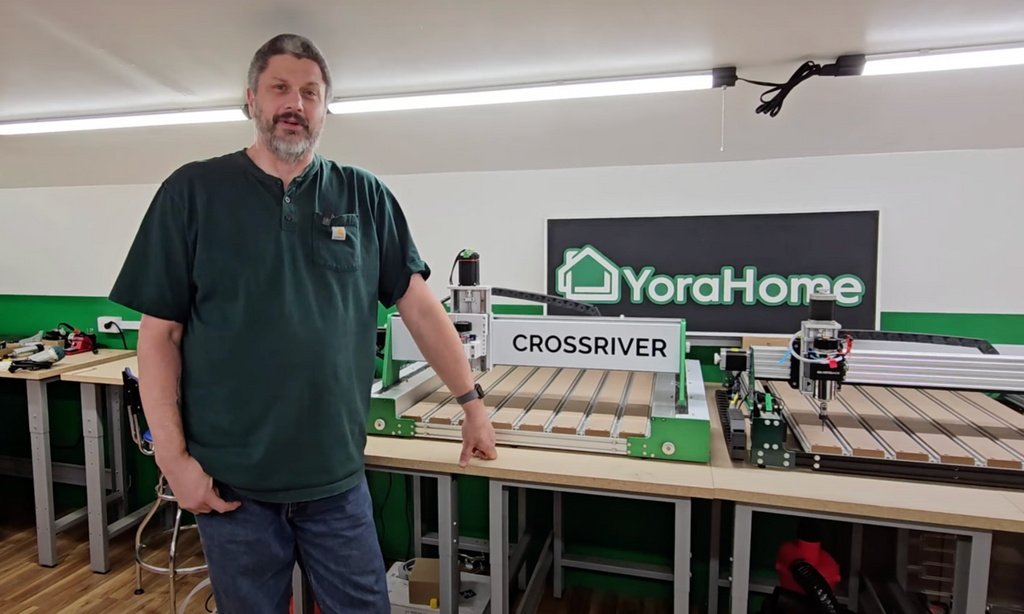
Wow! What a remarkable journey it has been since I embarked on my CNC adventure with YoraHome nearly four years ago!
The tremendous advancements and progress that have taken place are incredible.
When I look back at the blog piece I wrote a couple of years ago titled 10 Tips for Laser Engraving and Cutting, it becomes abundantly clear that it's high time for a comprehensive rewrite.
So here comes the updated version.
1. Stay Safe
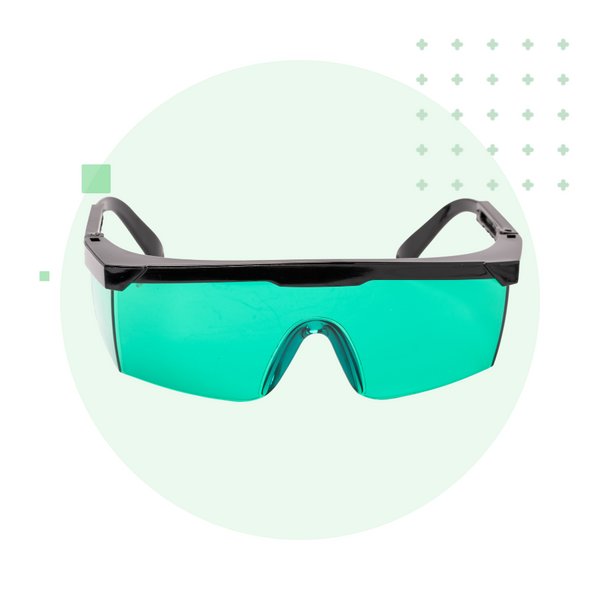
Some things will never change, and as much fun as laser engraving & cutting is, safety must come first.
Take care of your eyes! You must wear appropriate eye protection to avoid severe & permanent damage to your eyesight.
NEVER LOOK DIRECTLY INTO ANY LASER BEAM. Choose goggles applicable to your machine.
For the YoraHome range of lasers, these YoraHome Blue-Violet Laser Protective Glasses 200-540nm are perfect, and each machine comes supplied with one pair.
You can also order extra ones for your family or friends who want to observe you while you work.
In addition to eye safety, proper ventilation is paramount when laser engraving and cutting. The process can generate smoke and fumes, so ensuring your workspace is well-ventilated and equipped to eliminate unpleasant odors or smoke is vital.
YoraHome's latest laser models offer an innovative solution: the option to install an air assist system.
The YoraHome Air Assist Kit directs air, supplied by an air pump, onto the laser path, effectively removing smoke and debris.

This kit is compatible with the 6550 Laser Engraver, 3018-Pro, Mandrill, and SilverBack CNC Routers.
Notably, the YoraHome CNC Laser Engraving Machine 6550-Pro (All-In-One System) model includes air assist as part of its package.

Above all: NEVER leave a laser device unattended while operating. You can adjust or power off the laser, if necessary, but only when present.
Maintaining a watchful eye on the machine at all times is essential to ensure a safe working environment.
2. Align Your Workpiece With Your Machine
While the diagram below may make it seem obvious, the concept is crucial: you need to ensure that your workpiece is aligned correctly with the movement of your machine.

To achieve precise alignment, many people find creating a grid on a spoil board helpful, allowing them to position their workpiece for accurate engraving or cutting effortlessly.
The grid can serve as a reliable reference point to ensure the design ends up exactly where it should be.
I use my YoraHome Honeycomb Platform 6550/6550-Pro and align with that. With built-in scales on its edges, aligning my workpiece has become easy and efficient.

3. Use Scrap Material
One of the most valuable tips is to refrain from using the actual piece you intend to use for your finished article when initially setting up your project.
Instead, opt for a scrap piece of the same material to fine-tune your settings.
In doing so, you can make all the necessary adjustments to achieve the desired outcome.
Starting with settings that are as close as possible to your requirements right from the start saves considerable frustration and material waste.
Speaking from personal experience, I've accumulated a significant collection of scrap wood. While I wish I could claim it's all meticulously gathered for experimenting with new projects, the truth is that most of it comes from my earlier failed attempts.
Nevertheless, these pieces now serve as a valuable resource, patiently waiting to be repurposed as scrap material for future trials and adjustments.
Learning from initial mistakes and perfecting your settings on scrap material will lead to more successful and satisfying results in the long run.

4. Choose The Right Material For Your Project
It's crucial to remember that different materials will react in distinct ways when subjected to laser engraving or cutting.
For example, natural wood exhibits variations in its grain, representing different growth periods: this results in varying burn rates, which can result in uneven burning.
Darker wood areas are harder, while lighter areas are softer, leading to a potential "zebra" pattern in the engraved or cut design.

Opting for high-quality plywood will often yield superior results if you aim for clear and crisp engraving. Better plywood offers a more uniform surface, allowing for greater precision and clarity.
However, wood is not the sole material suitable for laser applications.
Depending on the power of your laser, you can engrave various materials. Here's a general guide:

Always ensure that the material you choose is safe to cut or engrave.
Certain plastics, when burned, can release hazardous chemicals. So, exercise caution and verify the suitability of the material before proceeding.
Your safety and well-being should always remain a top priority.
5. Choose the Right Image
Depending on the software you are using with your machine, you can import different formats.
With the YoraHome devices, the most commonly used software is LaserGRBL or Lightburn.

In LaserGRBL, you can utilize BMP, JPG, PNG, GIF formats, and Gcode files. This versatility enables you to import various image types, including photographs, diagrams, text, and more.
LightBurn, on the other hand, offers even more flexibility, as it supports numerous common vector graphic and image formats, such as AI, PDF, SVG, DXF, PLT, PNG, JPG, GIF, and BMP.
This extensive format compatibility allows you to import artwork in various file types, further expanding your creative possibilities.

Whether you work with photographs, intricate diagrams, or custom text designs, the choice is yours. You have the flexibility to experiment and explore a multitude of image options.
6. Focus
One of the most critical factors influencing the quality of your laser engraving or cutting is achieving the correct focus.
Nowadays, YoraHome fixed-focus lasers, such as the 15W, 40W, 80W, and 96W models, come equipped with a laser height adjustment tool. This tool allows you to set the distance of the laser lens from the material.

The 6550-Pro (All-In-One System) has a dedicated attachment on the side of the frame for this tool.

To enhance focus precision, the YoraHome 6550 Z-Axis For Laser Modules offers adjustability for laser height on the 6550 and many other laser engraving machines.
This feature allows you to fine-tune the distance between the laser and the material to ensure optimal focus.

On the other hand, adjustable focus lasers, like the 3.5W and 5.5W variants, require manual laser adjustment to achieve the smallest pinpoint beam.
In some cases, you may need to adjust the height of your material to achieve a more precise focus. By employing the YoraHome Lift Platform 4x4", you can bring your material closer to the laser, eliminating the need to move the laser closer to the material physically.

Remember: obtaining the perfect focus is crucial for achieving the desired outcome in your laser projects.
Whether you have a fixed-focus or adjustable-focus laser, you must make the necessary adjustments to ensure the beam is accurately focused to achieve crisp, detailed engravings or clean and precise cuts.
7. Masking
When working with certain materials, using masking techniques can make a massive difference in the result. Masking involves applying a protective layer over the material to alter or enhance the laser's interaction with it.
For instance, when working with acrylic or any glossy surface, masking paper over its surface can prevent immediate laser reflection, resulting in cleaner and more precise engravings.

Masking wood and leather can also be beneficial as it helps avoid charring around the edges of the burn, preserving the integrity of the design.
Applying black acrylic paint on glass acts as a mask to prevent reflection of the beam from going straight through.
Experimenting with scrap material first will let you decide if masking will be helpful and help produce the desired outcome.
8. Using Framing Tools
When working with laser engraving software like LightBurn or LaserGRBL, you can access valuable framing tools that assist in positioning and aligning your designs.
In LightBurn, you can use the Fire button to activate the laser temporarily, allowing you to note its position and ensure it aligns with your intended area.

Additionally, the Frame button in LightBurn outlines the design's outer edges, clearly representing where the engraving will take place.

Similarly, in LaserGRBL, you can employ the Focus button to determine the laser's current position. This feature will ensure the laser precisely aligns with your desired start point.

The Frame button in LaserGRBL allows you to outline the design's outer edges, providing a visual reference to the engraving boundaries.

These framing tools are beneficial in the centering and alignment of an image before initiating the engraving process. Using these tools will make you confident that your design is precisely positioned.
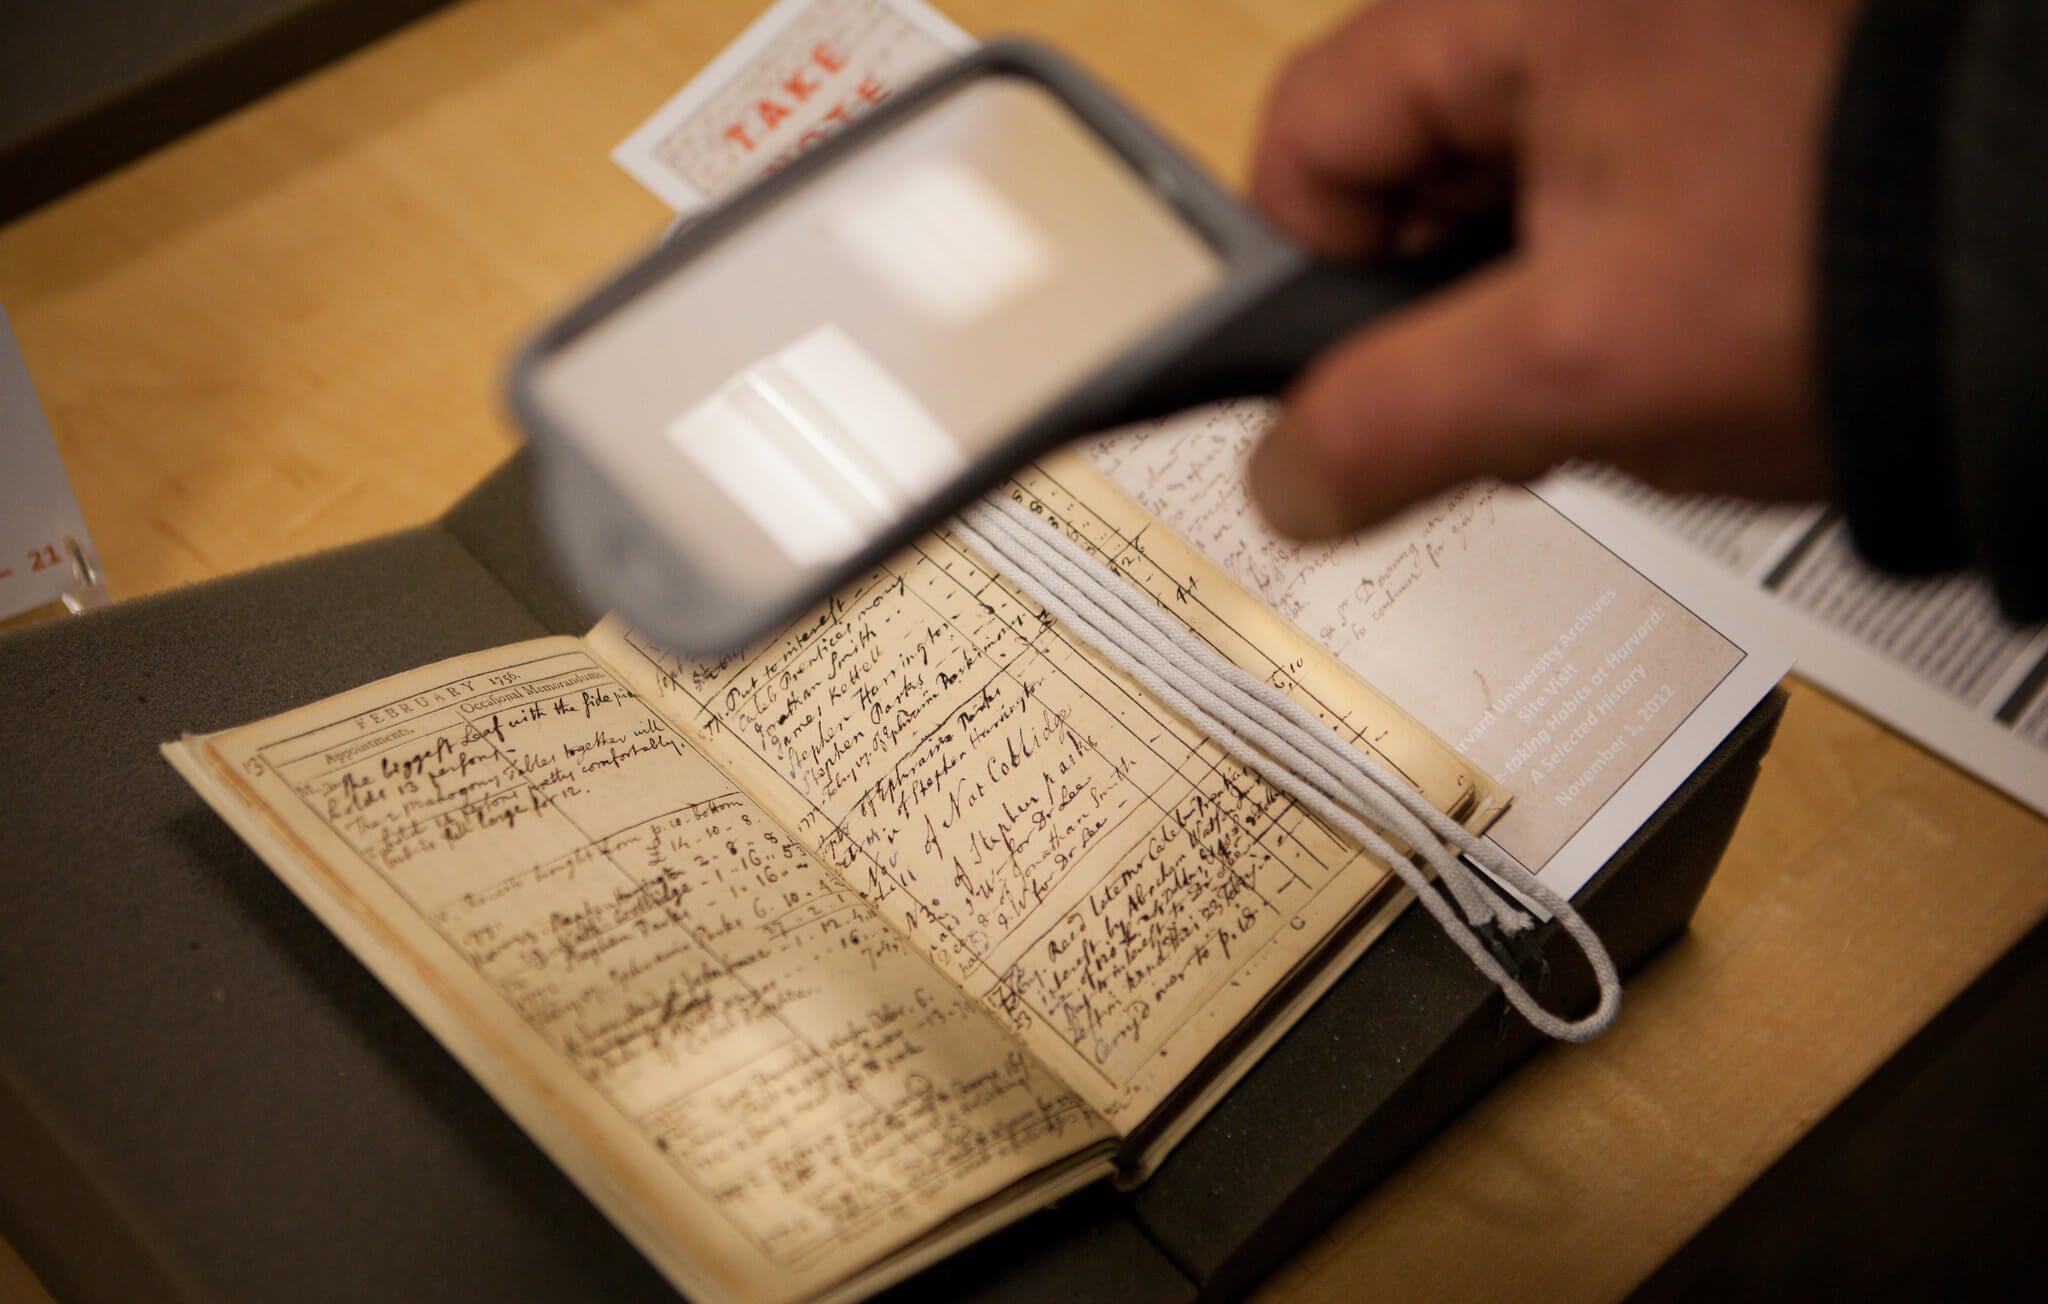
9. Take Notes
Keep a notebook on the side of your machine.
Taking detailed notes is a practice that will significantly benefit your future projects.
Keep track of essential information such as the material used, the software, the image size and type, the settings applied, whether the result came out as expected, the actual result achieved, and the time taken.
You can analyze what worked well, identify challenges, and make informed adjustments for future projects.
While the YoraHome Average Laser Engraving and Cutting Settings document in the knowledge base provides a valuable starting point, your notes will offer a more tailored and comprehensive resource.
10. Practice
When it comes to using your laser engraver and cutter, the most important tip is to practice.
Practicing is the key to honing your skills and improving your techniques. It's important to remember that with practice, you'll only get better and more proficient at what you do.

If things don't work out as expected, see them as learning opportunities. You should see some of the disasters I've had over the last few years.
Analyze the situation, identify areas for improvement, and be open to trying different approaches. The more you practice, the more you'll understand the nuances of your machine and gain insights into achieving those optimal results.
But most importantly, remember to have fun throughout the process. Enjoy exploring the capabilities of your laser engraver and cutter.
Experiment with new materials, push your creative boundaries, and embrace the joy of bringing your ideas to life.
Look at what other people are doing, but don't be intimidated, keep practicing you will get there.
Keep practicing, learning, and having fun with your machine. Each time you use it, you'll continue refining your skills.
Conclusion
With the variety of machines and accessories along with unrivaled customer support they offer, your best choice for a CNC machine is YoraHome.
I am still extremely happy I chose them for my first machine (and subsequent ones), and I’m sure you will be too.

Get The Freshest Content
Straight To Your Inbox
Join over 3,000 creators who receive premium content, exclusive discounts, and all the must-know info on a weekly basis.