


 LIMITED TIME
Last Sale Of The Year!
Up to 20% off at checkout on the YoraHome Store.
Grab All The Yoras You Want!
Carving Machines
15% off Yora 3018-Pro Machine
15% off Yora 3018-Pro Accessories
$100 off Yora SilverBack Machine
8% off Yora SilverBack Accessories
15% off Yora Router Bits
Laser Engravers
15% off Yora 6550 Machine
15% off Yora 6550 Accessories
15% off Yora Mini Laser Engraver
15% off Yora Draw
$200 off Yora CO2 Laser Engravers
$200 off Yora Fiber Laser Engravers
3D Printers
$10 off Yora Ender-3 V2
$30 off Yora CR-6 SE
$40 off Yora Ender-5 Pro
→Each printer comes with 3x Free bonus items
3D Filaments And Accessories
20% off Yora PLA Filaments
15% off Yora 3D Printers Accessories
1x Free Yora Filament Dryer For 1x 3D Printer + 5x PLA Filaments or 10x PLA Filaments
Woodworking Tools: 20% off
Home And Office Accessories: 20% off
Get Amazing Free Items With The Gorilla Bundles!
#1: 1x Free Yora 3018 Essential Bits For 1x Yora 3018 + 1x Yora 6550
#2: 1x Free Yora Rotate Module For 1x Yora 6550 + 1x Yora Draw
#3: 1x Free Yora Filament Dryer For 1x Yora 6550 + 1x 3D Printer
#4: 1x Free Yora TLC Rotary For 1x Yora 3018 + 1x Yora 6550 + 1x Yora Draw
#5: 1x Free Yora 6550 Z-Axis, Drag Chain, Air Assist and 3D Led Lamp For 1x Yora 3018 + 1x Yora 6550 + 1x Yora 3D Printer
Terms Apply
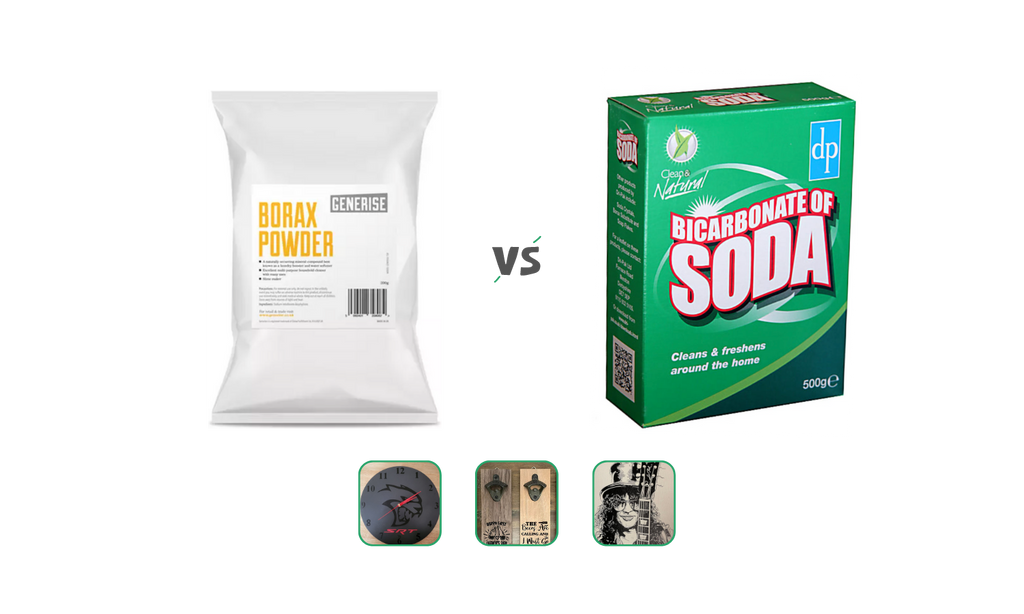
Borax vs Bicarbonate of Soda: Who Wins To Make Your Laser Burns Darker?
Being very lucky and very spoiled, I have a number of CNC machines and lasers, starting from the 3018-Pro with 5.5W laser. Then, up to the 6550 with a 15W and later 40W, to my weapon of choice right now: The Mandrill with 40W laser.

– although I have just built my brand new YoraHome CNC Laser Engraving Machine 6550-Pro (All-In-One System) with its 80W diode laser.

So, that may take over laser wise and I’ll leave the Mandrill for engraving.
Throughout my trials and general "having a go test, trying to get the perfect burn has been the aim.
Some people like the sepia brown style burn, others want their burns to look as dark as possible and the debate over what to use to make laser engraving appear darker has raged on.
Using Borax or Bicarbonate of Soda? If so, what proportions, how to put it on, how long to leave it on, does it actually make any difference, or are there any other options out there?
The time has come for me to try to answer at least some of those questions.
Testing Time
A while ago I did some testing on preparing slate to laser engrave, What You Need To Know About Laser Engraving On Slate and since that had turned out well, I thought I’d use the same template again, only this time I was going to use Lightburn, meaning I could differentiate burn styles between the line shapes, the text and the image.

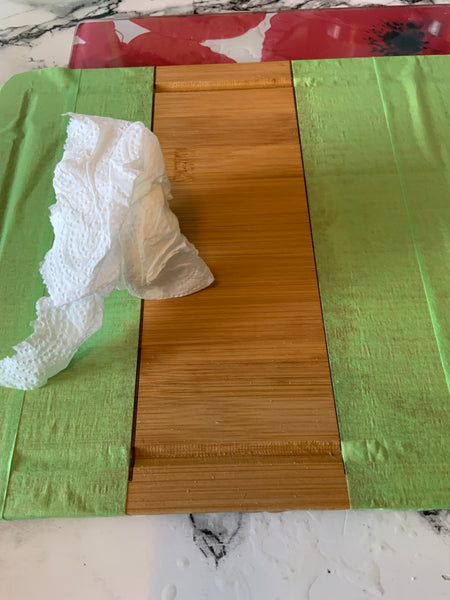
First thing first, I needed to divide up the board into equal sections.

Smoothing the board and using painters' tape
Once divided, I could then use my little orbital sander to smooth 3 sections of the board and then cover with painters’ tape 3 areas.

Bicarbonate of Soda
Having divided up and masked the board I could start by putting the bicarbonate of soda solution on one section.
After reading lots of different bits of advice on how much bicarb. to water to use, I settled on 1 teaspoon to 250 ml of hot water.

Once thoroughly mixed, I then used a foam “brush” to apply the solution to the board.

After a couple of minutes, I wiped off excess liquid with a paper towel.
I left the board to dry, then re-arranged the painters’ tape to leave the last section.
Borax
To apply the borax solution I repeated the same process as before, using the same 1 teaspoon to 250 ml of hot water.

This gave me a board with the following layout:

The obvious thing to do was to run exactly the same thing on all 4 sections.

The values for power and speed are irrelevant here, it is what the solutions did or did not do that I was looking at. But in case you are interested I ran the burn at 2000 mm/min at 40% power.
Did using Borax or Bicarbonate of Soda make a difference?

Well, it definitely did.
Between un-sanded and sanded, the major difference was in the colour of the wood, not so much on the burn.
The Bicarbonate of Soda solution definitely made the burn appear darker, but also had a yellowing effect on the wood.
The Borax solution made the burn appear darker without altering the colour of the wood. Perhaps this was the magic formula after all.
But, I had read about other options for darkening the burns, so I flipped over the board, sanded the whole board and tried a few more options.
The first variation was very obvious, go over the burn a second time. This was a huge improvement on the single pass.

So, what would slowing down do? The second section was done at half speed, so 1000 mm/min at 40% power.
Yep, big improvement again.
Now, the next variation seems completely counterintuitive I know, the idea is to run slightly out of focus........ I moved the laser 1 mm higher and went back to 2000 mm/min at 40% power.

Hmmm, not very sharp or clear, so not too impressed with that option.
But there was one more thing I’d read about that I really wanted to try – using shoe polish, yes seriously, the type with the foam attachment that you just dab on.

I read to dab it on, leave for a minute, then clean off with Isopropanol, hahahaha abject fail

Perhaps if the wood was painted or lacquered first it would work, but on sanded wood it stained really badly, there's no shadow on the picture. Admittedly the burn did look darker a bit darker as well.
Is there a magic formula?
In reality, if you want your burns to be darker you have a few basic choices, slow down, do more than 1 pass or use a mild borax solution.
Yes, we come back to the "usual" answer, practise, practise, practise and test first on a piece of scrap material.
Whatever you do, you can be sure that using a YoraHome laser will give you hours of fun and enjoyment and after a bit of practise you will get the level of burn and darkness that you can be happy with.


Get The Freshest Content
Straight To Your Inbox
Join over 3,000 creators who receive premium content, exclusive discounts, and all the must-know info on a weekly basis.