


 LIMITED TIME
Last Sale Of The Year!
Up to 20% off at checkout on the YoraHome Store.
Grab All The Yoras You Want!
Carving Machines
15% off Yora 3018-Pro Machine
15% off Yora 3018-Pro Accessories
$100 off Yora SilverBack Machine
8% off Yora SilverBack Accessories
15% off Yora Router Bits
Laser Engravers
15% off Yora 6550 Machine
15% off Yora 6550 Accessories
15% off Yora Mini Laser Engraver
15% off Yora Draw
$200 off Yora CO2 Laser Engravers
$200 off Yora Fiber Laser Engravers
3D Printers
$10 off Yora Ender-3 V2
$30 off Yora CR-6 SE
$40 off Yora Ender-5 Pro
→Each printer comes with 3x Free bonus items
3D Filaments And Accessories
20% off Yora PLA Filaments
15% off Yora 3D Printers Accessories
1x Free Yora Filament Dryer For 1x 3D Printer + 5x PLA Filaments or 10x PLA Filaments
Woodworking Tools: 20% off
Home And Office Accessories: 20% off
Get Amazing Free Items With The Gorilla Bundles!
#1: 1x Free Yora 3018 Essential Bits For 1x Yora 3018 + 1x Yora 6550
#2: 1x Free Yora Rotate Module For 1x Yora 6550 + 1x Yora Draw
#3: 1x Free Yora Filament Dryer For 1x Yora 6550 + 1x 3D Printer
#4: 1x Free Yora TLC Rotary For 1x Yora 3018 + 1x Yora 6550 + 1x Yora Draw
#5: 1x Free Yora 6550 Z-Axis, Drag Chain, Air Assist and 3D Led Lamp For 1x Yora 3018 + 1x Yora 6550 + 1x Yora 3D Printer
Terms Apply
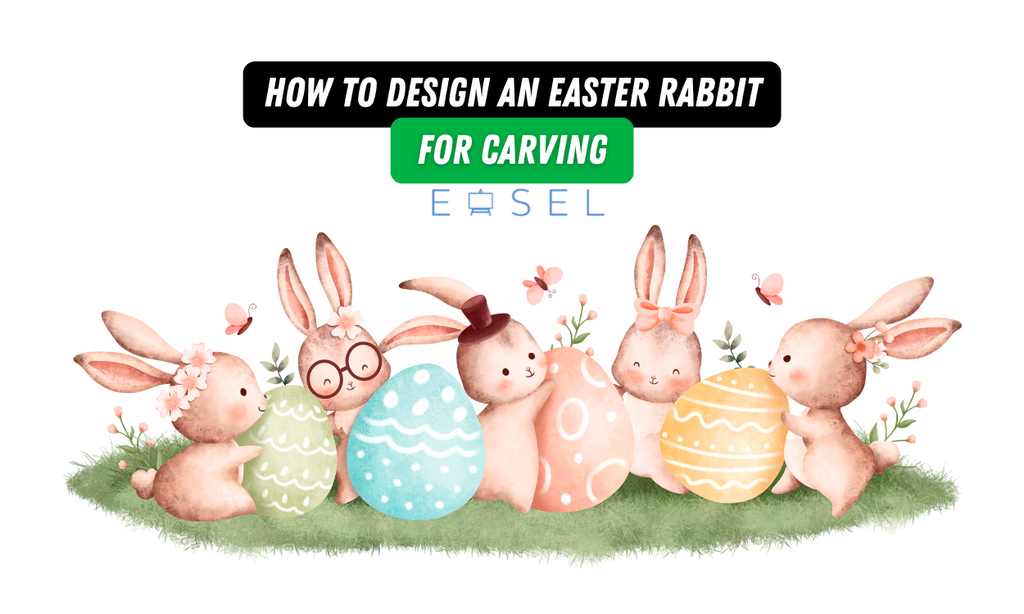
How To Design an Easter Rabbit (For Carving)

In the run up to Easter, the shops are full of Easter Eggs. If you look around the internet, you can find all sorts of items to show them off or to give as presents.
One of the most popular eggs here in the UK is the Cadbury Cream Egg. I’m sure cream eggs are found in most places around the world. And everywhere you look, on Etsy or Facebook Marketplace, you can find patterns for egg holders or egg holders for sale.

1. How to Design an Easter rabbit
Thinking it couldn’t be too hard to make the pattern myself, I thought I’d give it a try.
However, I am not the most artistic person in the world.
In fact, my school reports used to say “Janice tries very hard in art classes but has no talent in this field at all” - brutal I know. So, still being scarred by this, I knew my drawing skills wouldn’t be up to just drawing something and then scanning it to my computer. I thought I’d design something in my favourite carving program, Easel.
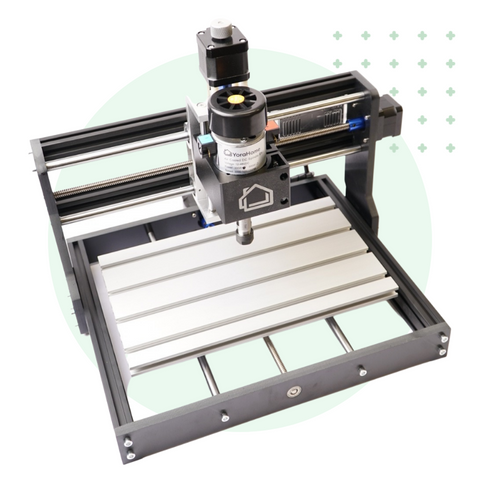
I am in the very lucky position to have a few different YoraHome machines. And, I already had Easel set up with the YoraHome CNC Router 3018 Pro and 300W spindle upgrade as the machine to use. I left this as it was for now.
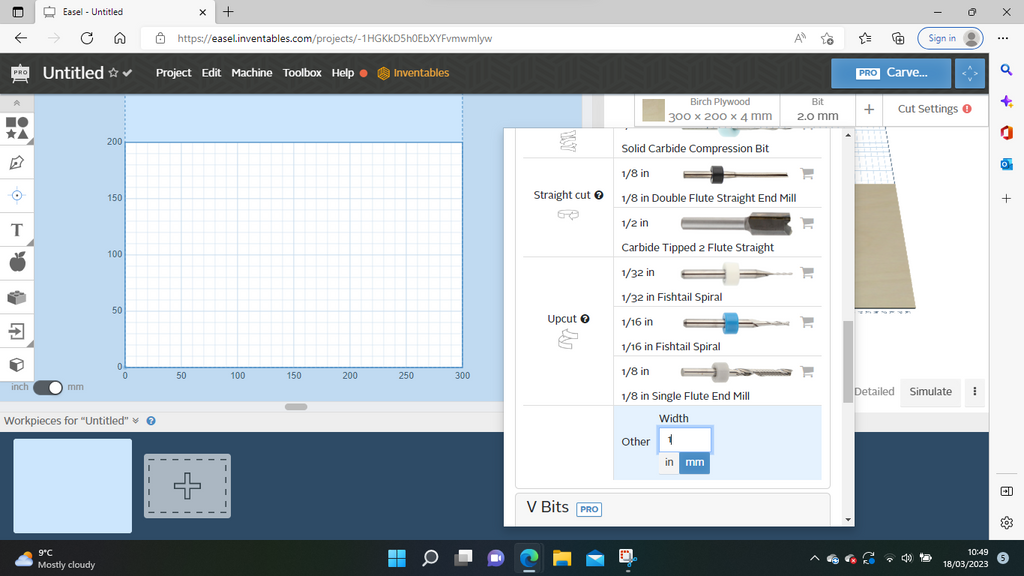
2. Setting Up the Workspace in Easel
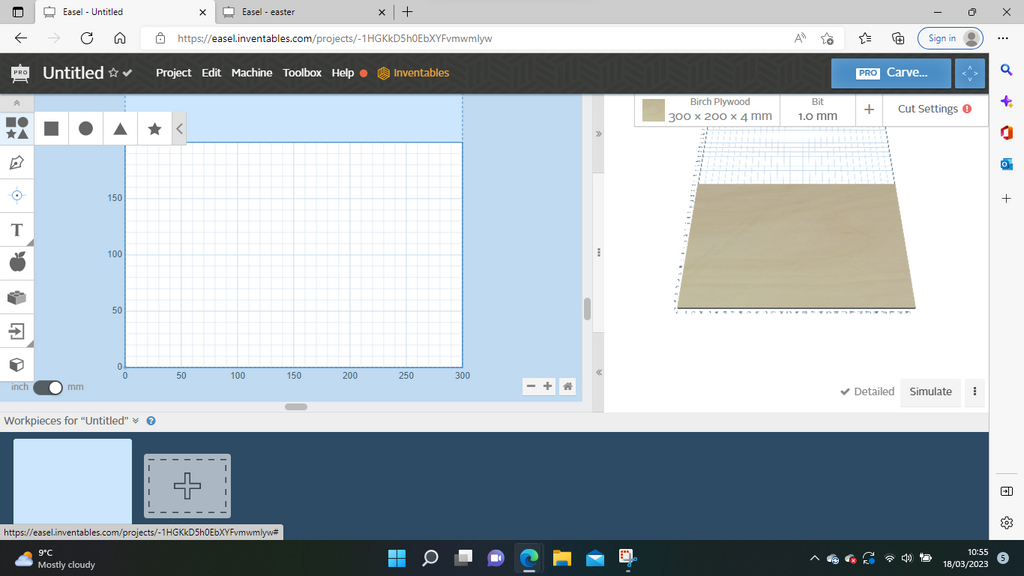
I opened Easel and opened a New Project.
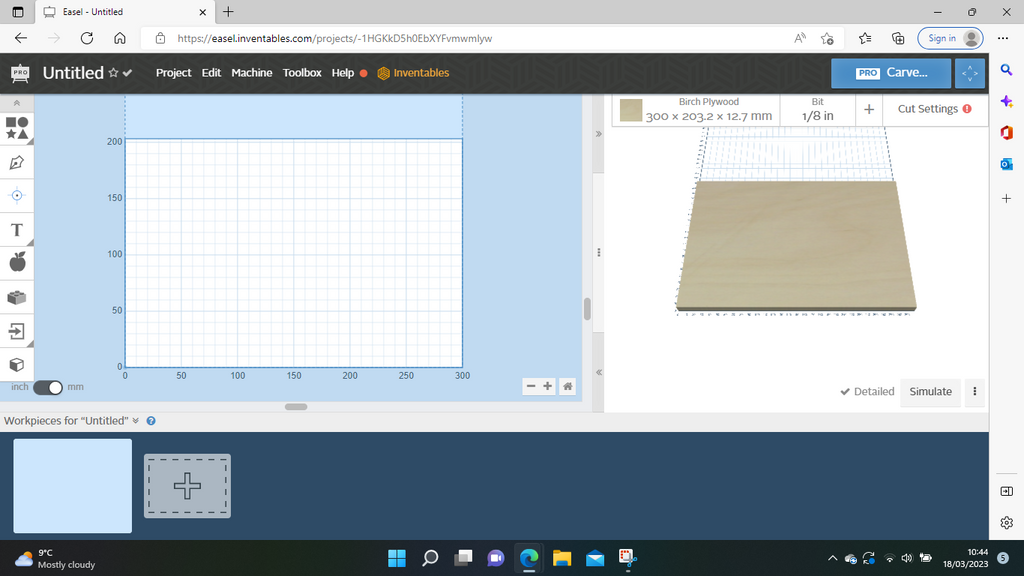
I had decided on the wood I intended to use: 4mm Baltic ply. So, I set the material and its size and thickness.
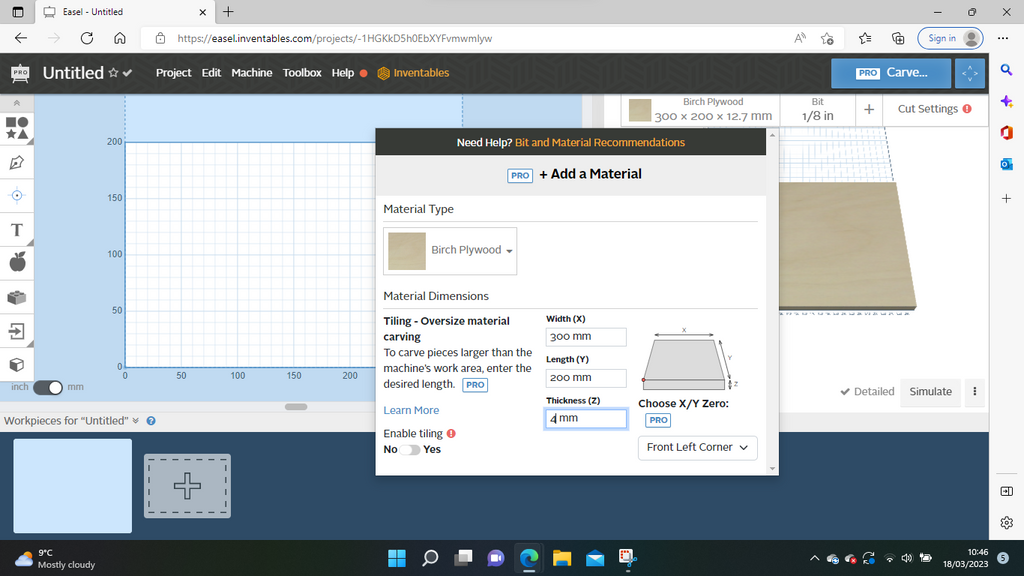
I then set the bit size as "Other 1mm". All of this turned out to be irrelevant in the end.
3. Starting the Design Process in Easel
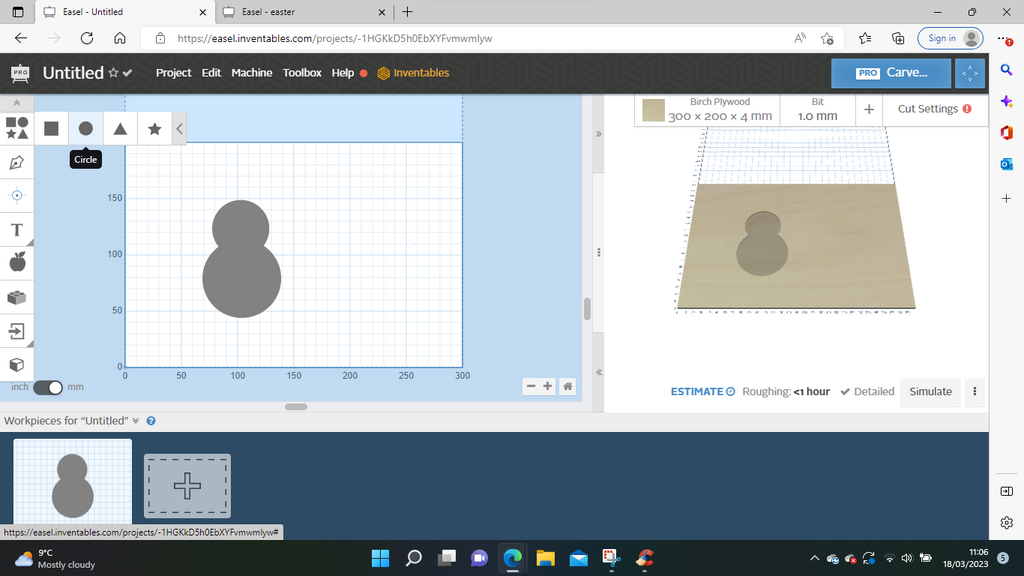
To start the design process, I clicked Shapes on the left of the screen.
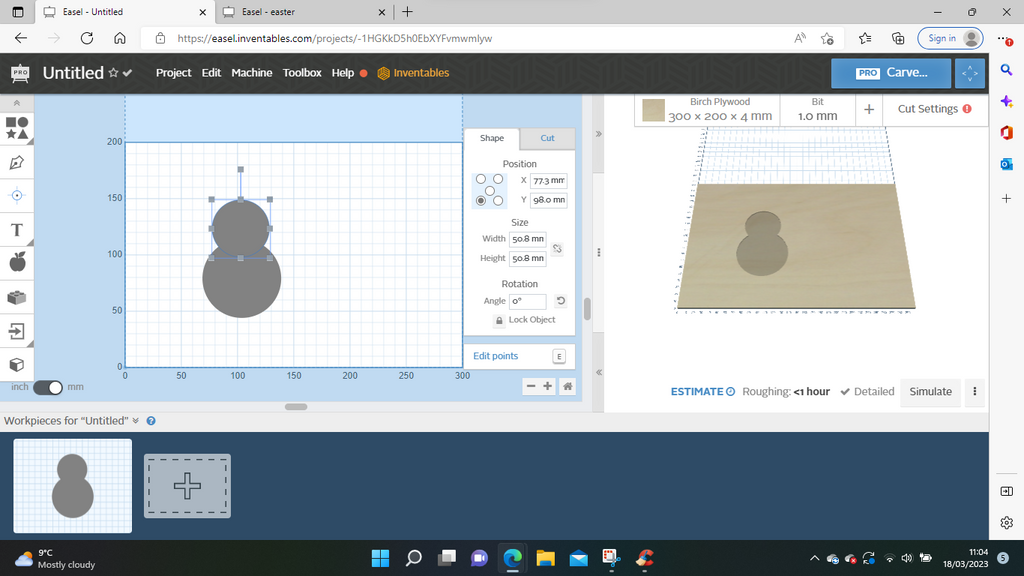
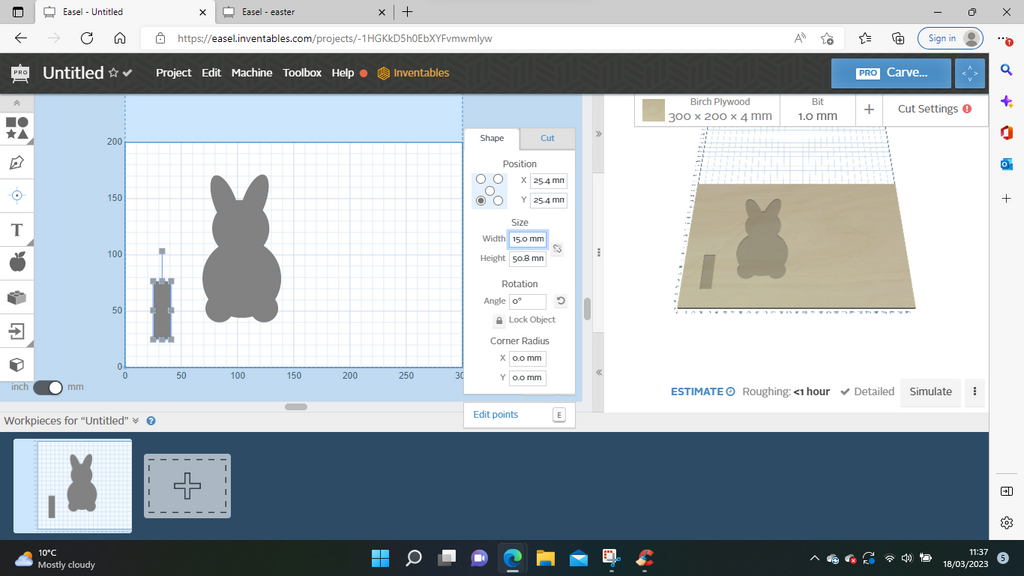
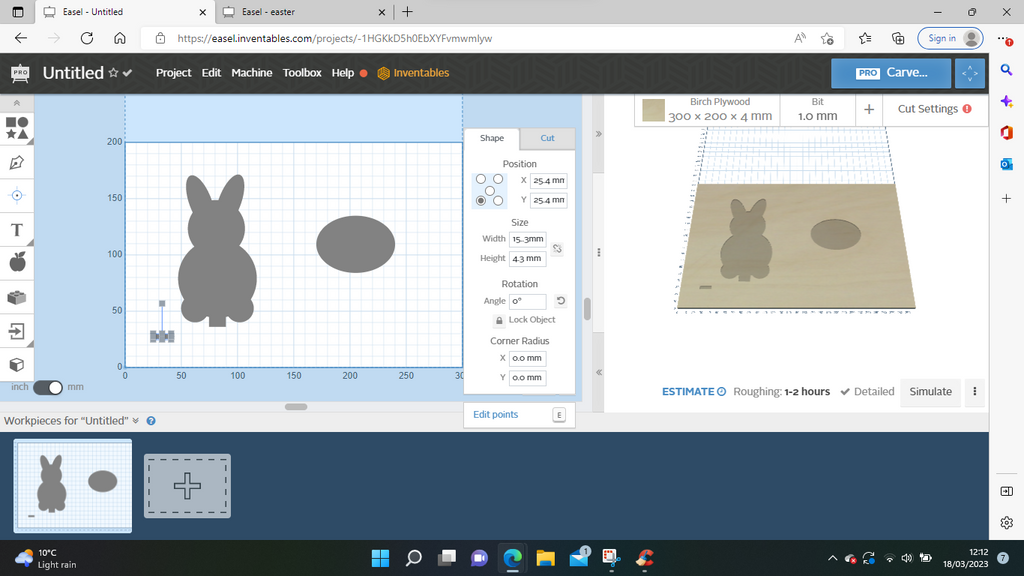
Clicking on "circle" opened a circle shape on screen.
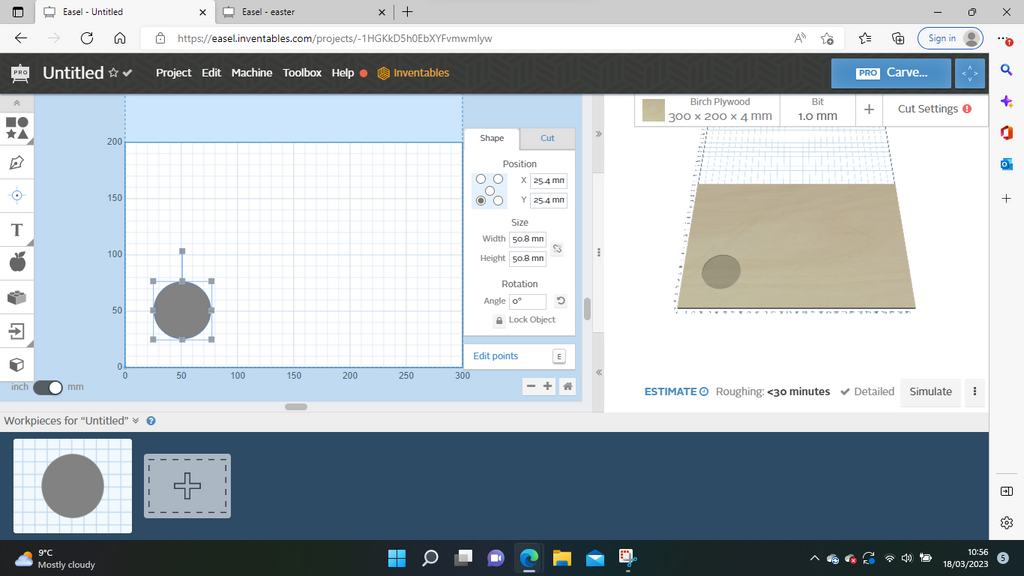
I locked the proportions of the circle, adjusted the size and moved the circle into position on the screen.

I went back to shapes and circle again.
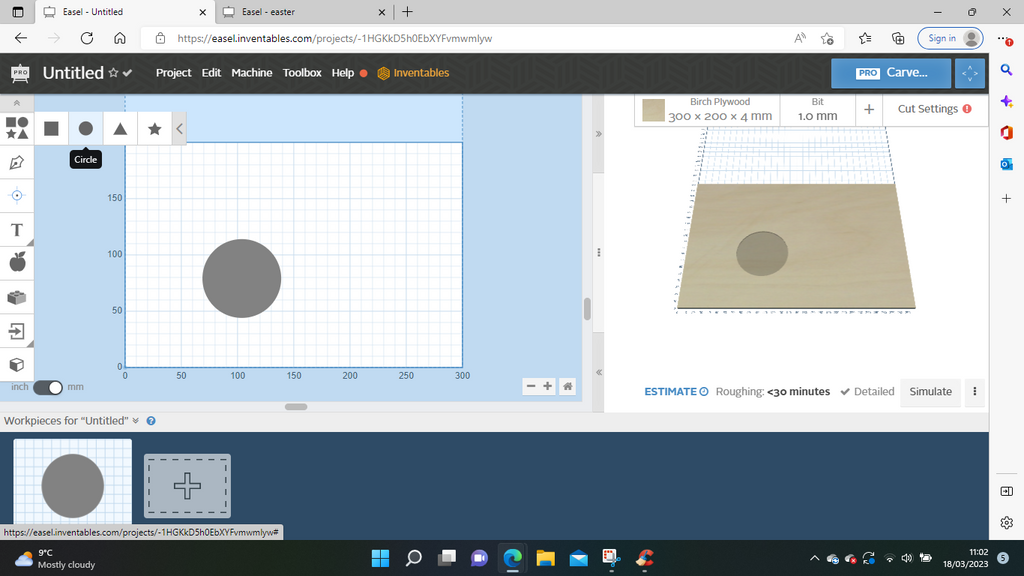
I moved the circle around to judge if the size would make a suitable head.

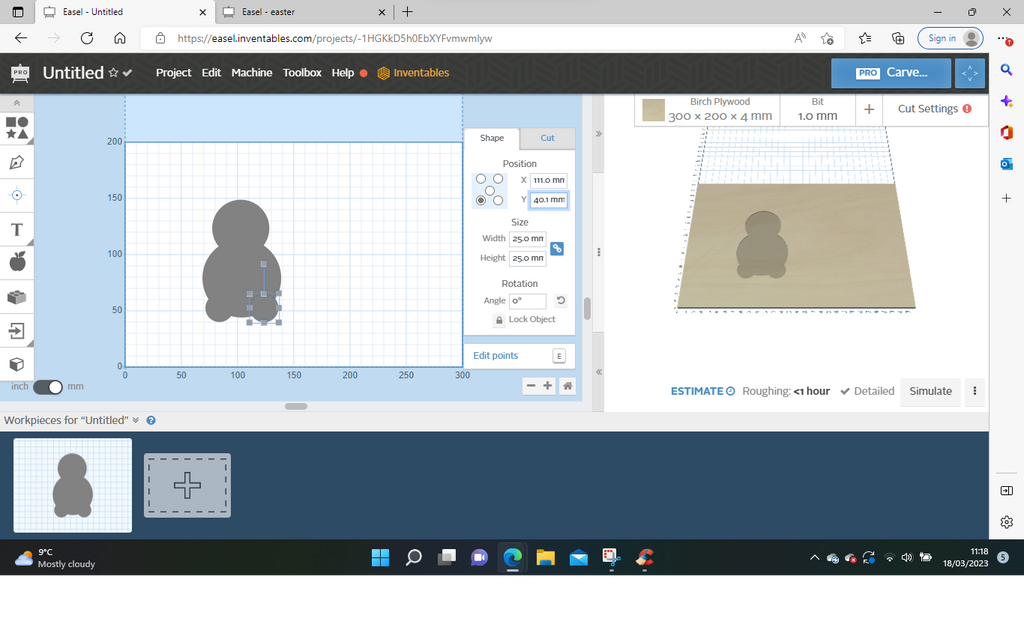
I then moved the second circle so that it overlapped the body.
Then back to shapes and circle again.
This circle was much too big to be a paw!
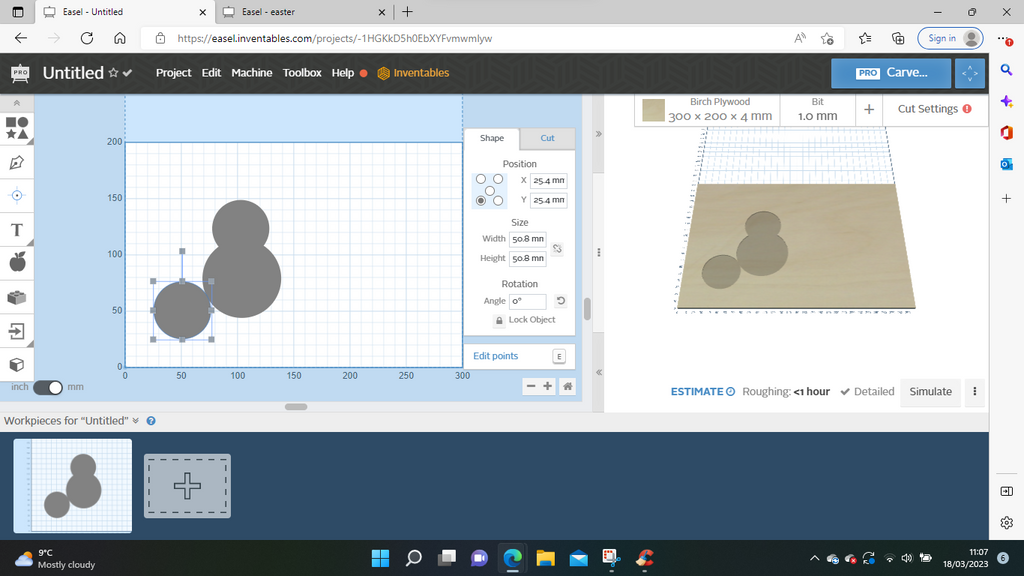
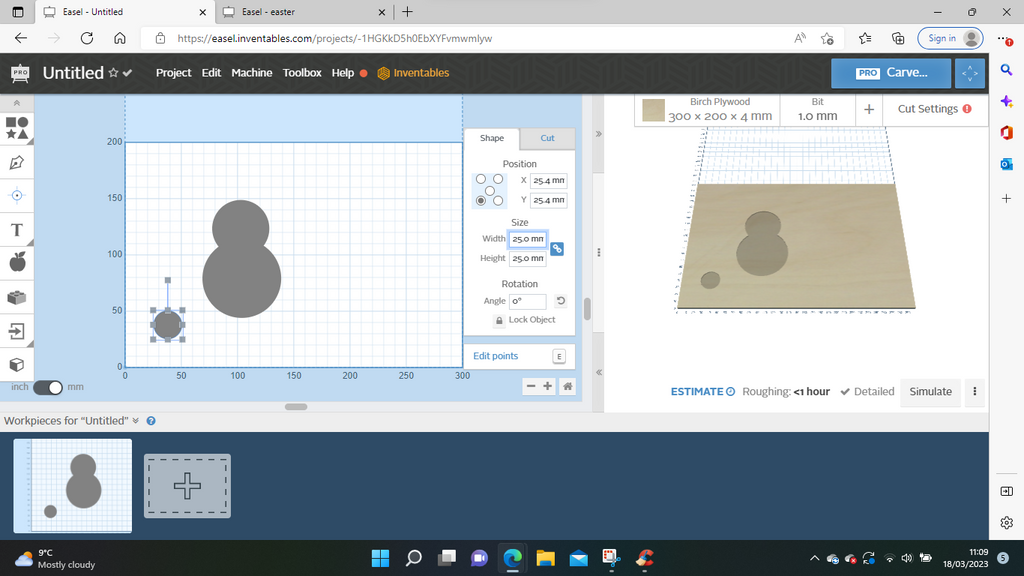
I locked the proportions again and adjusted the size.
I went to Edit and Copy.
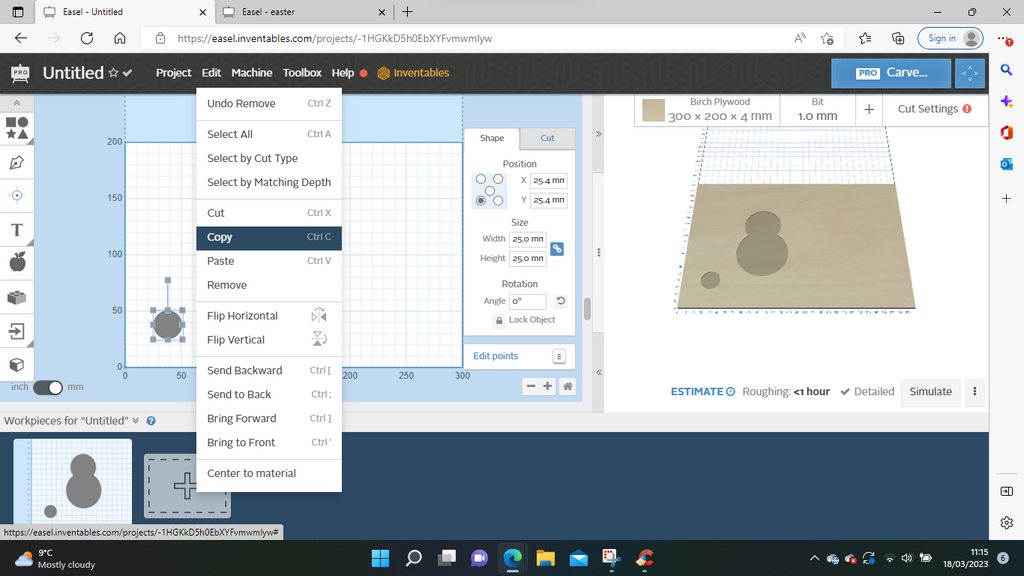
Then Edit and Paste.

I moved both paws to where looked right and checked the y position was the same for both.
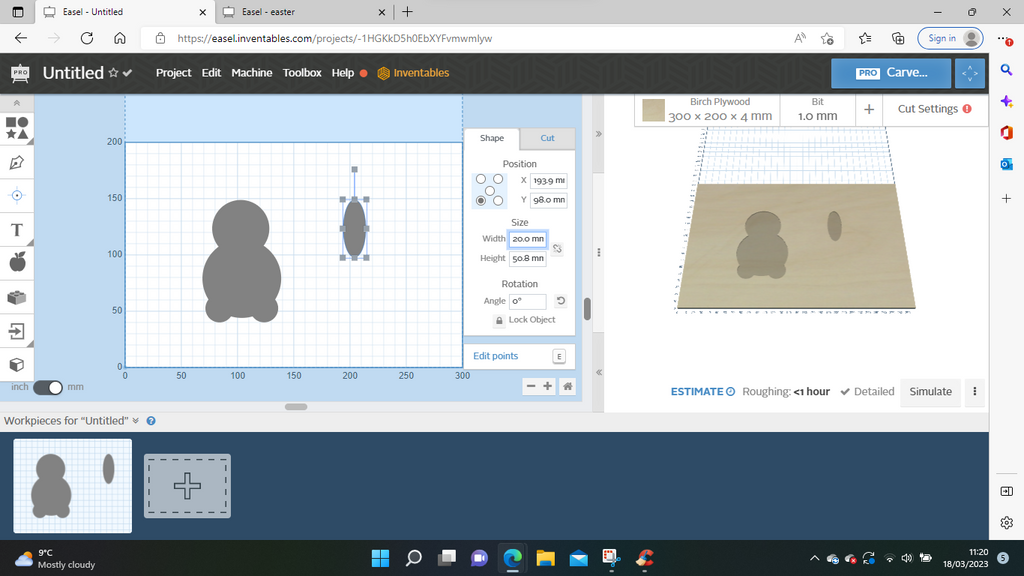
I then added yet another circle.

Leaving the lock off the proportions, I adjusted the circle shape to an elongated oval.
I then did the edit, copy paste again, so I had 2 ears.
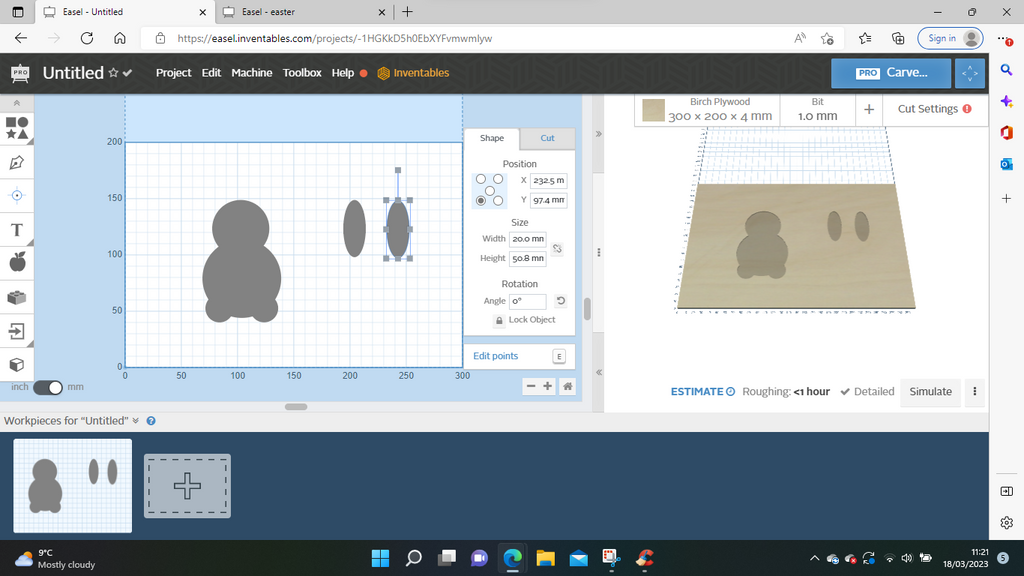
I clicked on one ear and moved it into position and angled it slightly.

I repeated this for the second ear.
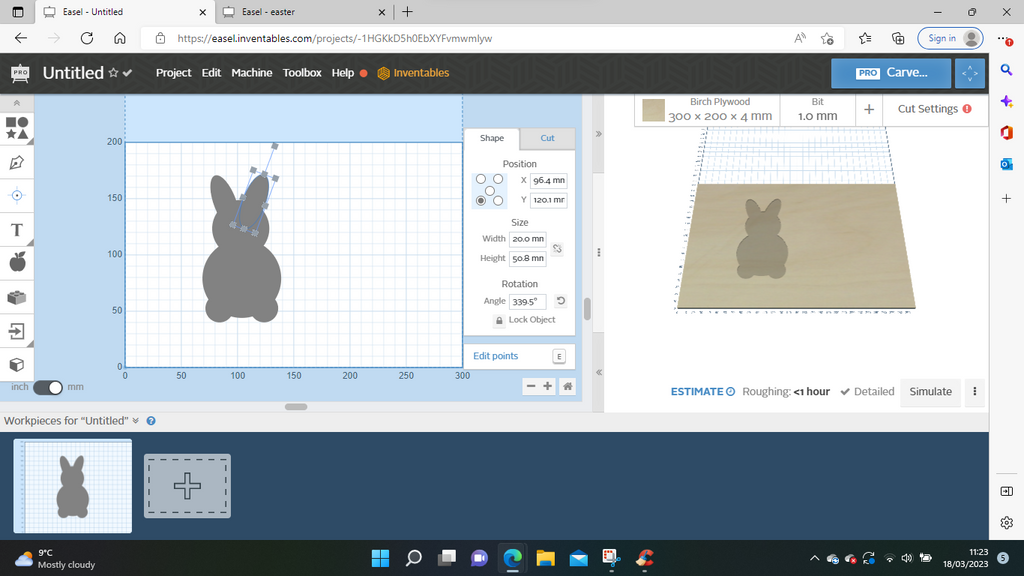
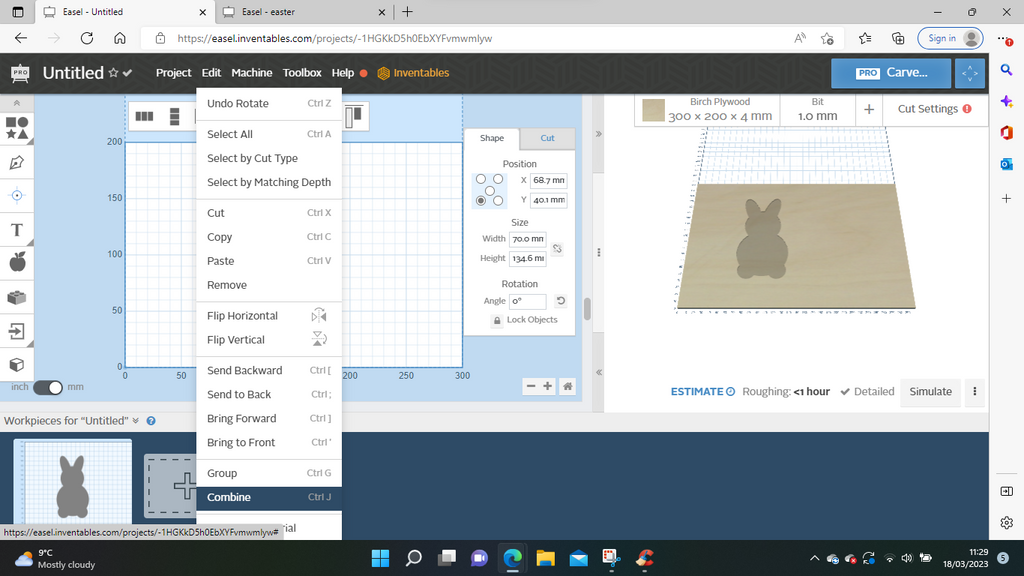
Then I went to Edit and Select All.
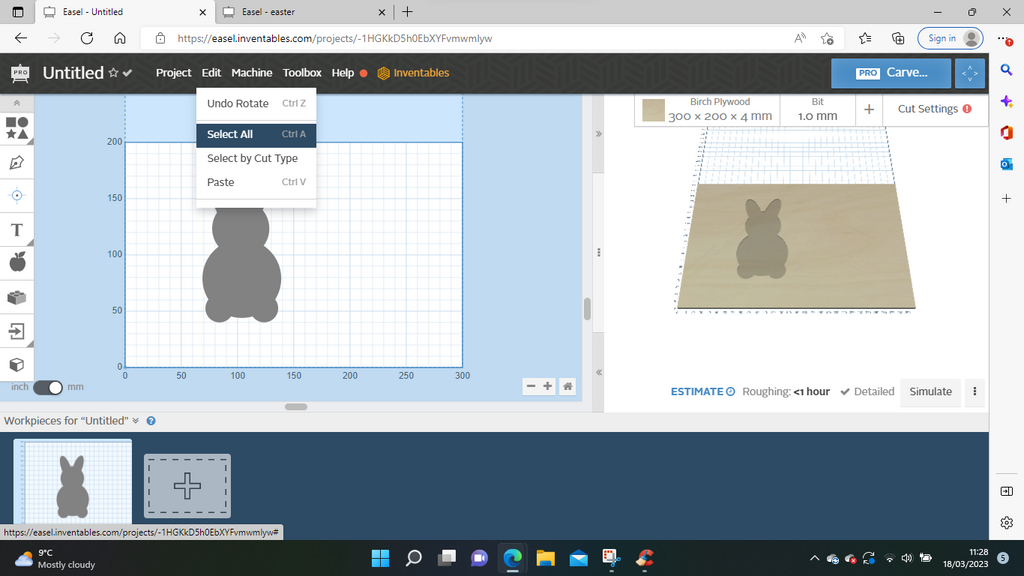
Then Edit then Combine. This takes all the separate parts and makes them into 1 piece.
4. How to Make the Easter Bunny stand up
To make the rabbit stand up, it needed a tab on the bottom – this time I went to Shapes and chose Square.
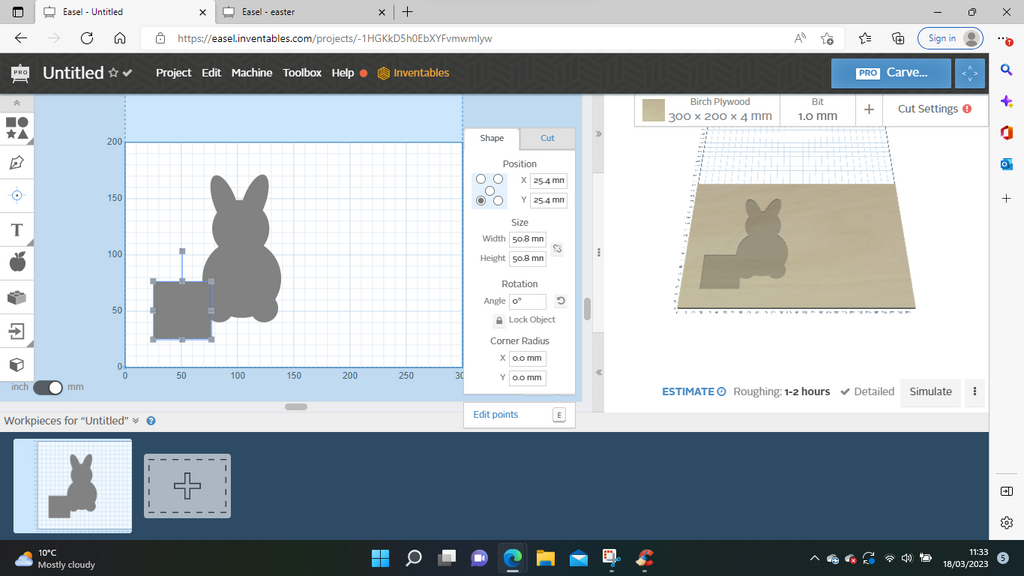
I adjusted the width of the square to make a suitable tab size.
The tab y position was adjusted to match the base of the paws plus the thickness of the wood and then Edit Select All.
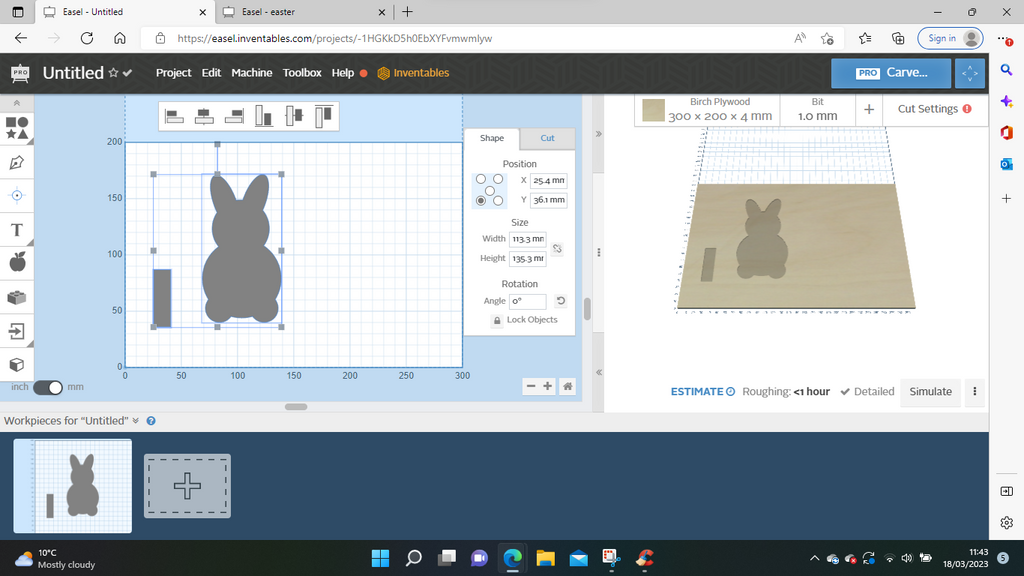
I then used the align horizontal centres function.
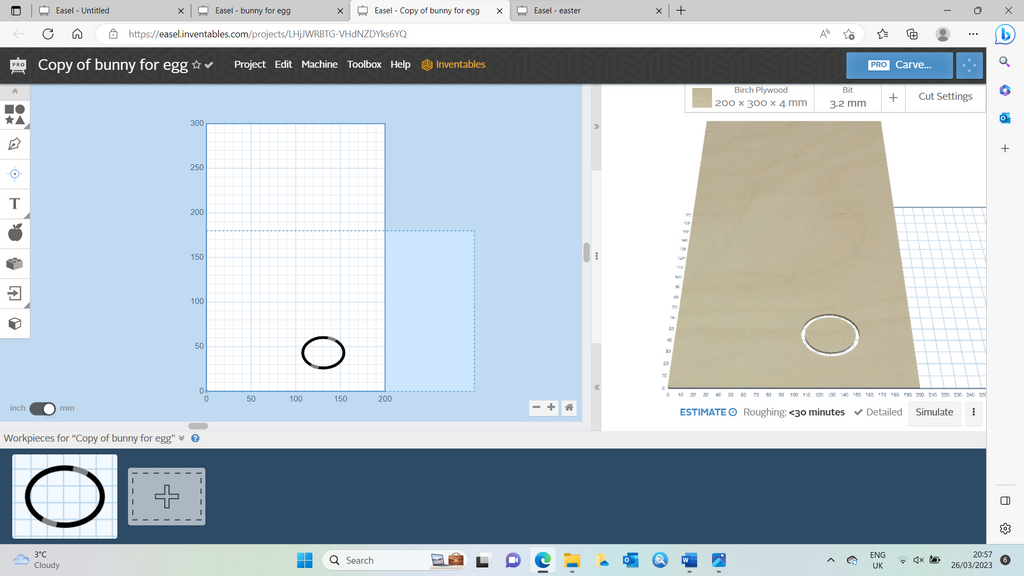
Next, I needed to use Shape and Circle and then adjust size to make an oval base.
Next, I needed the slot for the tab to slot into, using the shape square function and adjusting the size.
I moved this oblong into the oval and selected both of those objects and centred them vertically and horizontally.
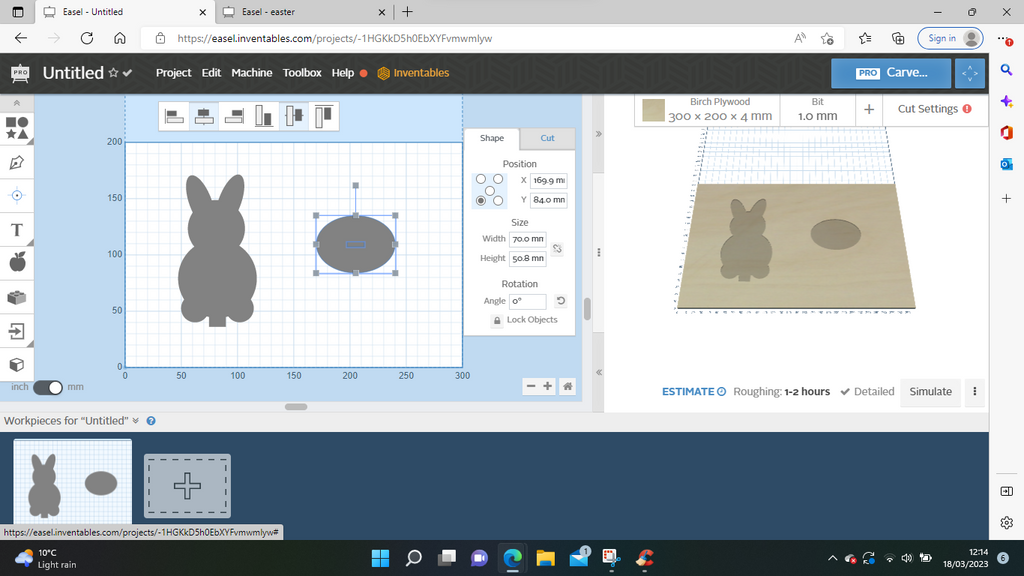
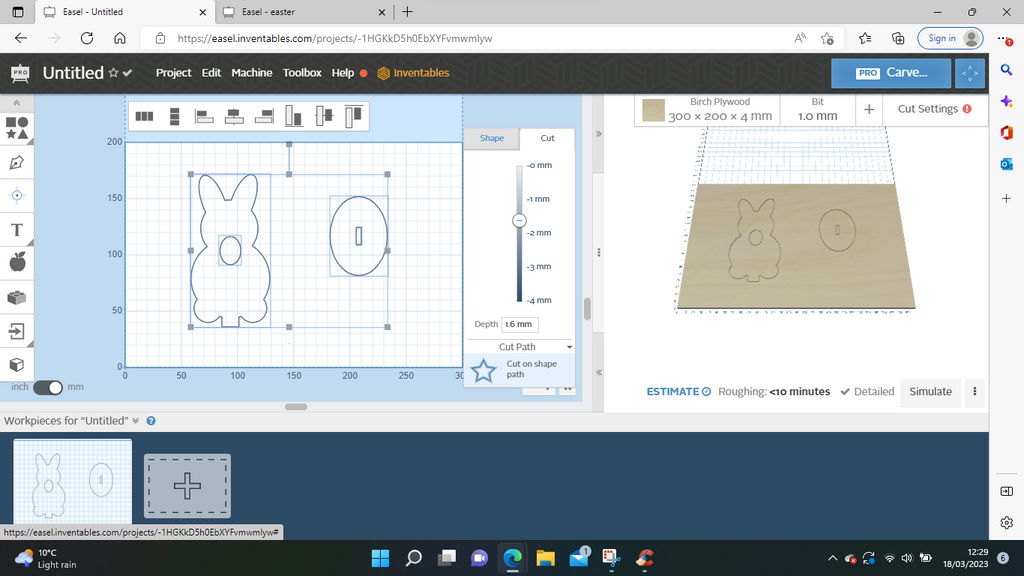
5. Cutting the Hole for the Cream Egg
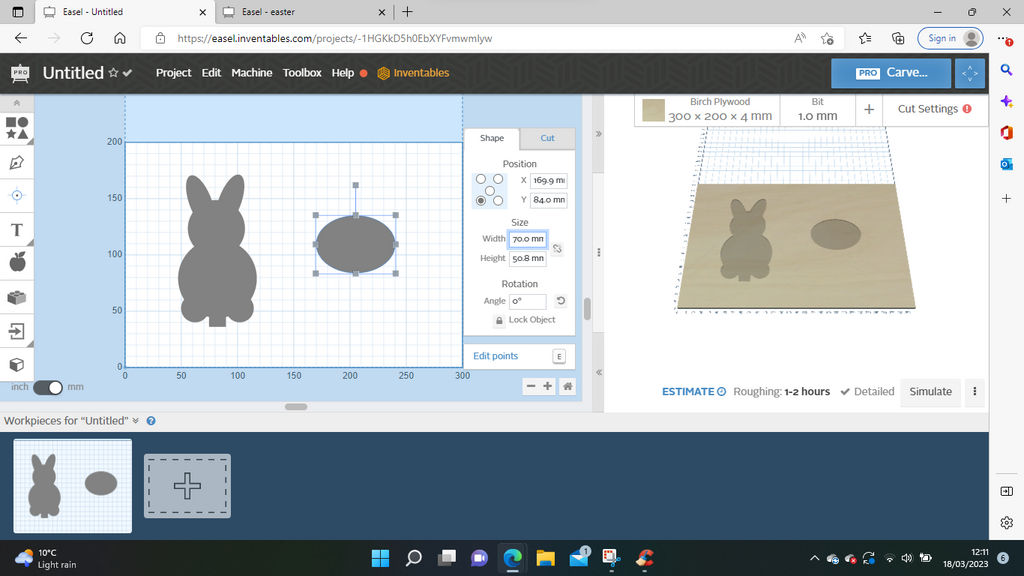
I then copied the base shape and adjusted it to the dimensions of the cream egg.

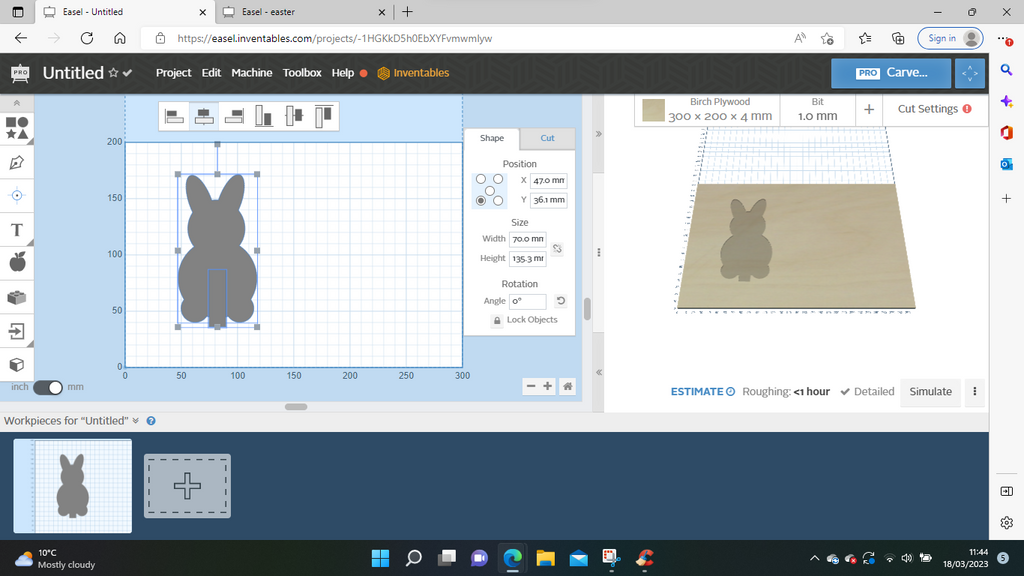
I selected the bunny and tab shapes and combined them.

I moved the egg shape closer to the bunny and selected those shapes.
These shapes were centred horizontally and vertically again – at this point the shapes on the inside were no longer visible.
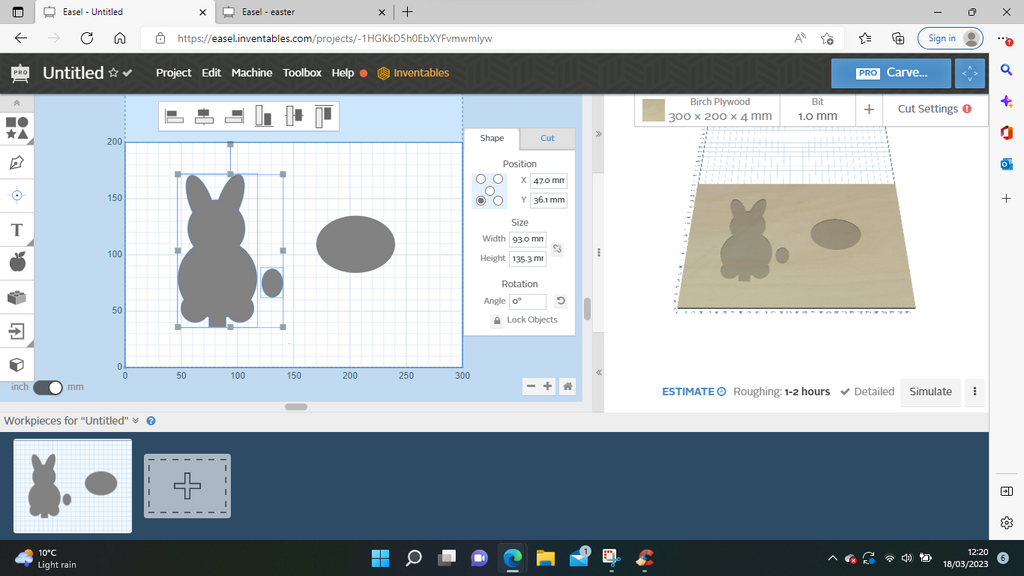
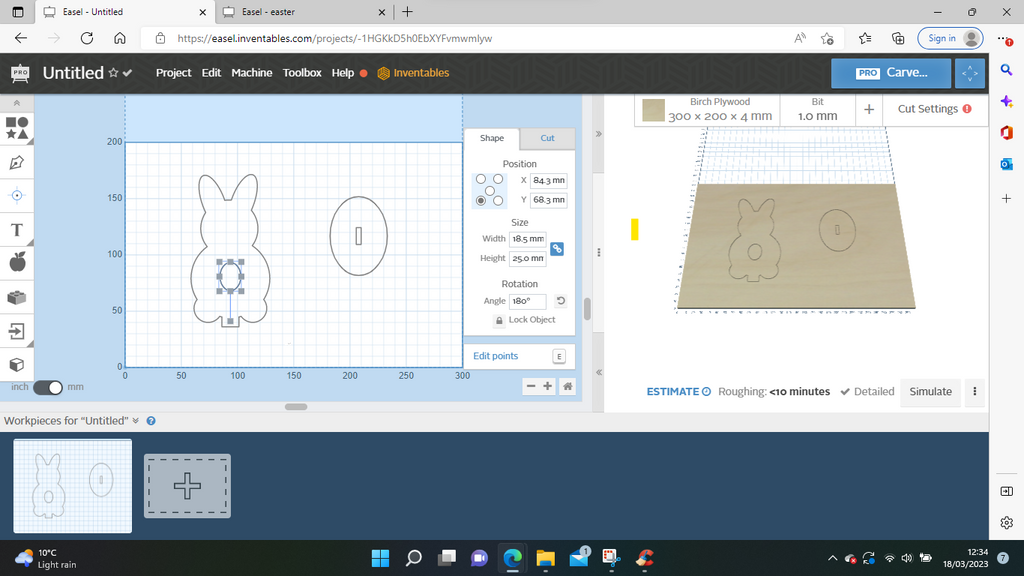
6. Making the Design Visible
I went to the Cut Tab and Cut Path, then clicked Cut on Path Shape and everything re-appeared.
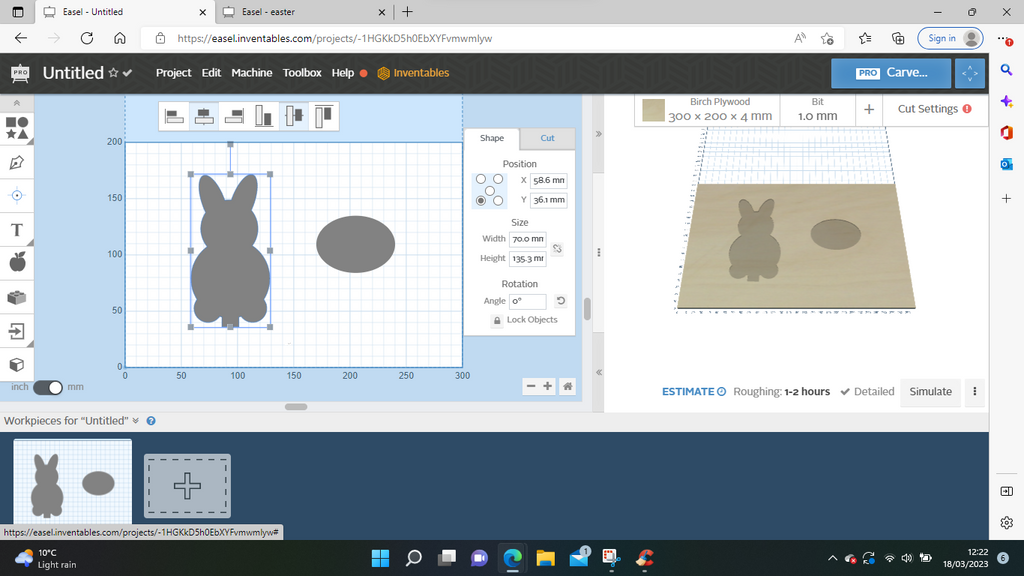
I then moved the egg shape to a better position.
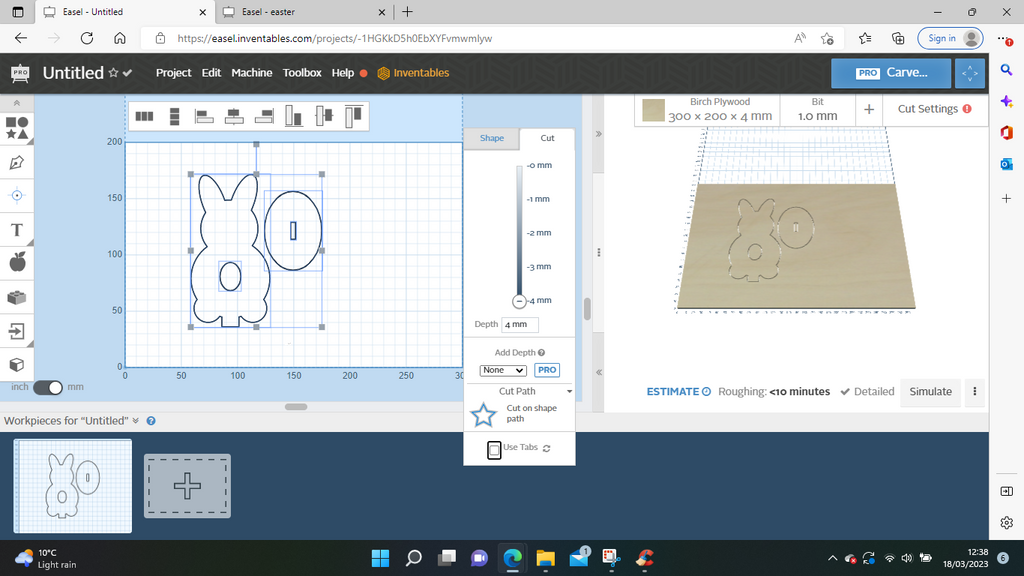
I moved the base to save on wood.

I selected all, then set the Cut Depth to 4 mm.
Then, I went to Cut Settings and Manual to set my feed/speed/depth.
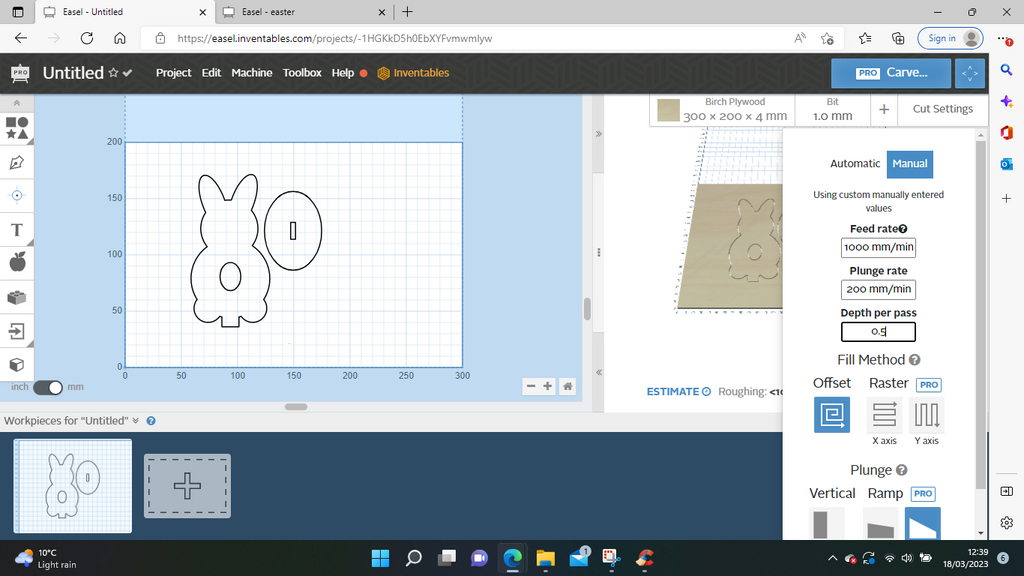
All that was left at this point was to actually cut the rabbit out.
7. Reality Check
I am a firm believer in blatant honesty and think everyone can learn as much from mistakes as triumphs, so here was my disaster.
The first thing I realized was that my design was way too big once I’d scaled it up for the egg shape. When I say it was too big, I was using my YoraHome CNC Router 3018-Pro, I should have used the YoraHome Mandrill CNC Router 3036 with its bigger work-bed , but that’s another story.
So in a flash of brilliance, I decided to reduce the size again and rotate the image.

On starting the cut, it was then obvious that I hadn’t accounted for the egg shape size.
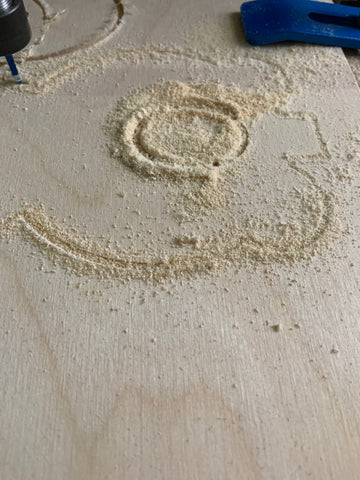
So, I made a copy of the project and deleted everything apart from the egg shape, which I then made bigger.
Showing the bigger egg cut out.

8. The Completed Project
On removing the plywood from the spoil-board and putting it together, the result wasn’t so bad after all.
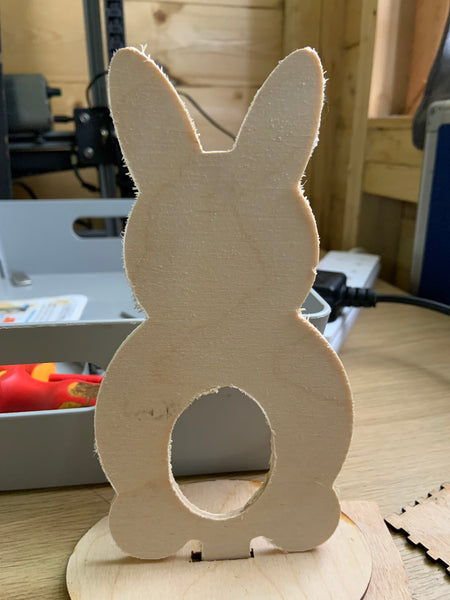
And once the cream egg was added, nobody cares.

But this wasn’t quite as sharp and pretty as I was after, so I needed to try another method.
Thankfully I have a few YoraHome machines, so I will try this on my YoraHome CNC Laser Engraving Machine 6550-Pro (All-In-One System) next.

YoraHome has the machines available to make your designs come to life! And I promise the Easter Bunny will look so much better in the next blog.


Get The Freshest Content
Straight To Your Inbox
Join over 3,000 creators who receive premium content, exclusive discounts, and all the must-know info on a weekly basis.